Gijs' great attic makeover

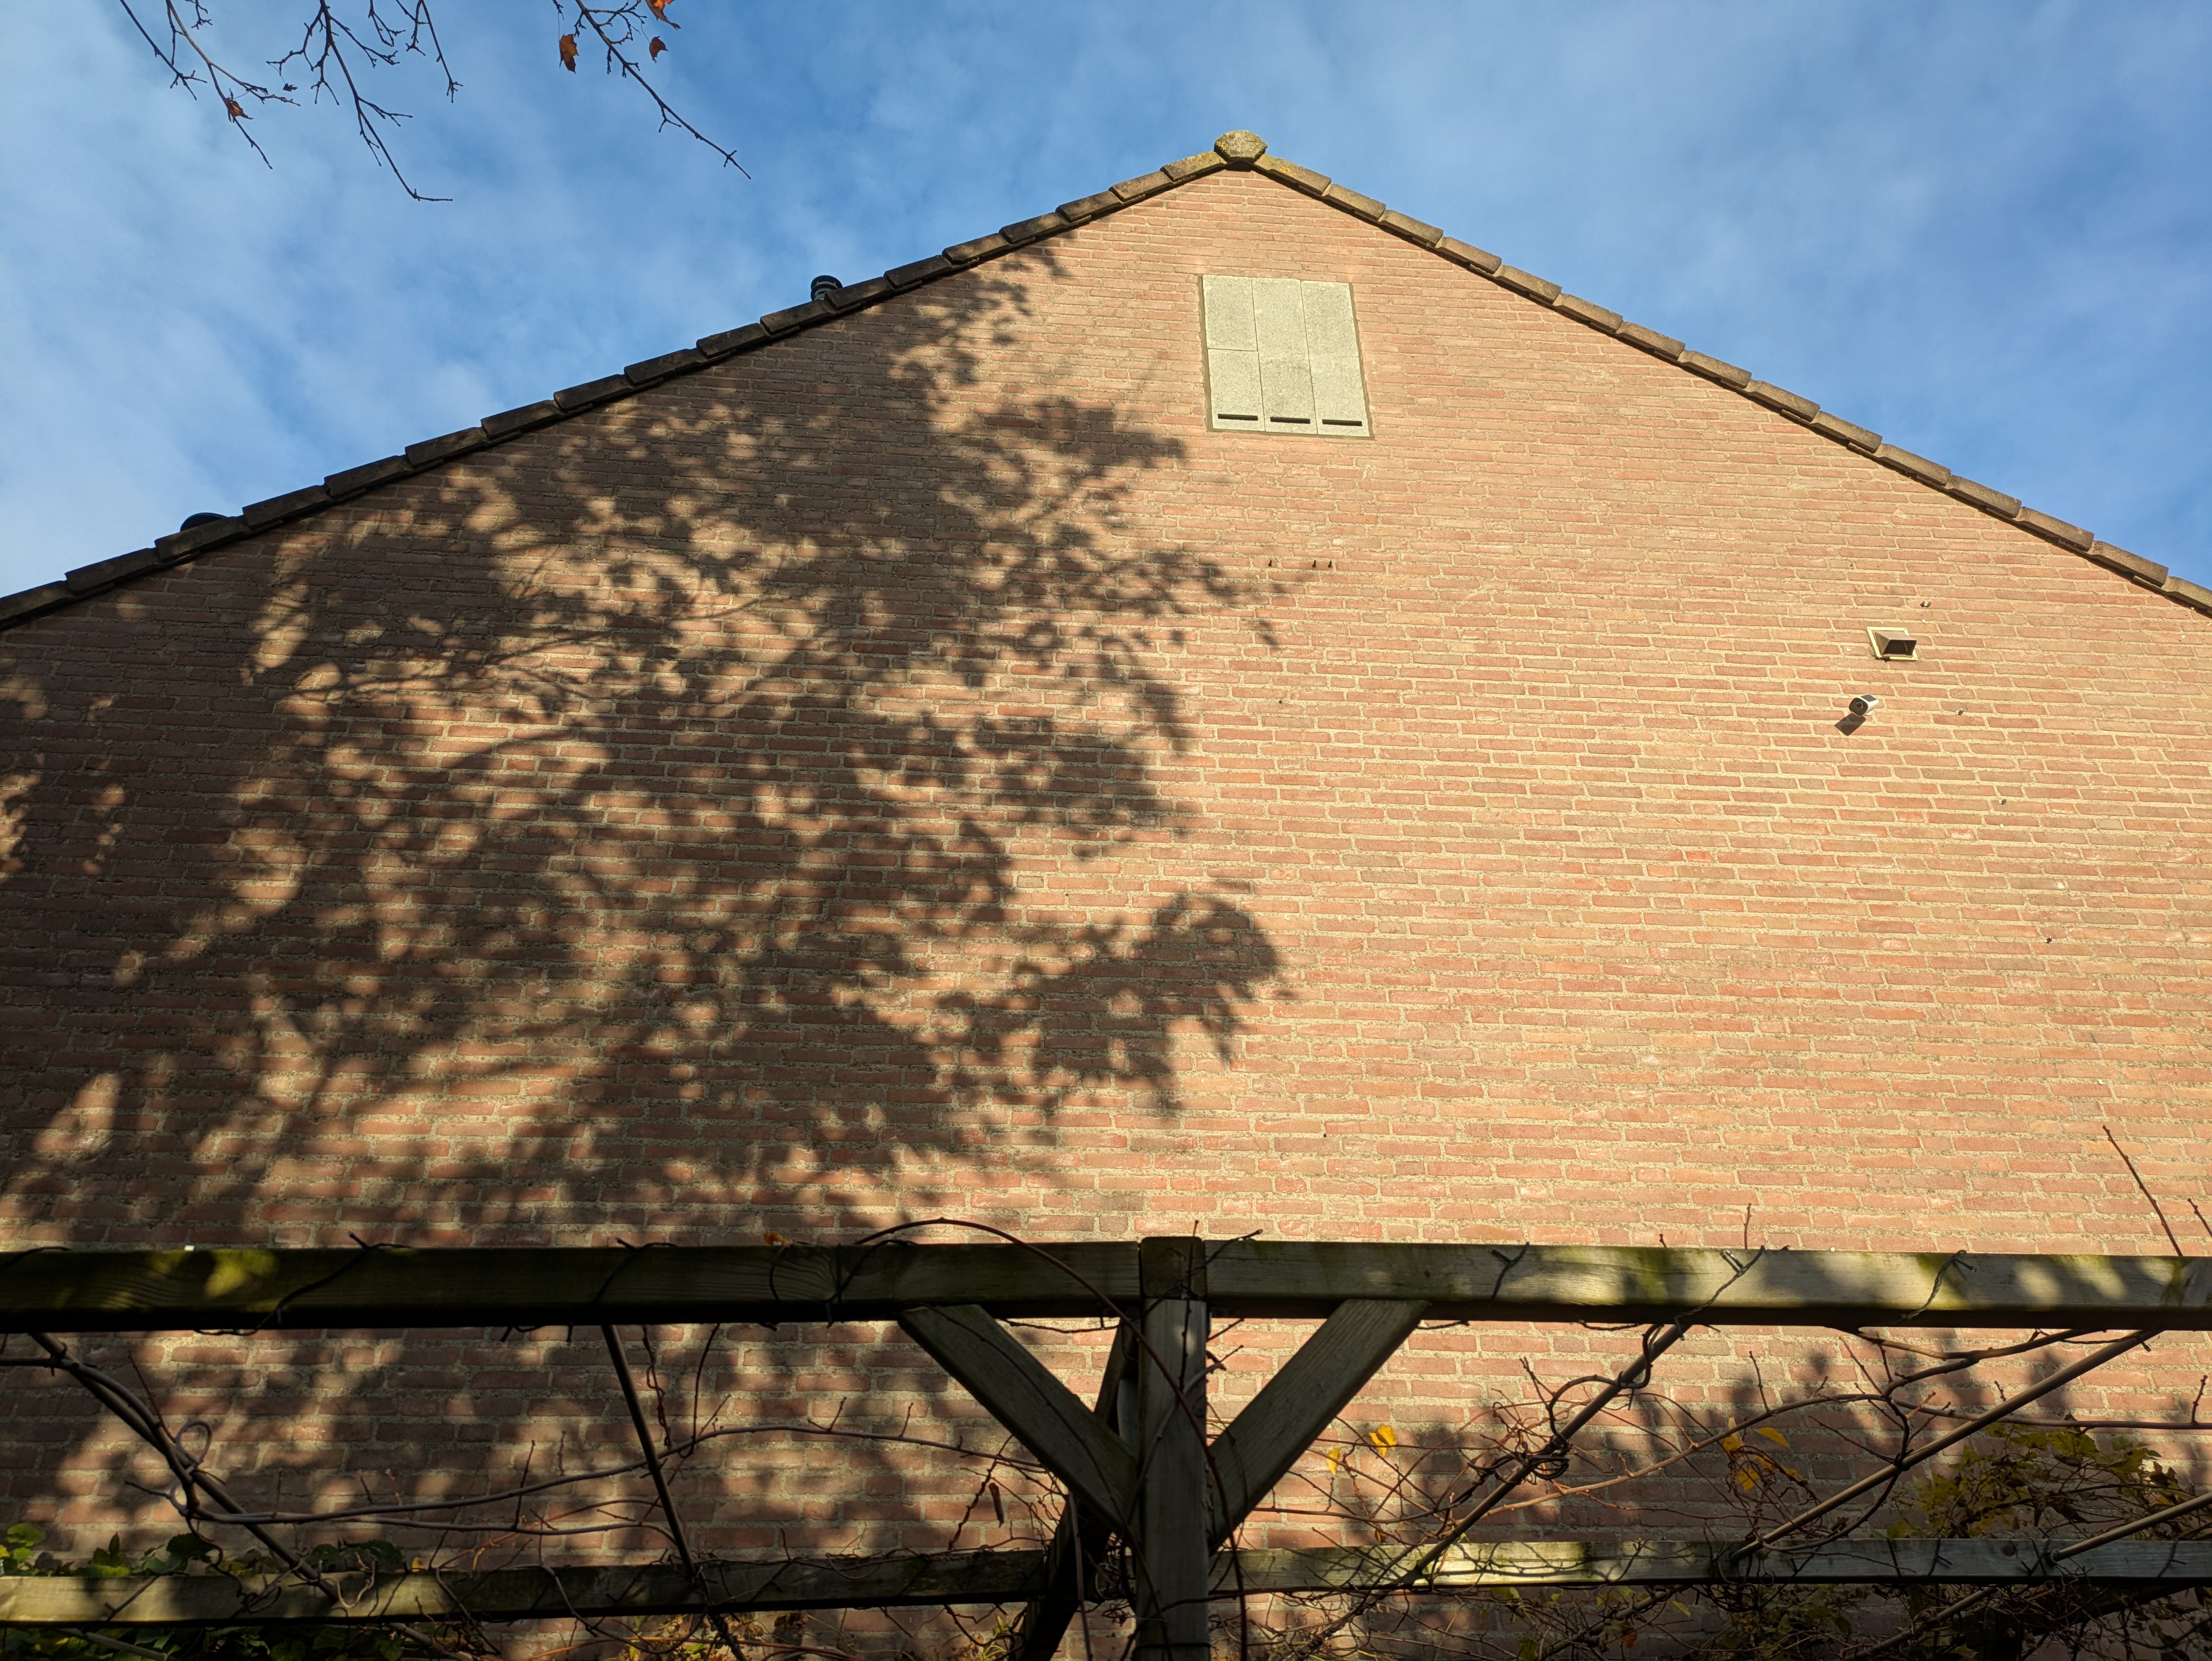
The house Gijs bought in 2019 was already a bit older. Over the years, the roof had started to bend slightly, and because of this the roof window no longer sealed properly. While a drafty roof window is not a disaster in itself (a house still needs ventilation), it does cause a lot of heat loss. With rising energy prices, there was only one option left: a complete attic makeover!
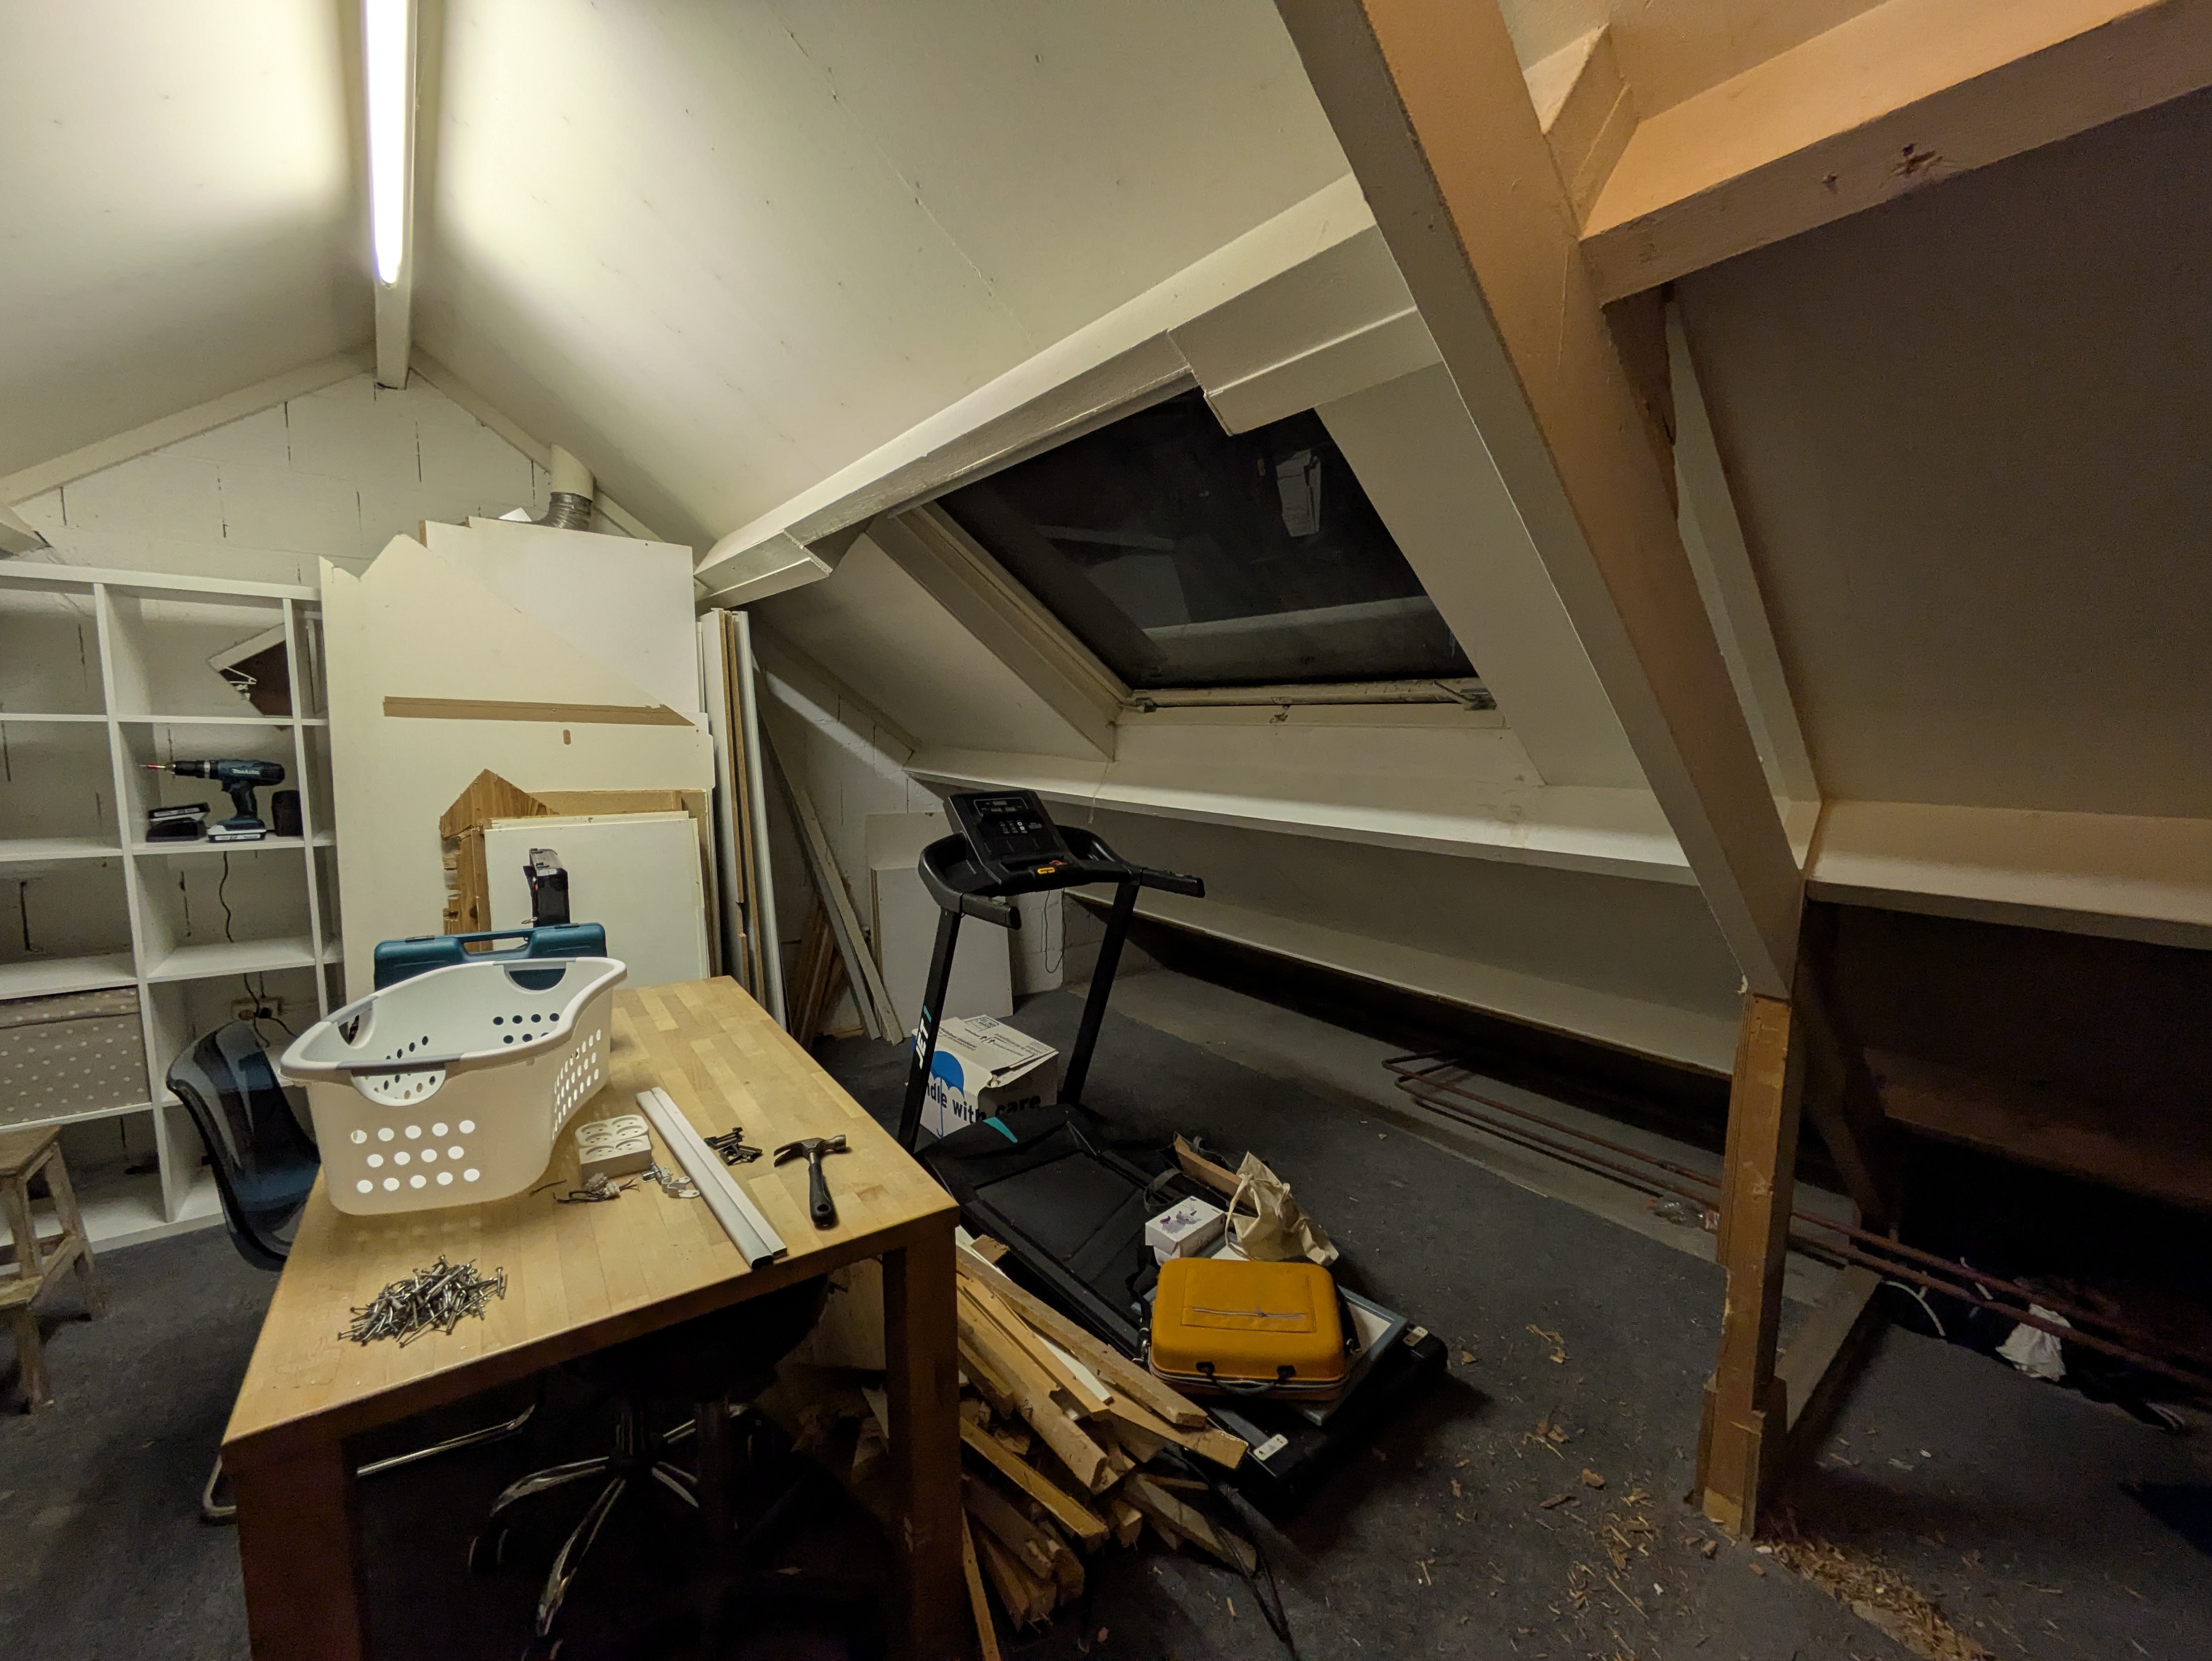
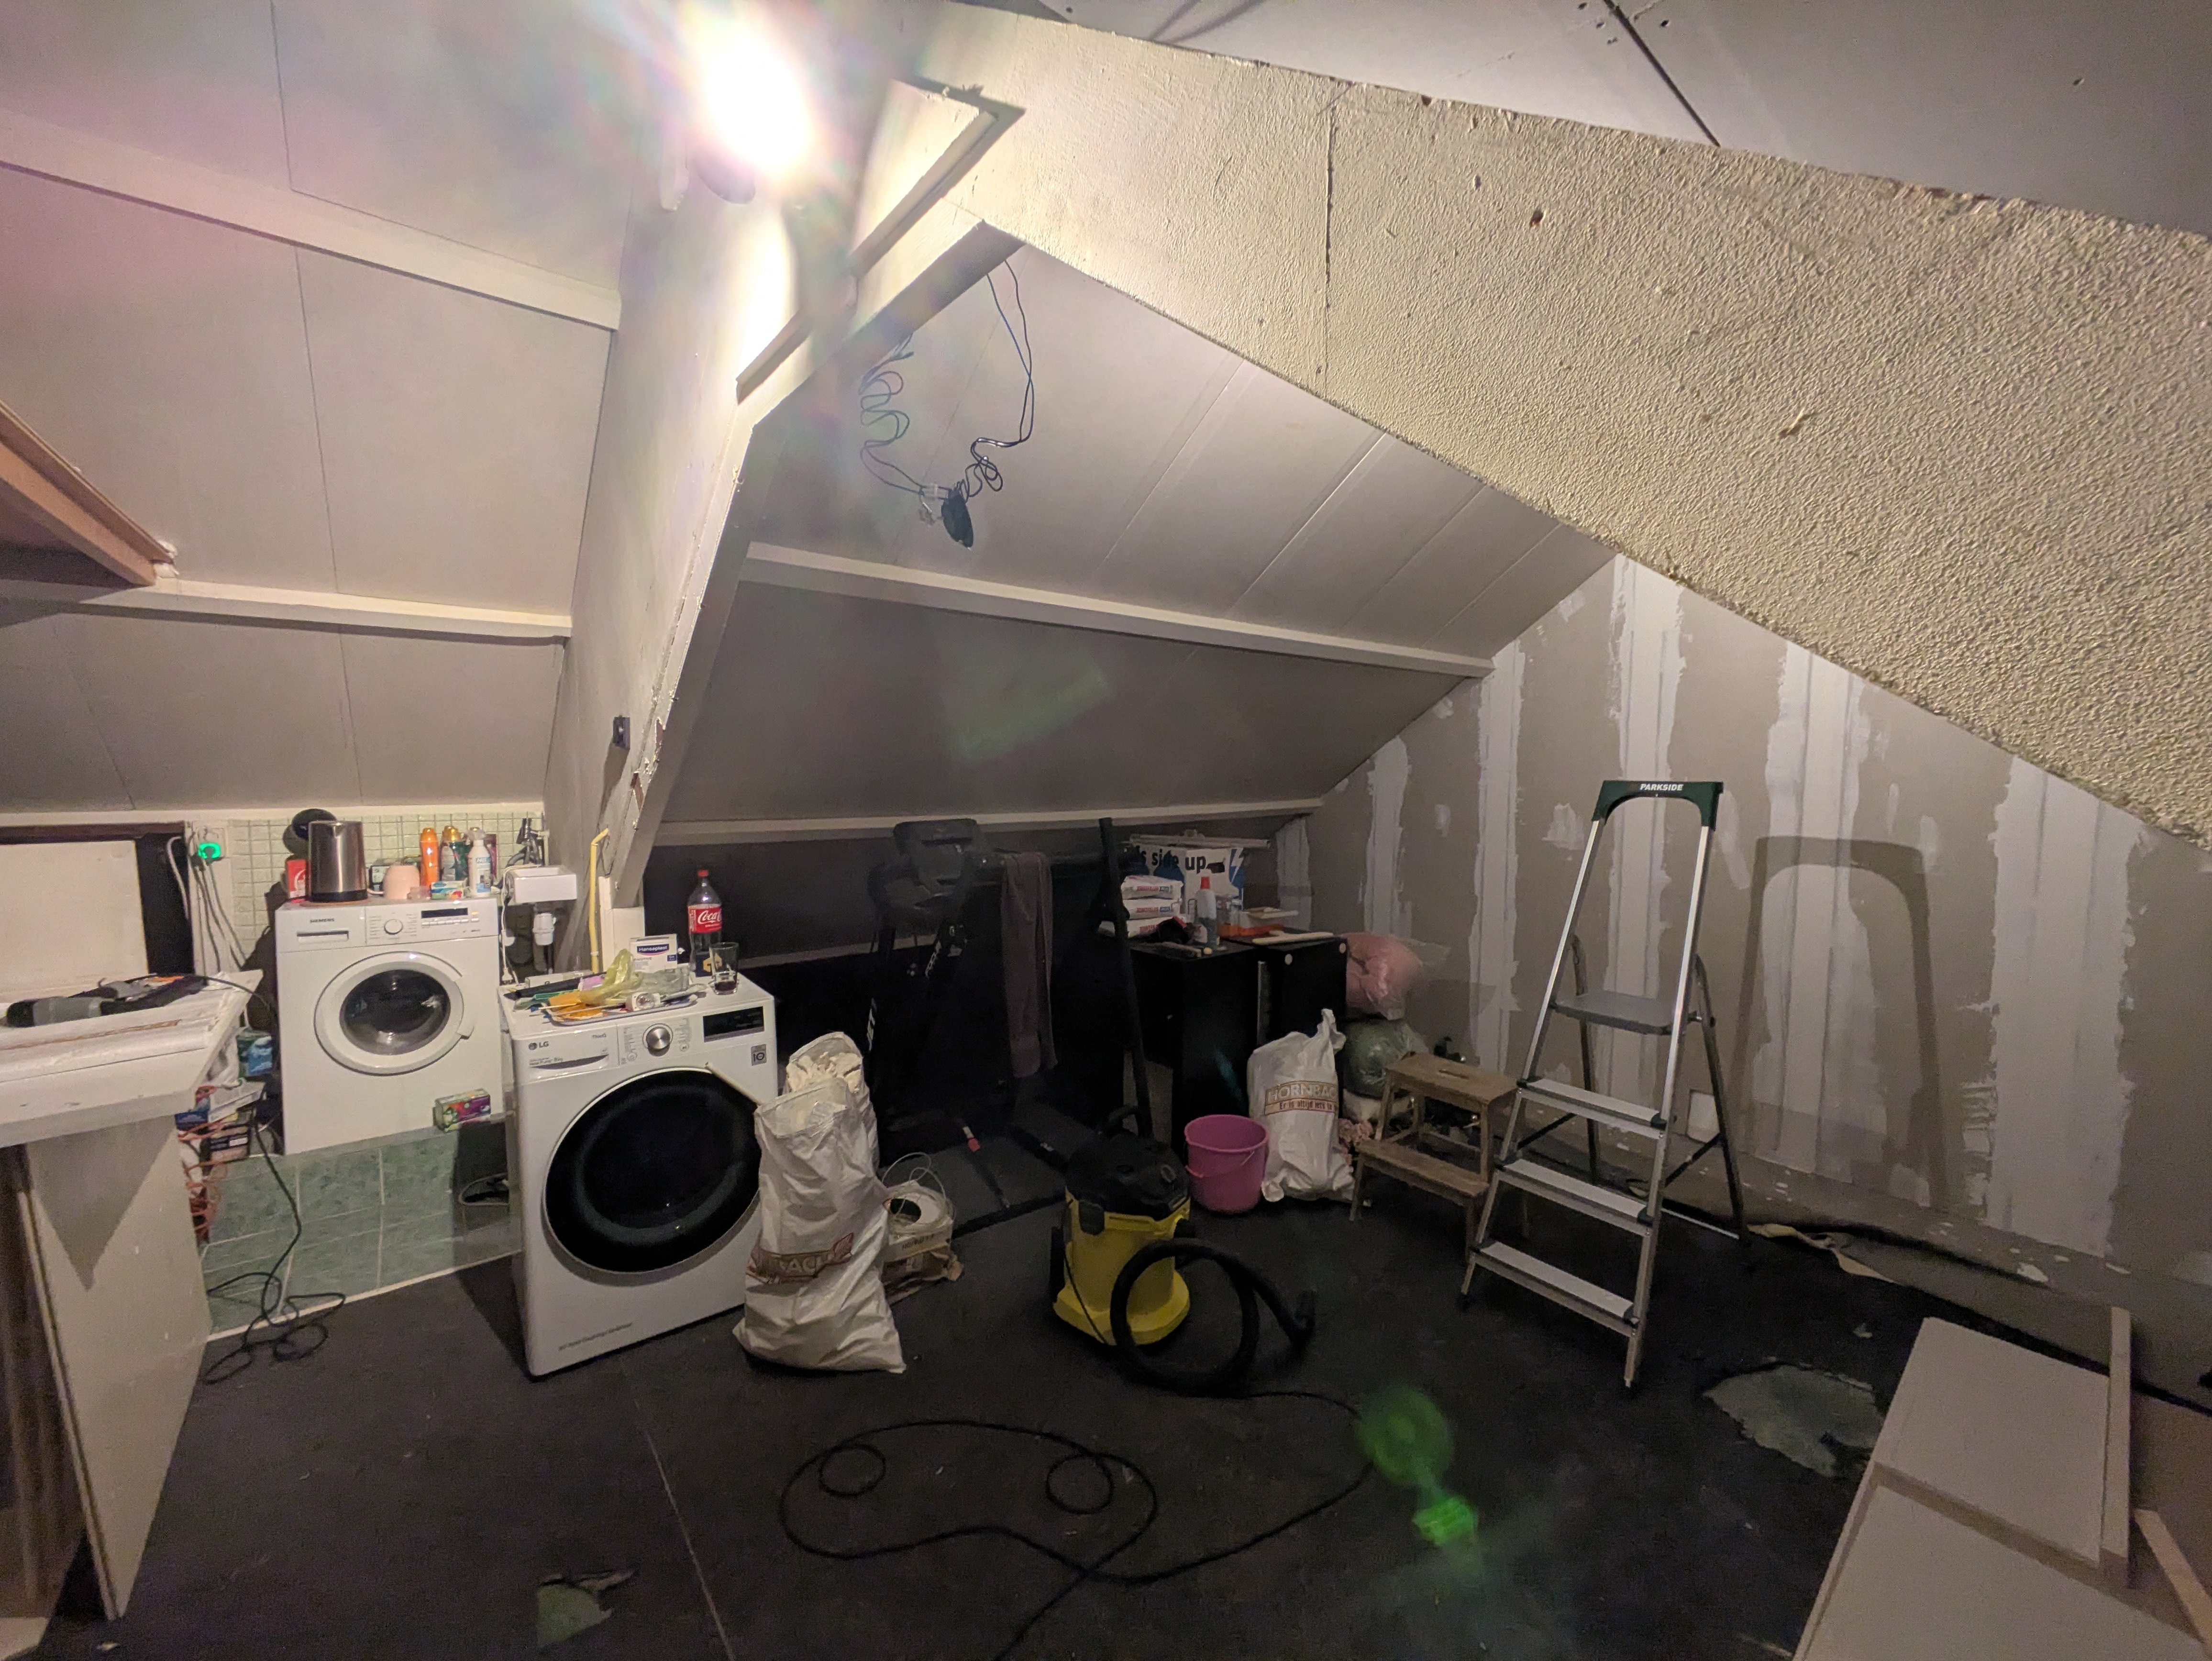
After Gijs created his own place in the shed, it was time to create a place for his lovely wife. Up until now, the attic had mainly served as storage space and a laundry area, but in the future this space should become a true woman cave. First, the attic had to be cleared out.
After the attic was emptied, Gijs and his helpers carefully dismantled the existing interior.
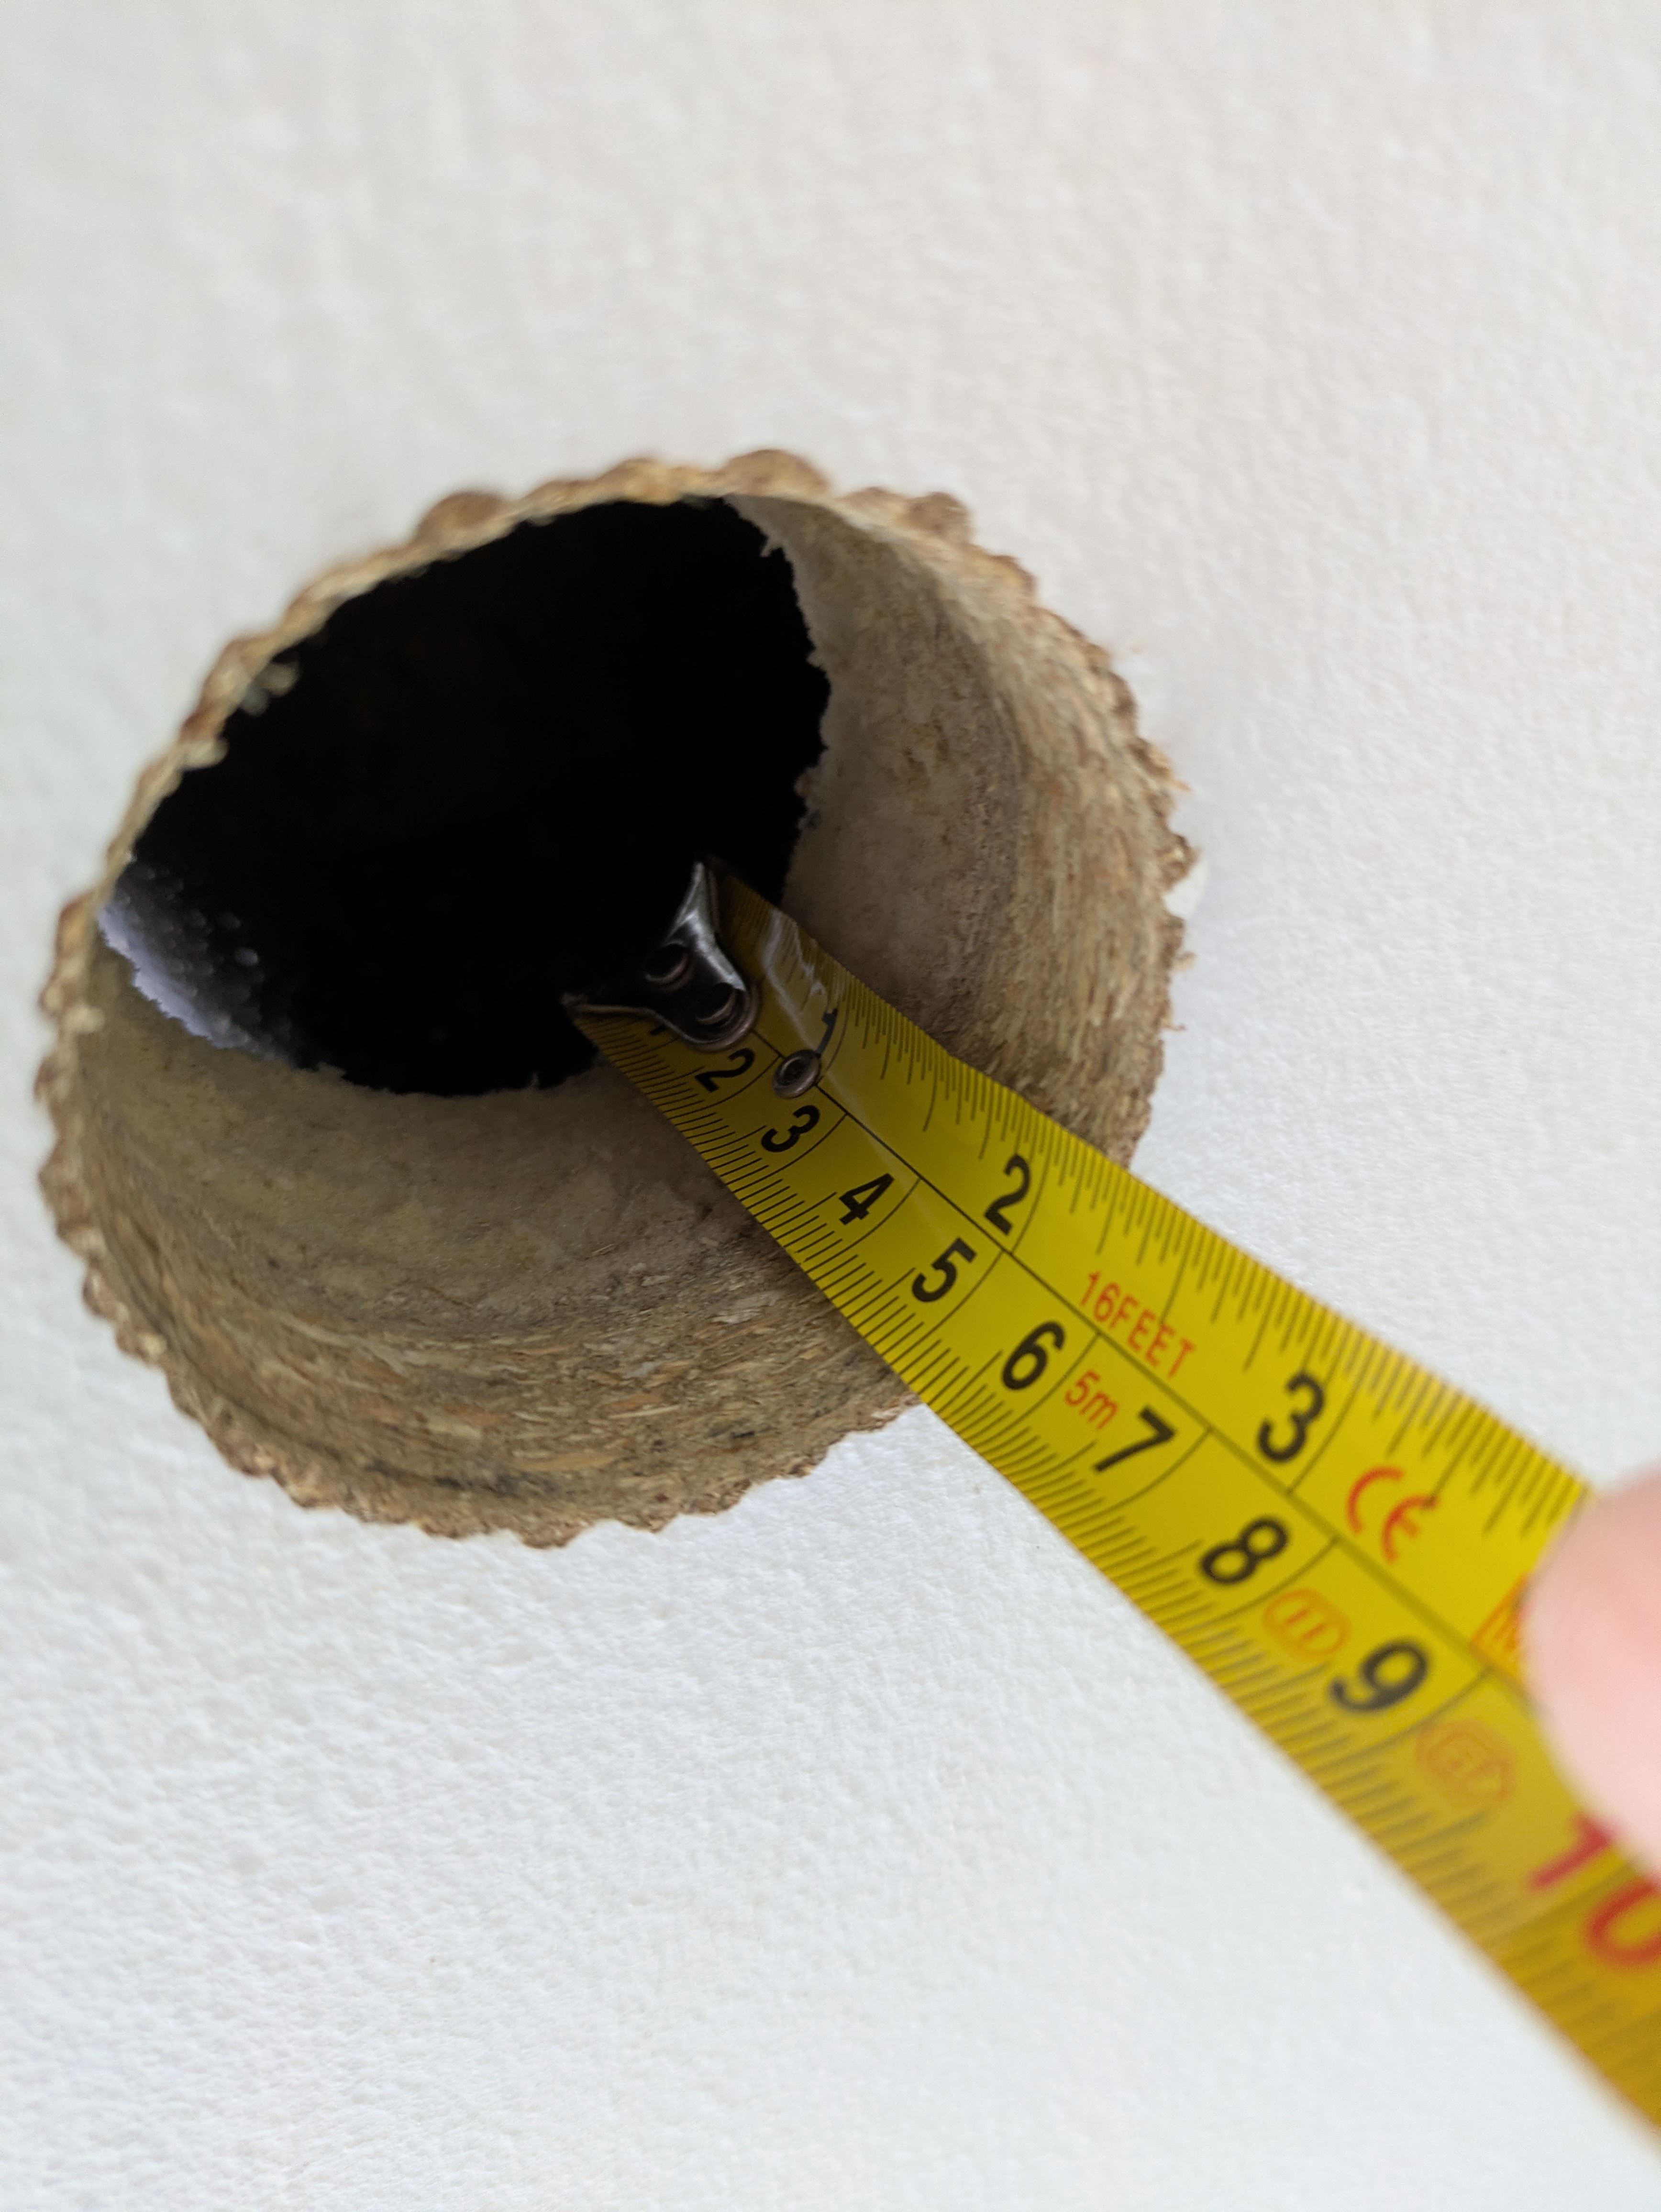
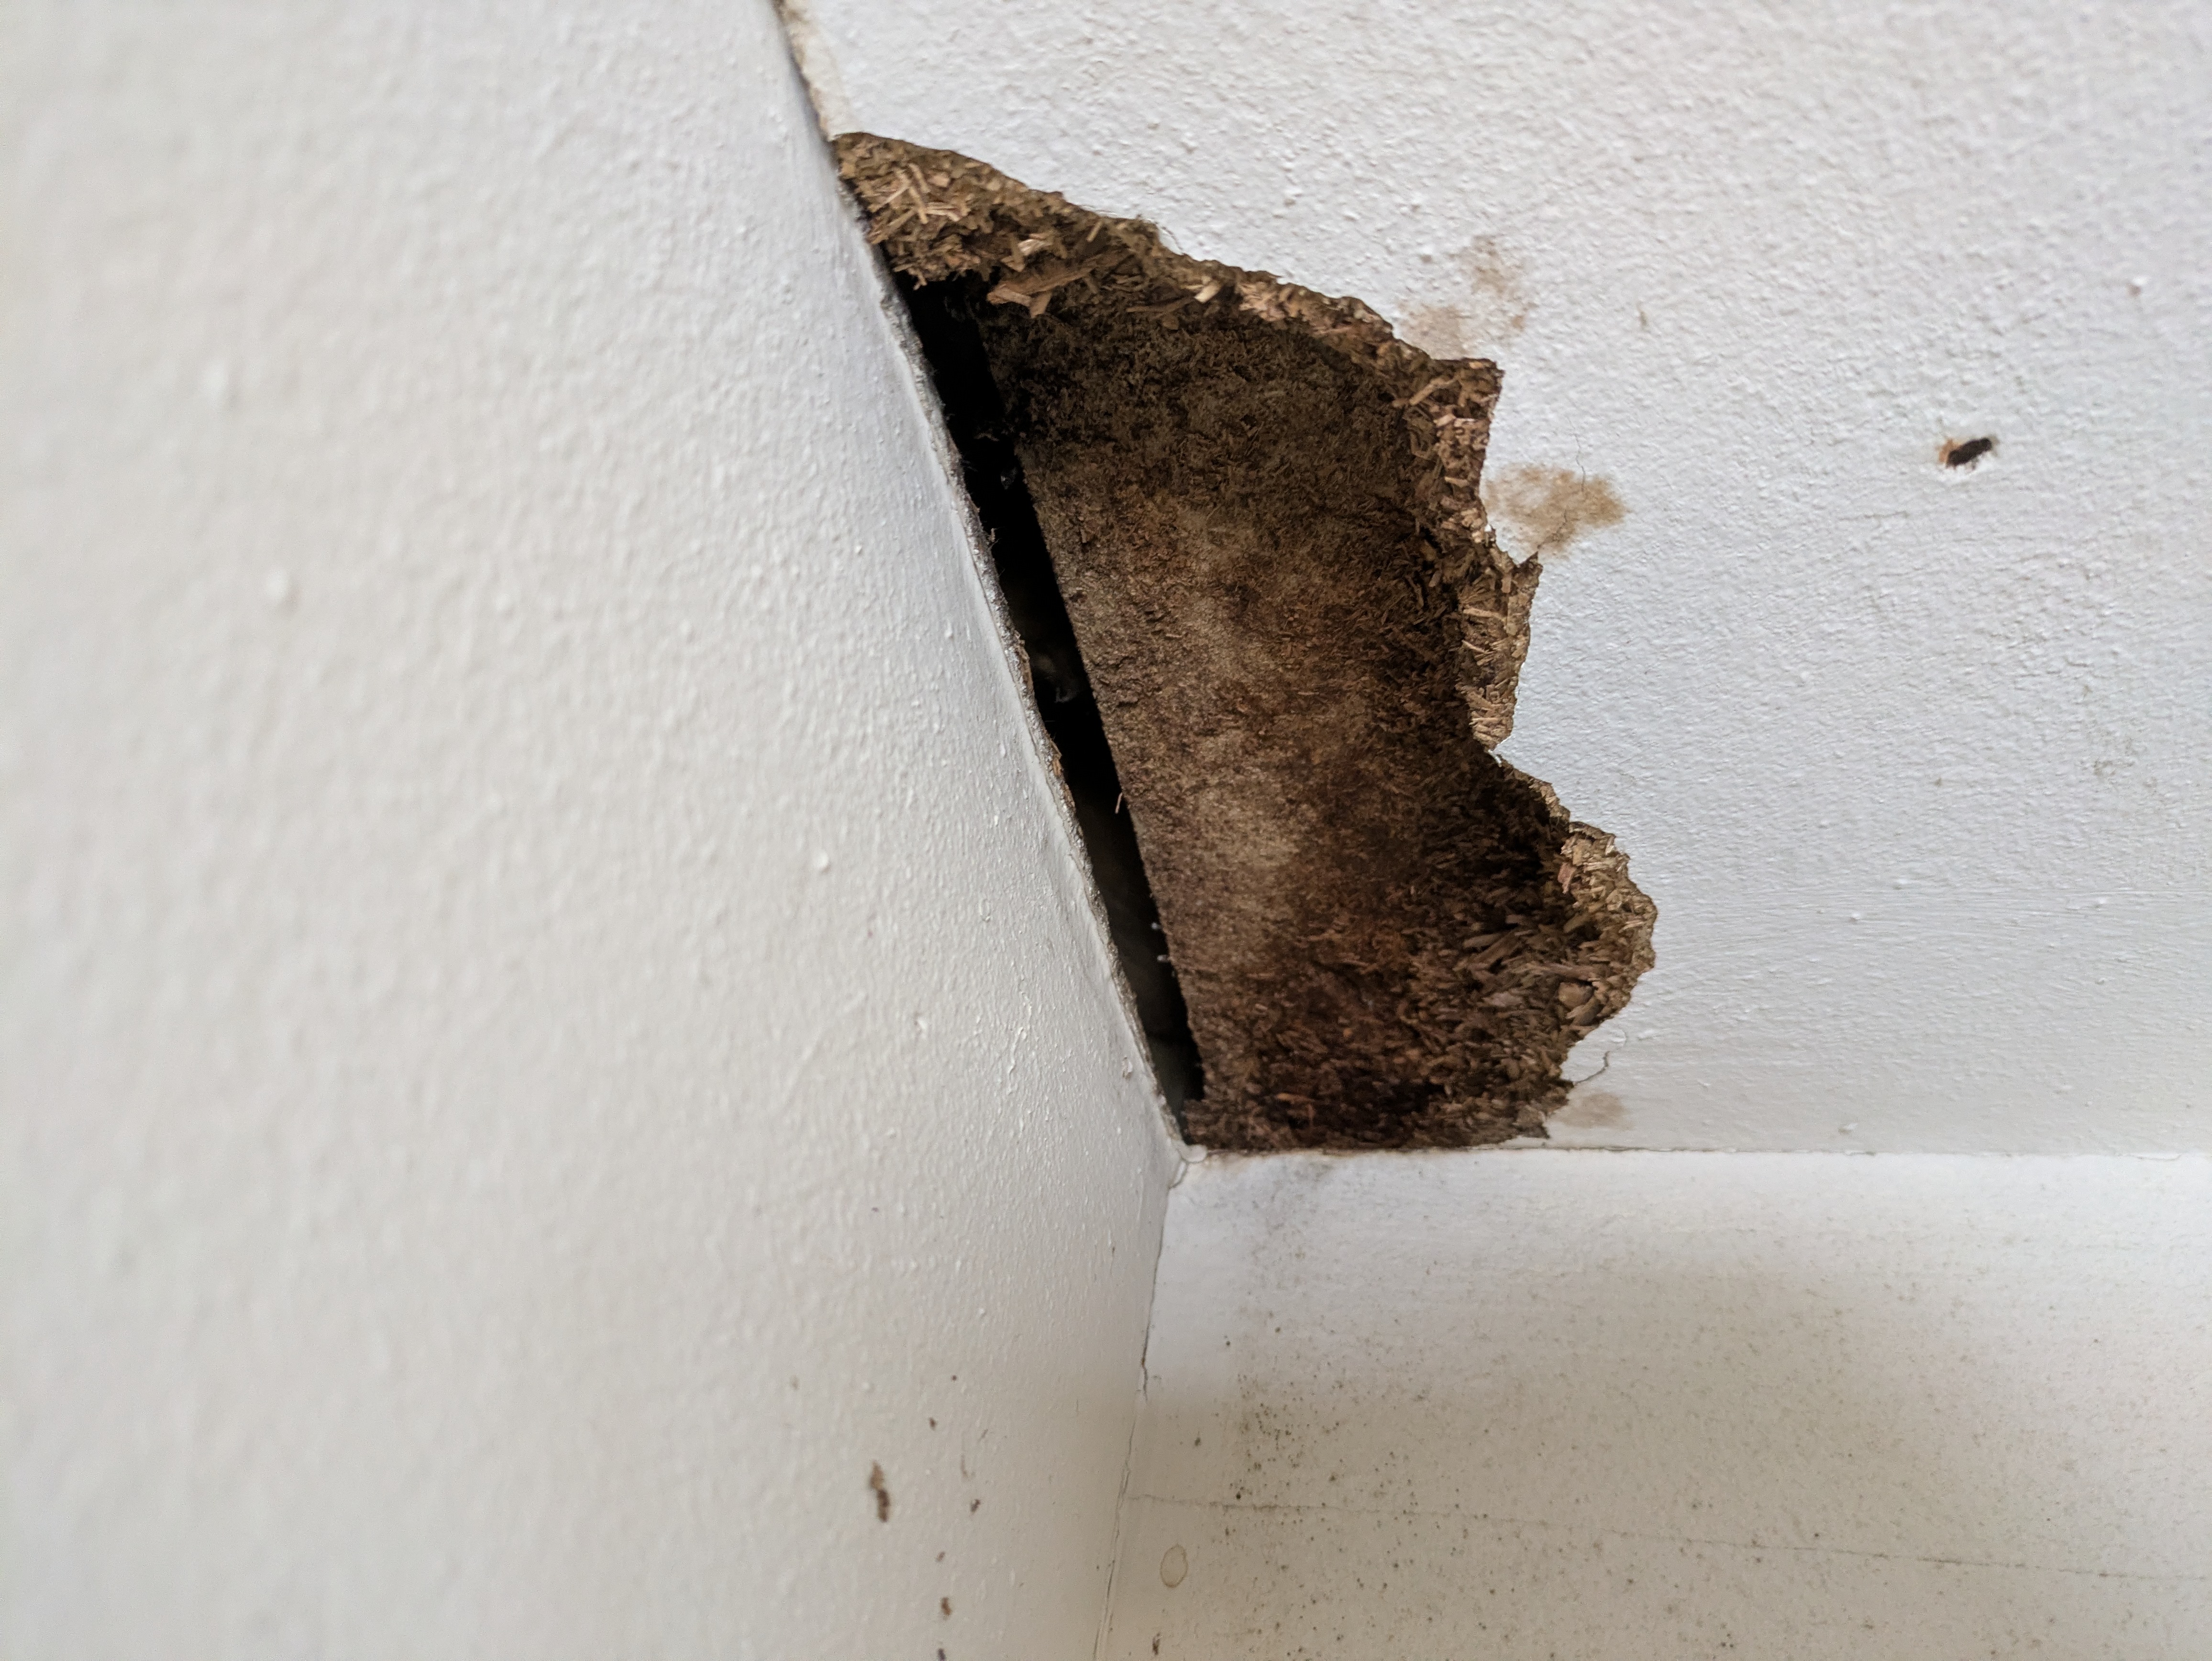
One of the big questions was: how well is the roof insulated?
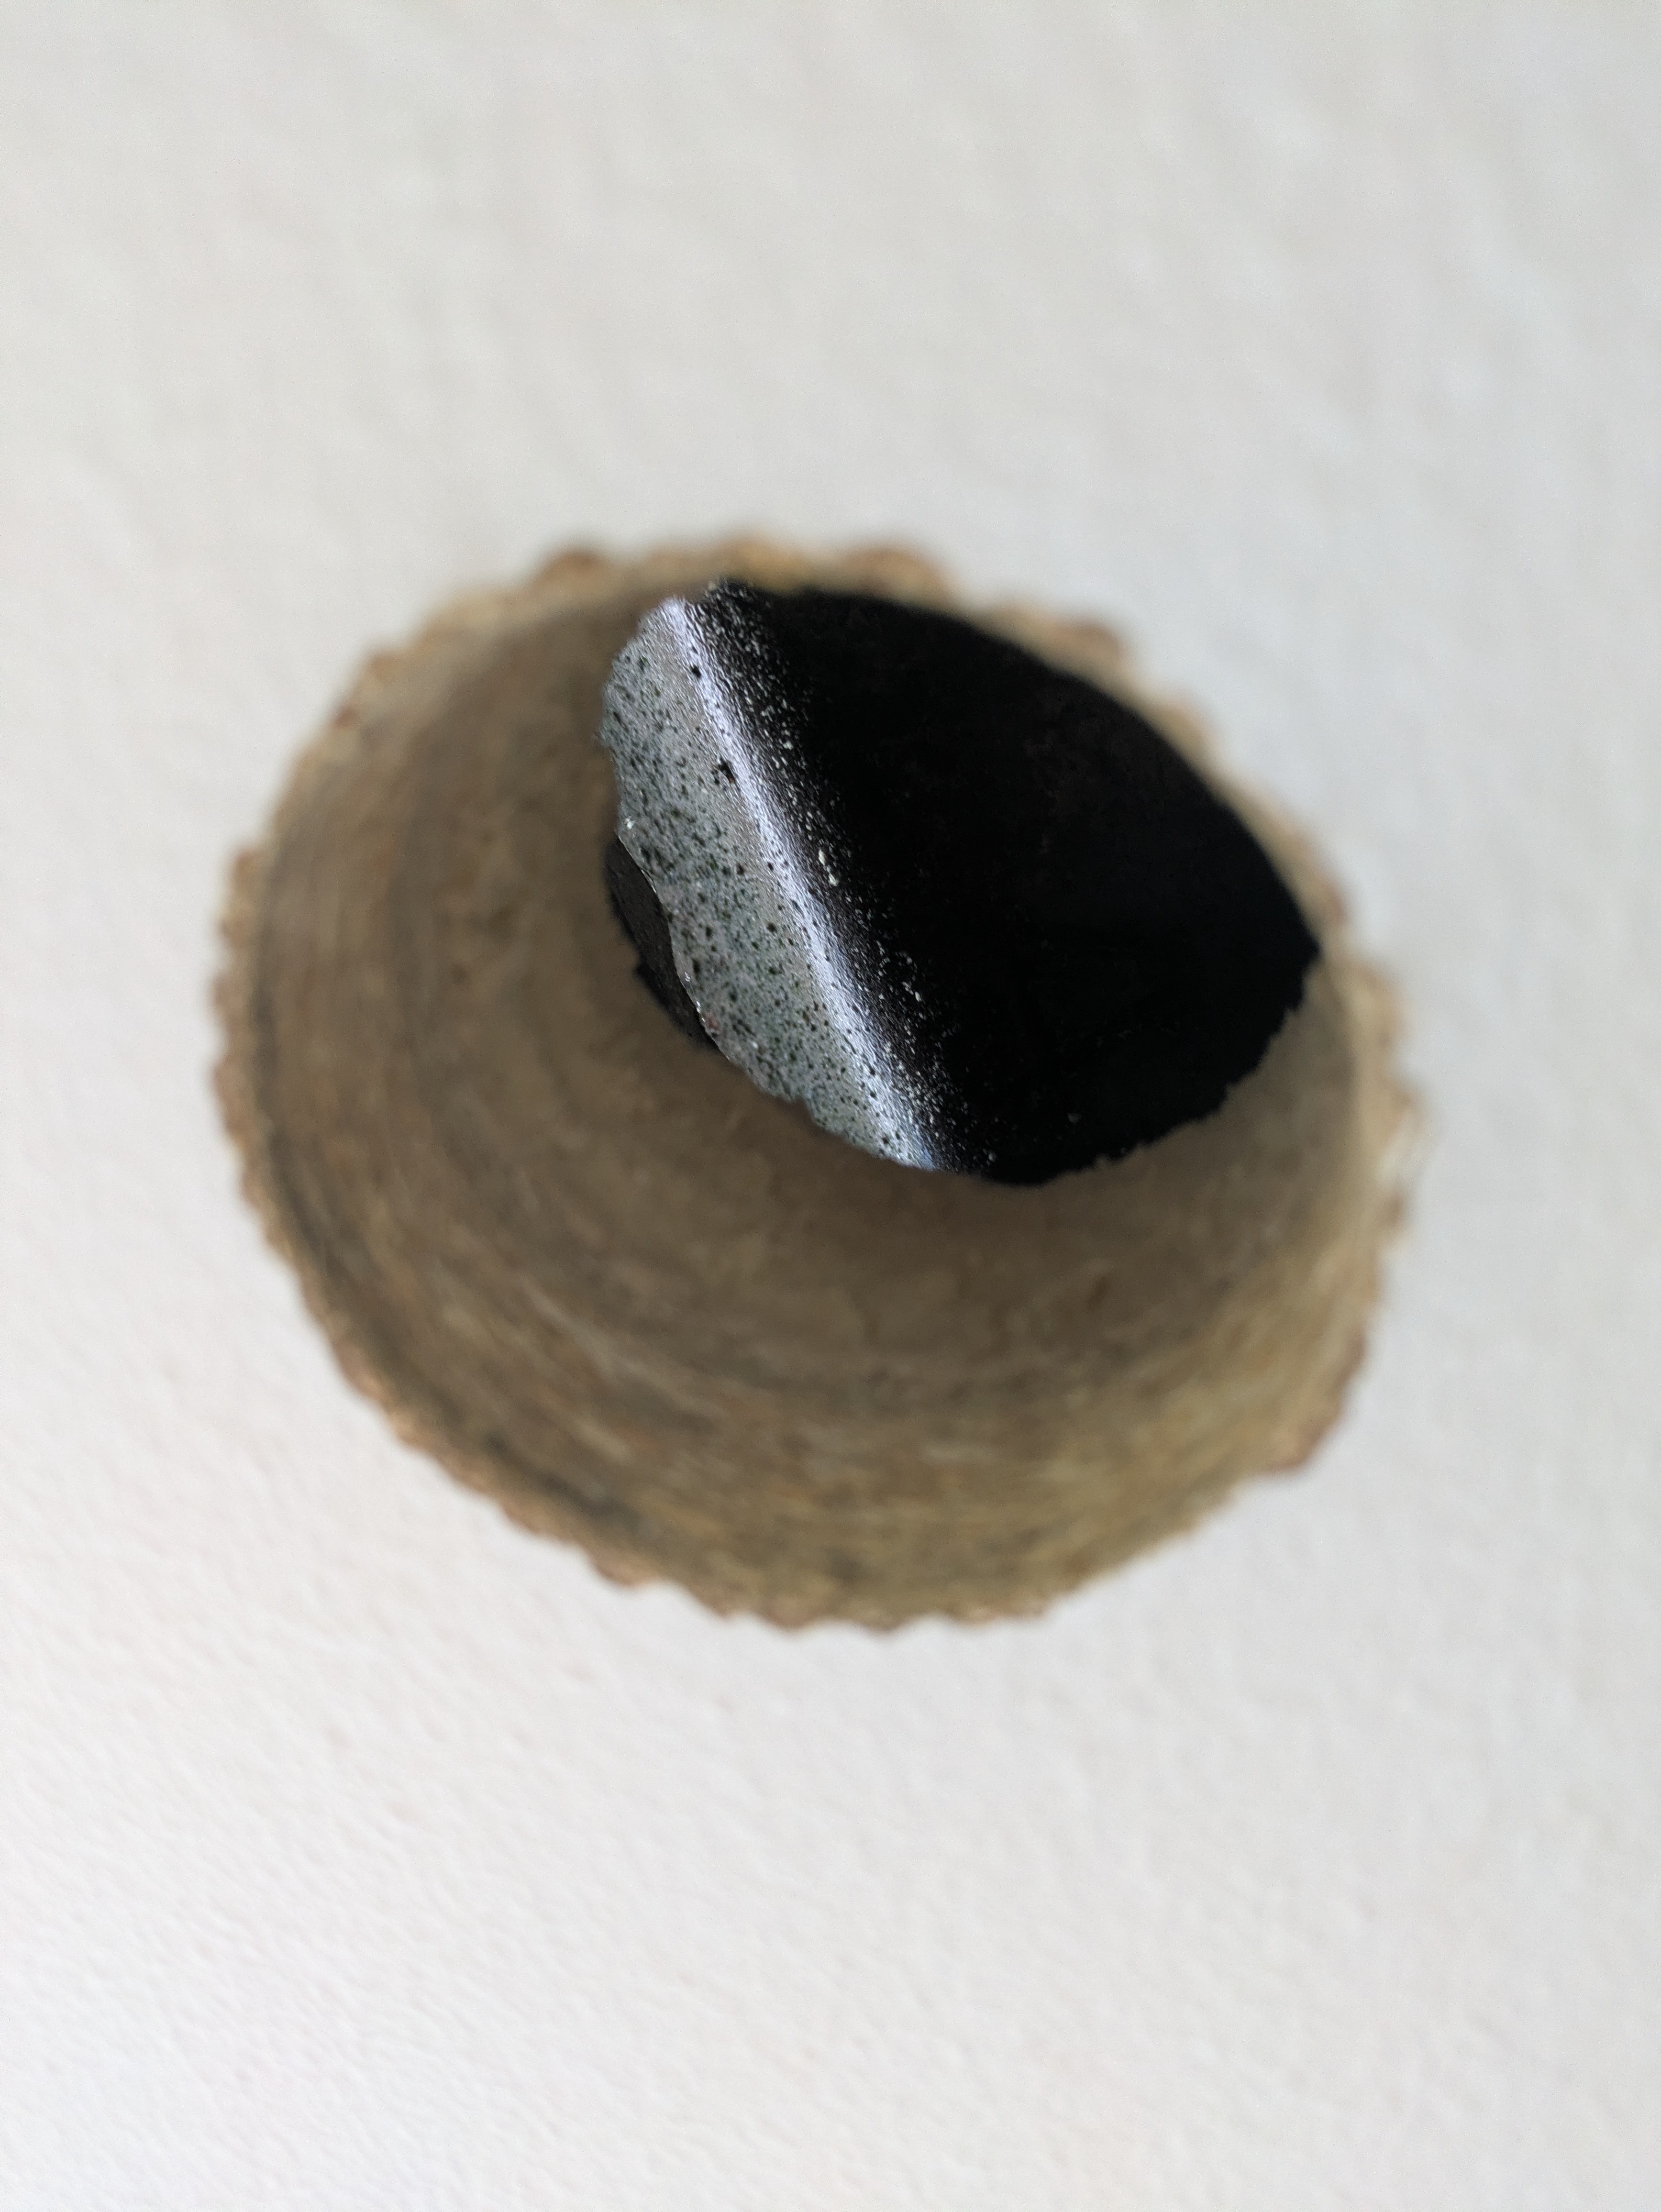
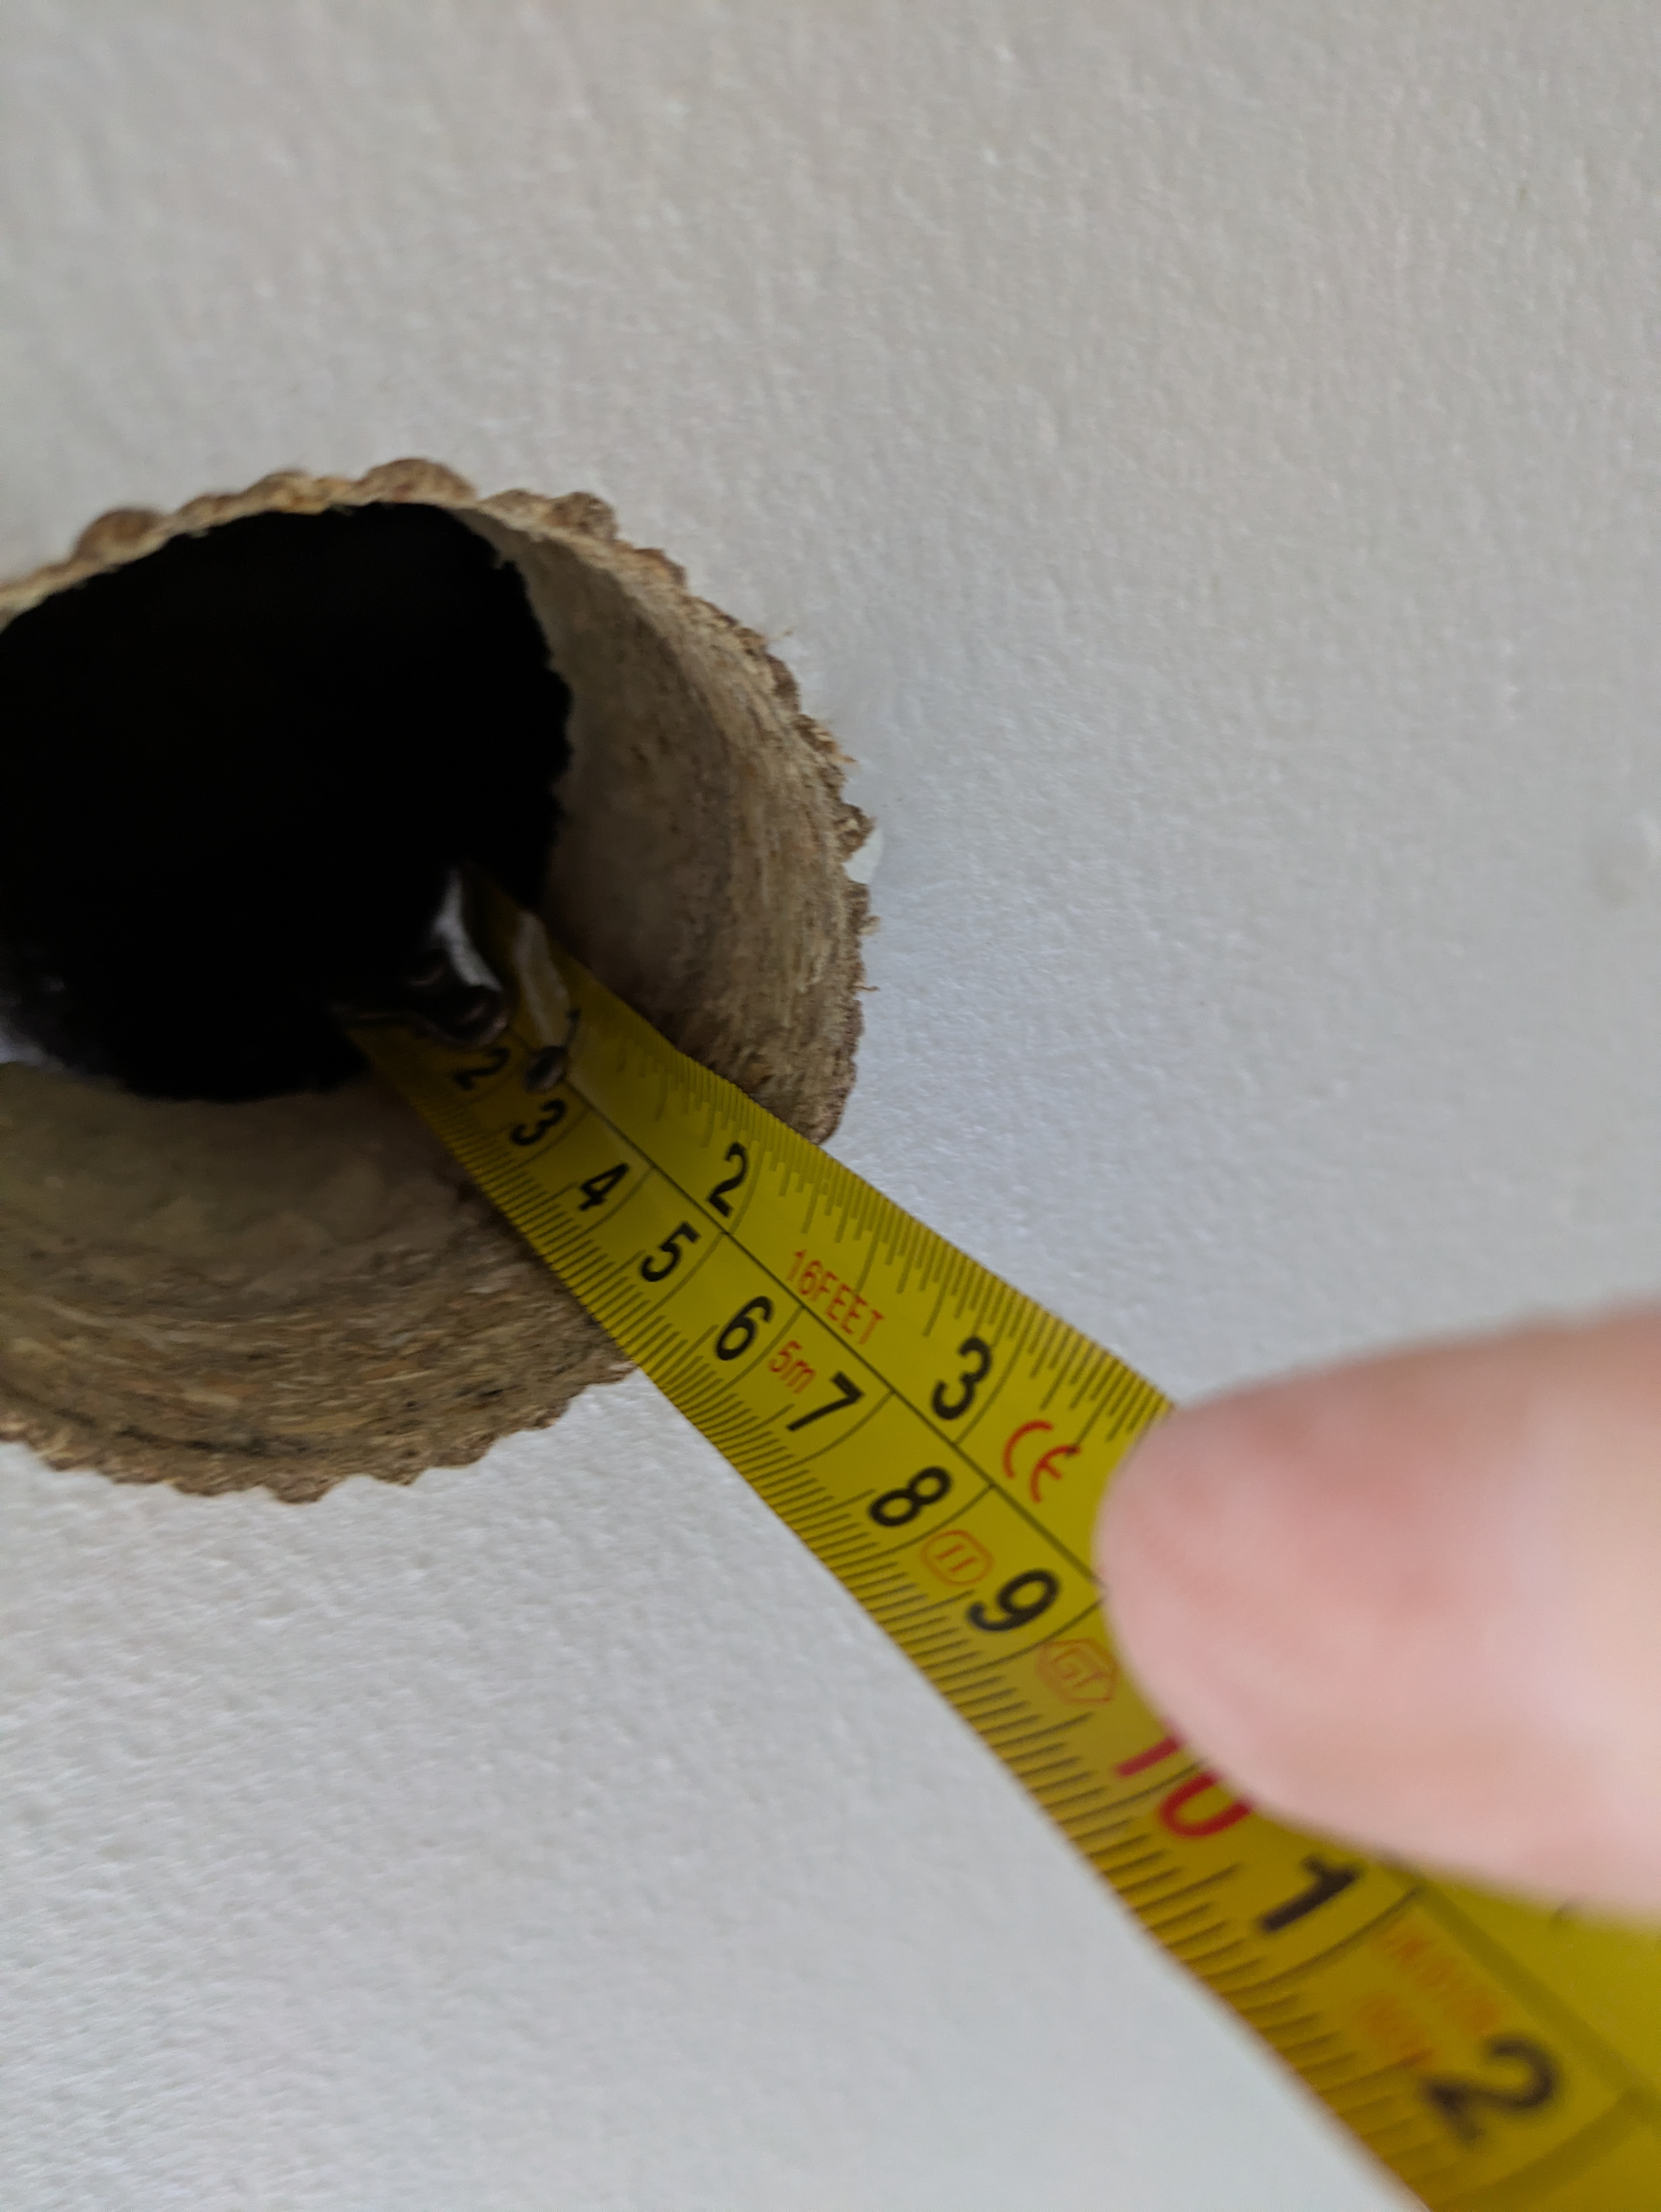
Because a large hole would eventually be cut into the roof, Gijs first drilled a small inspection hole in the ceiling to check the thickness of the existing insulation. Unfortunately, it turned out to be only a thin PUR board. In the 1980s, when the house was built, this was considered sufficient, but it is far below today’s standards.
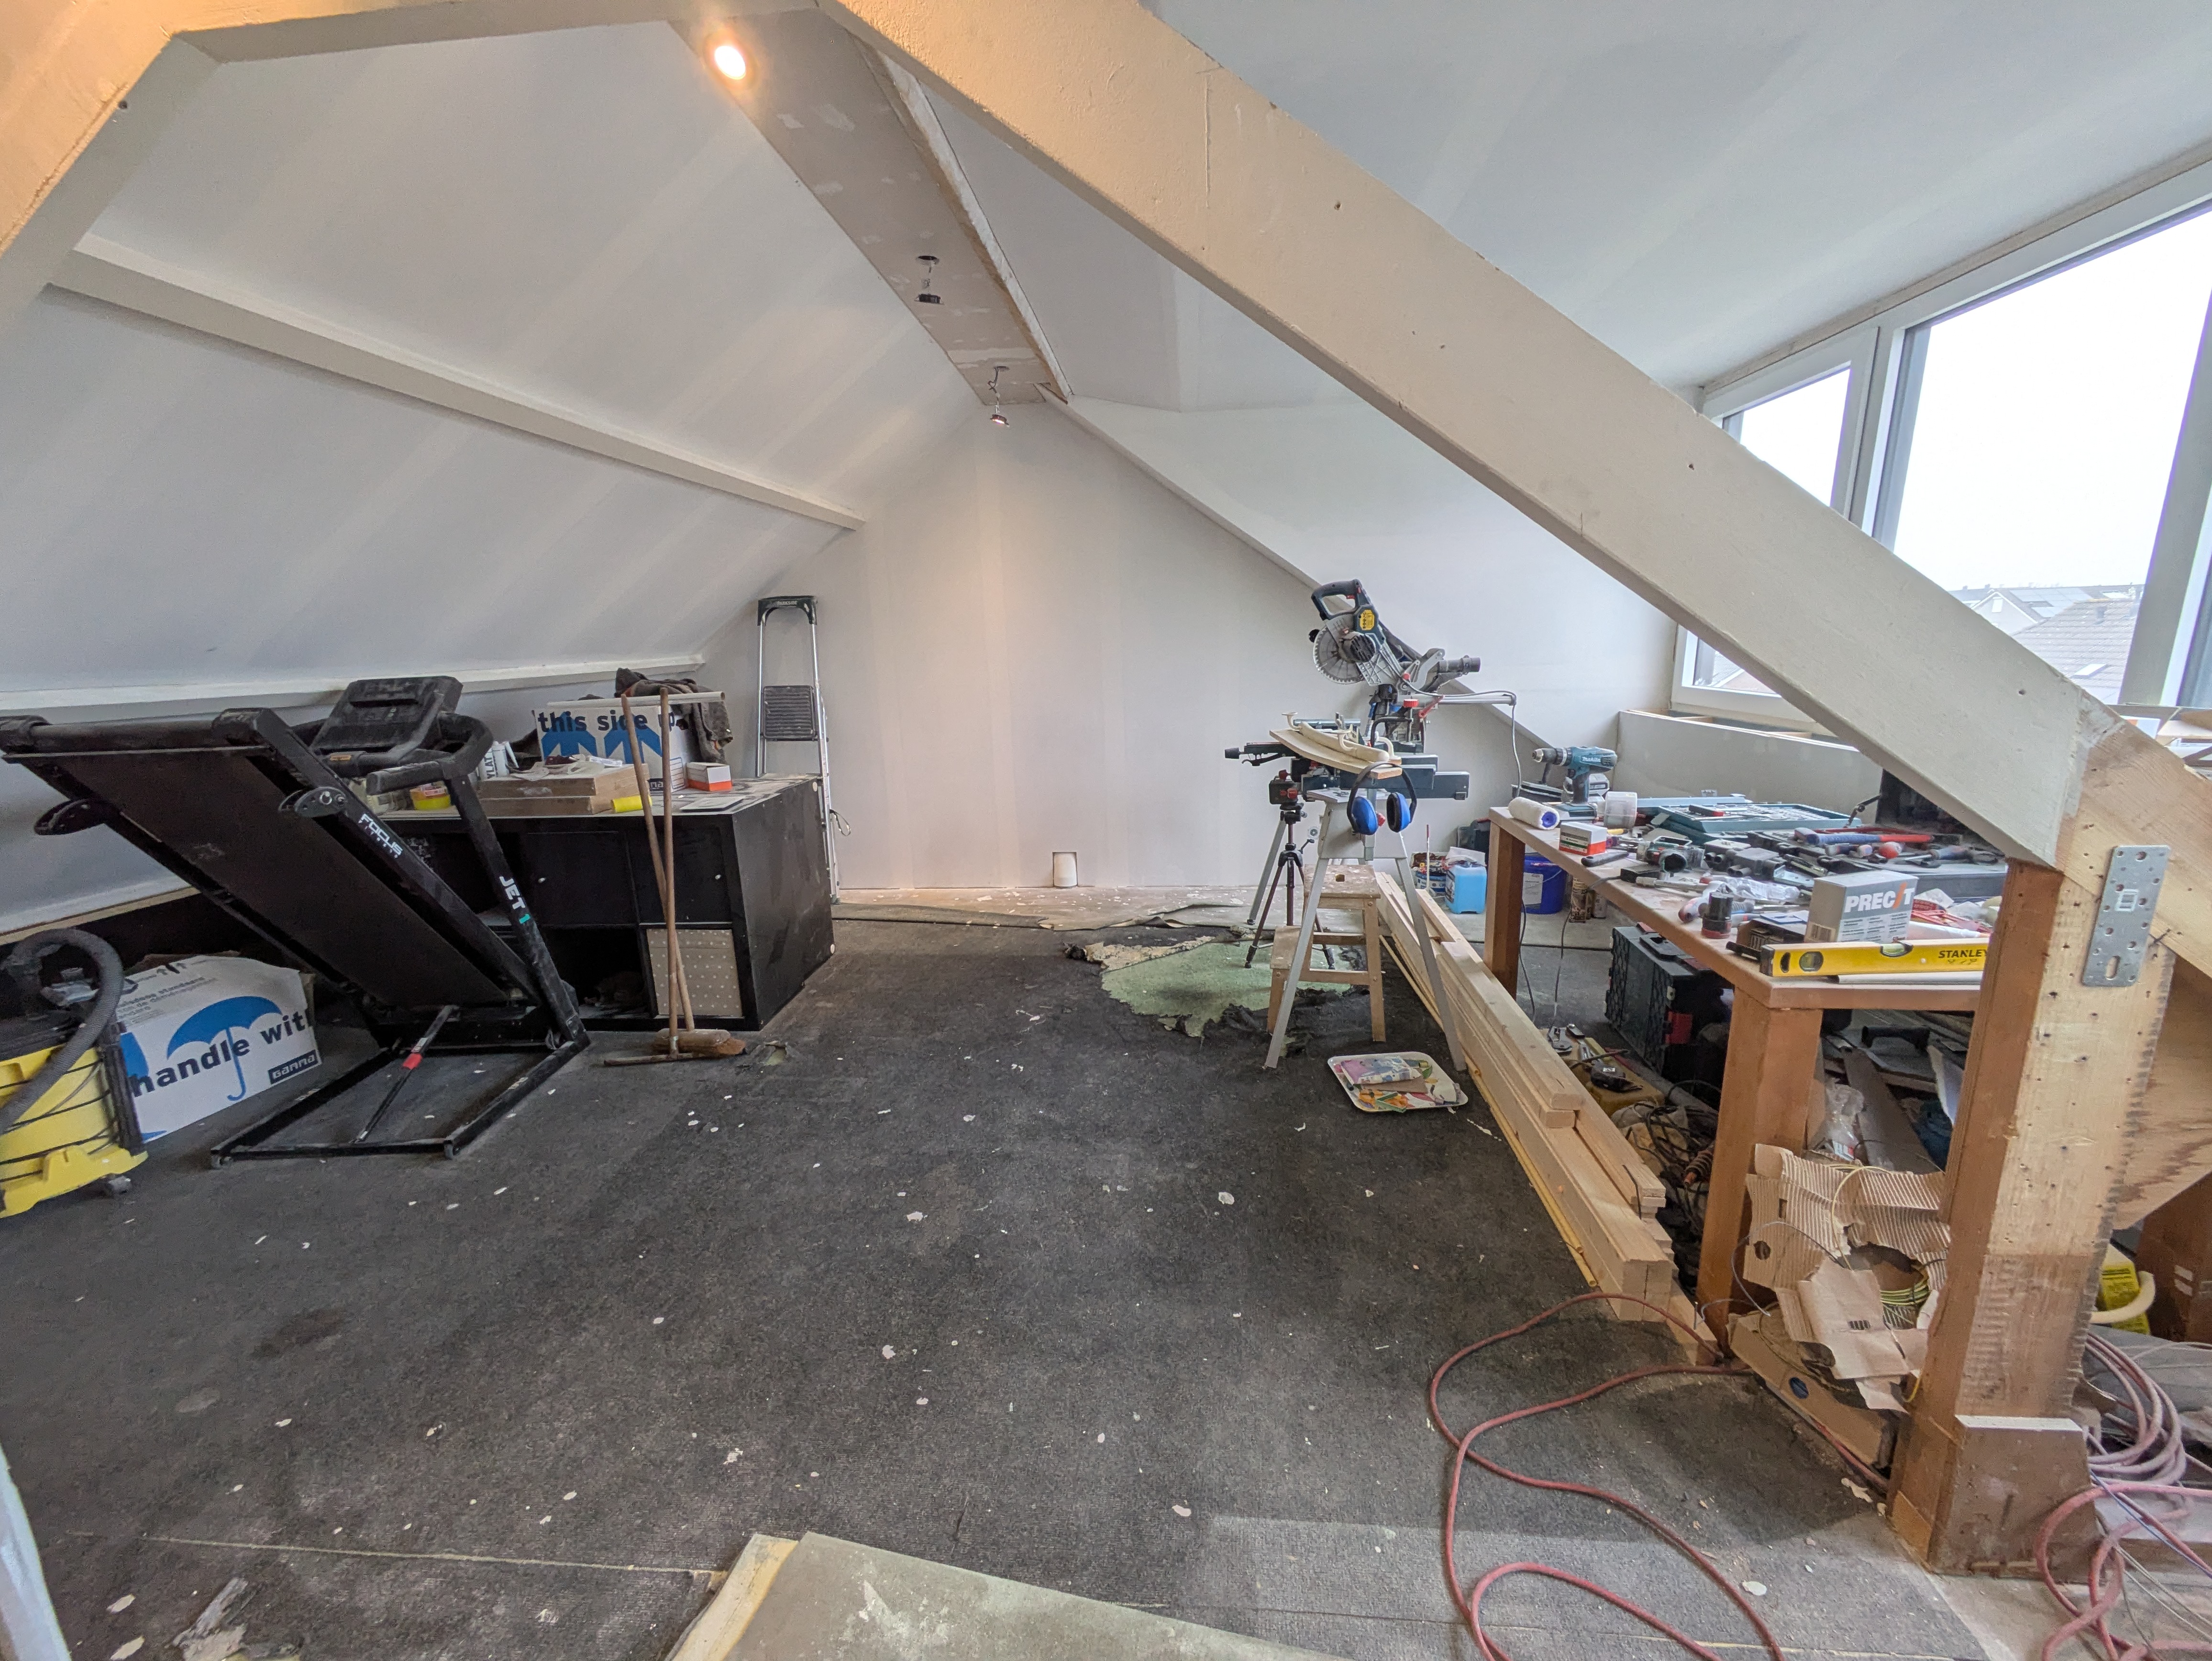
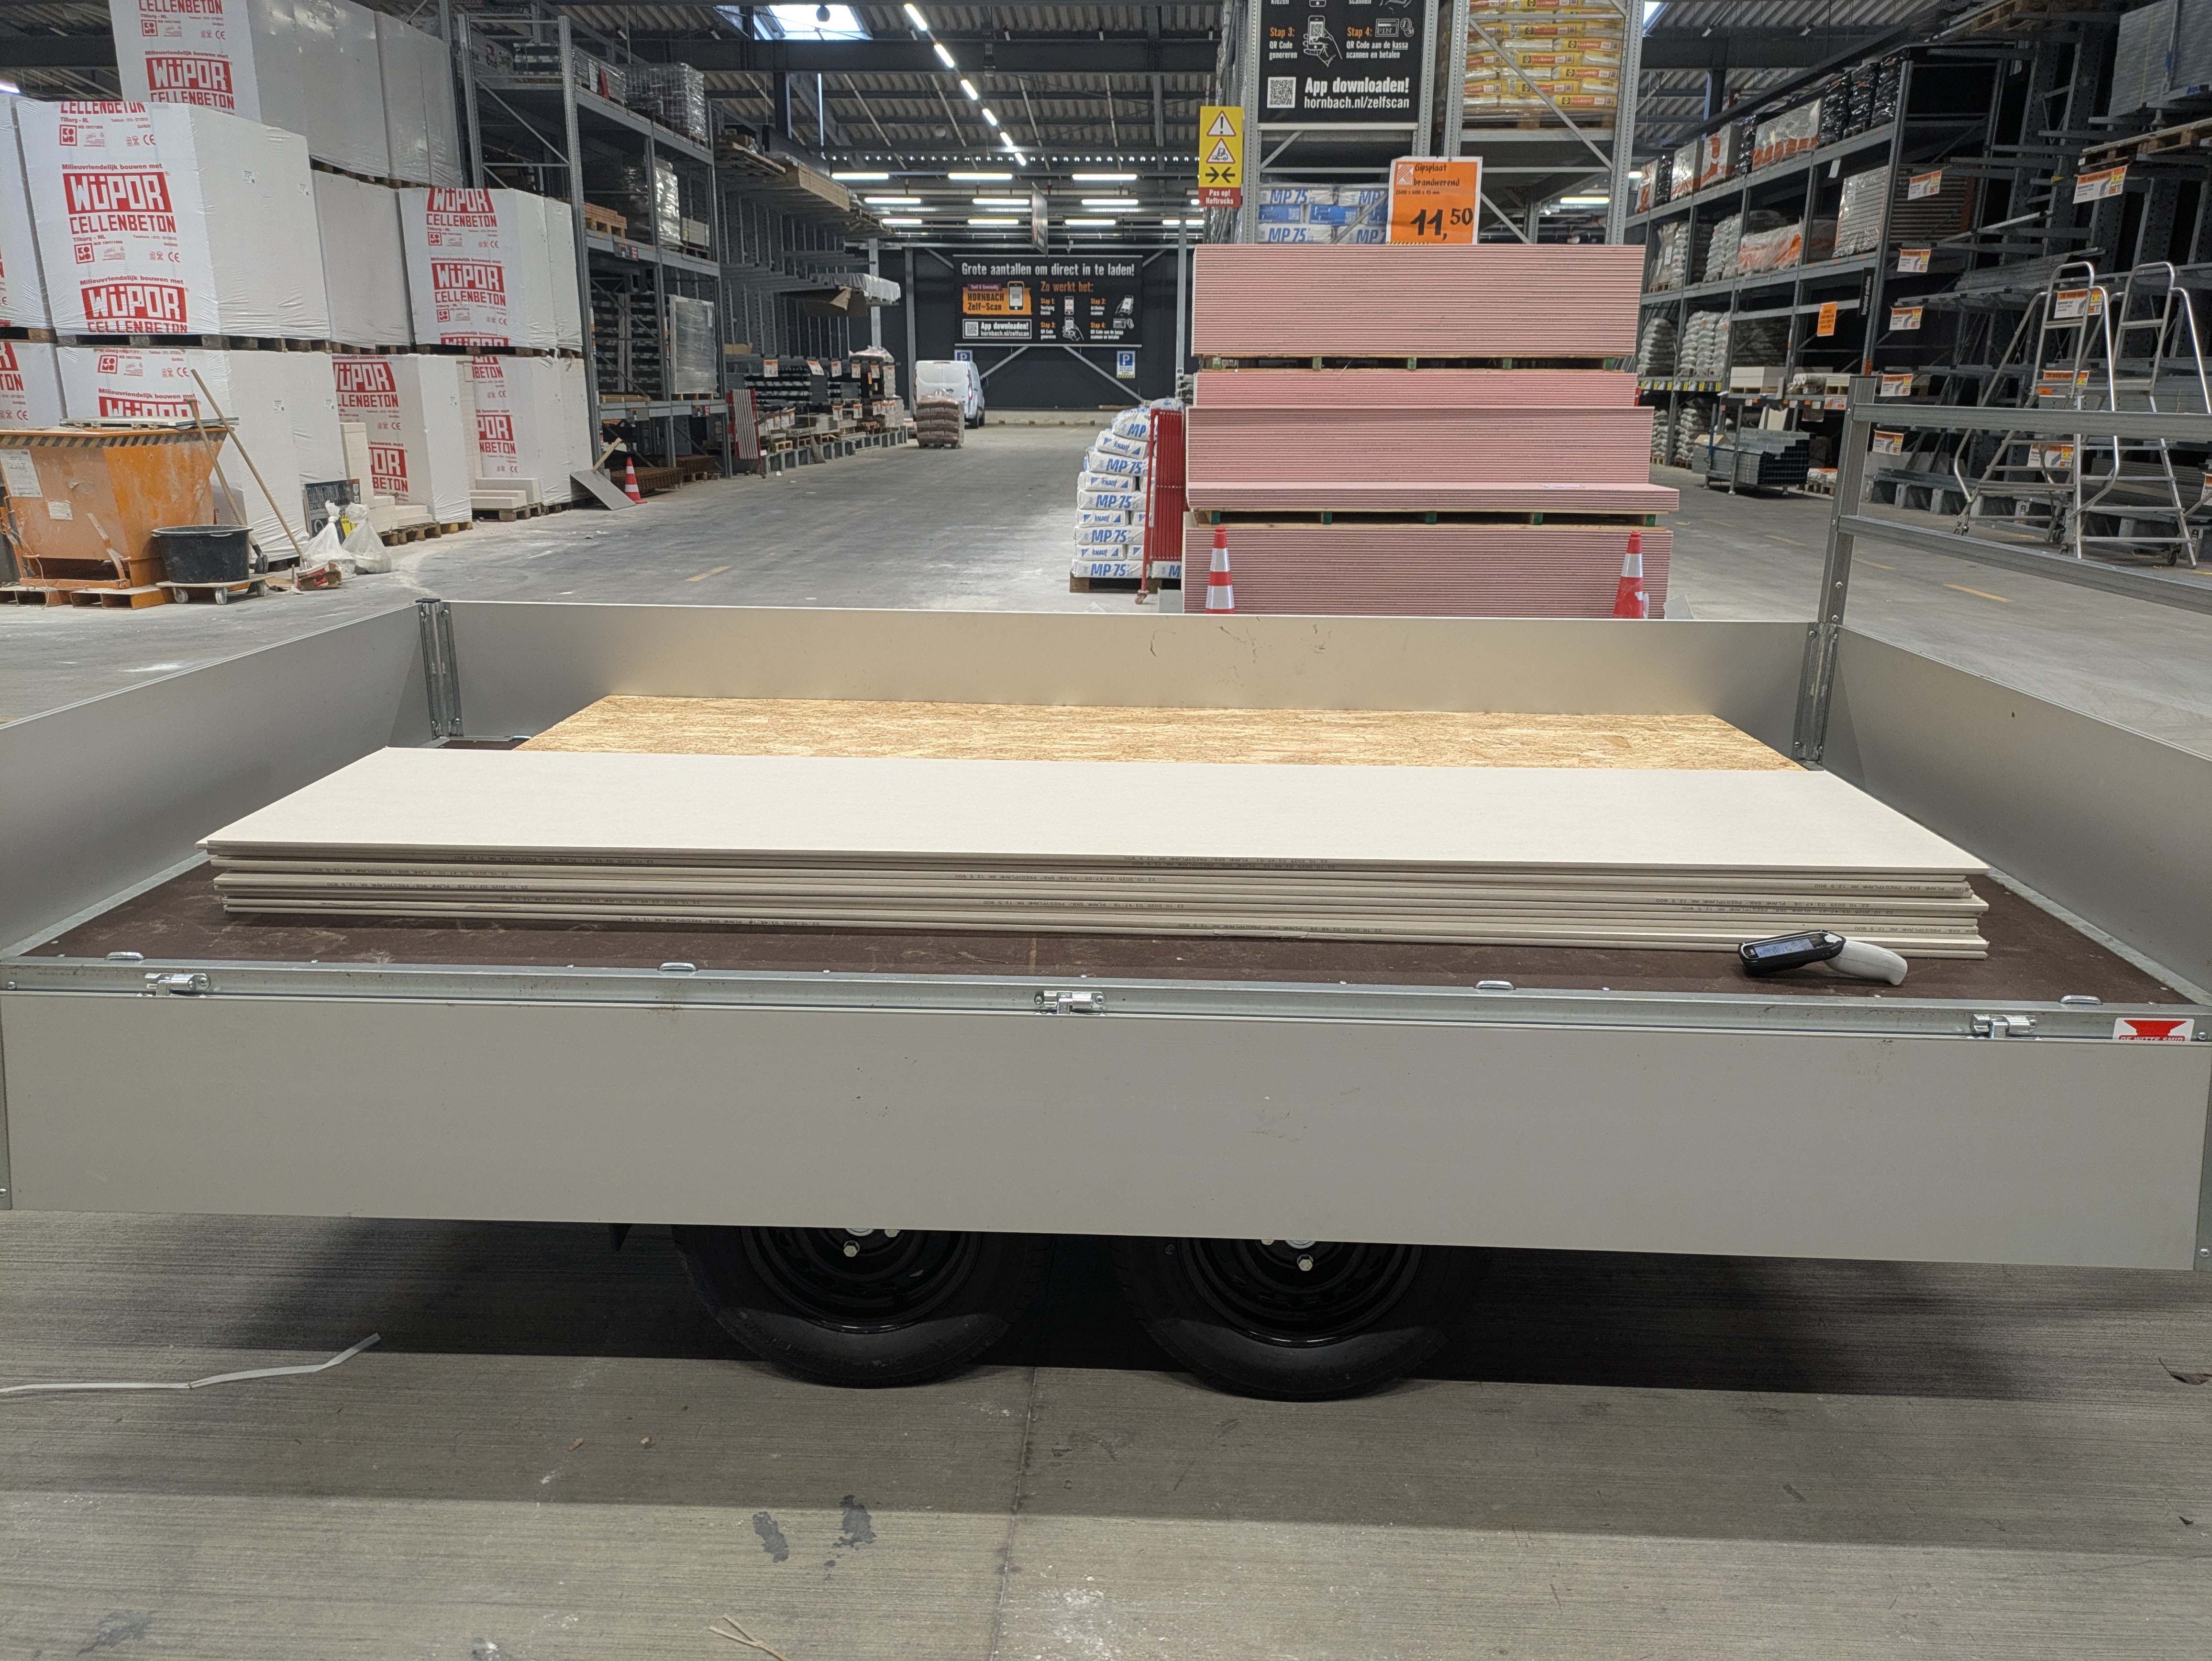
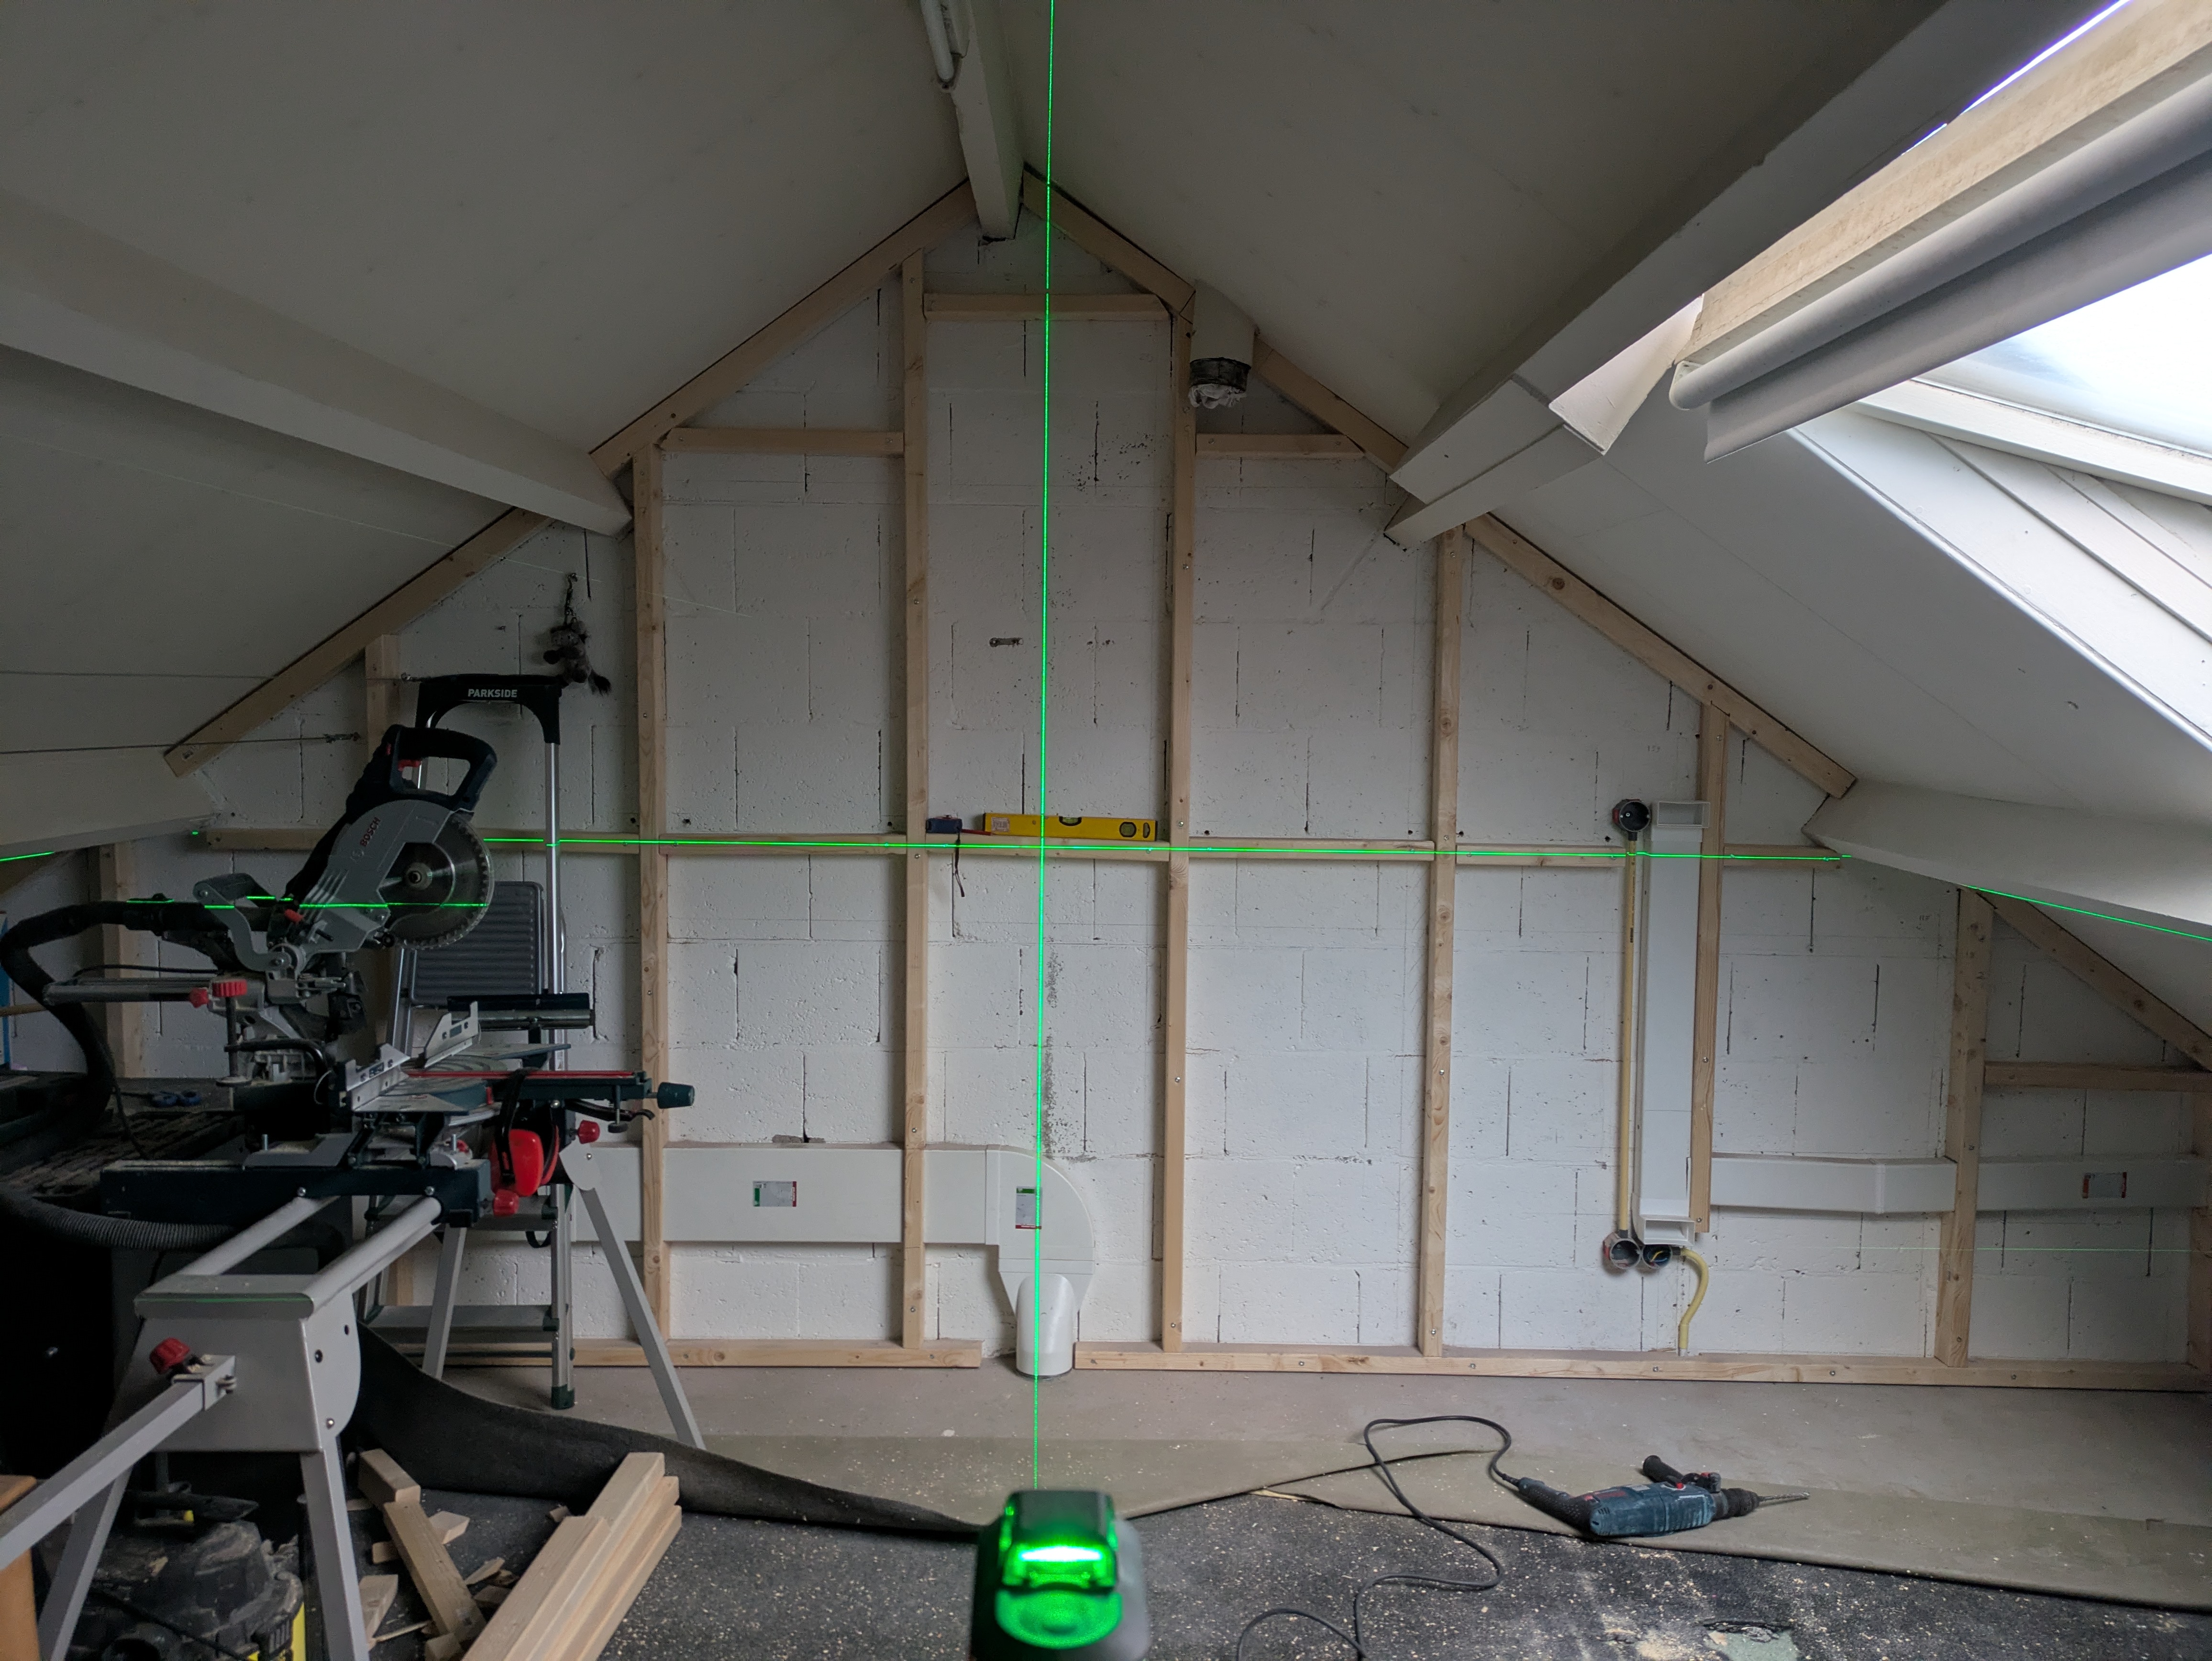
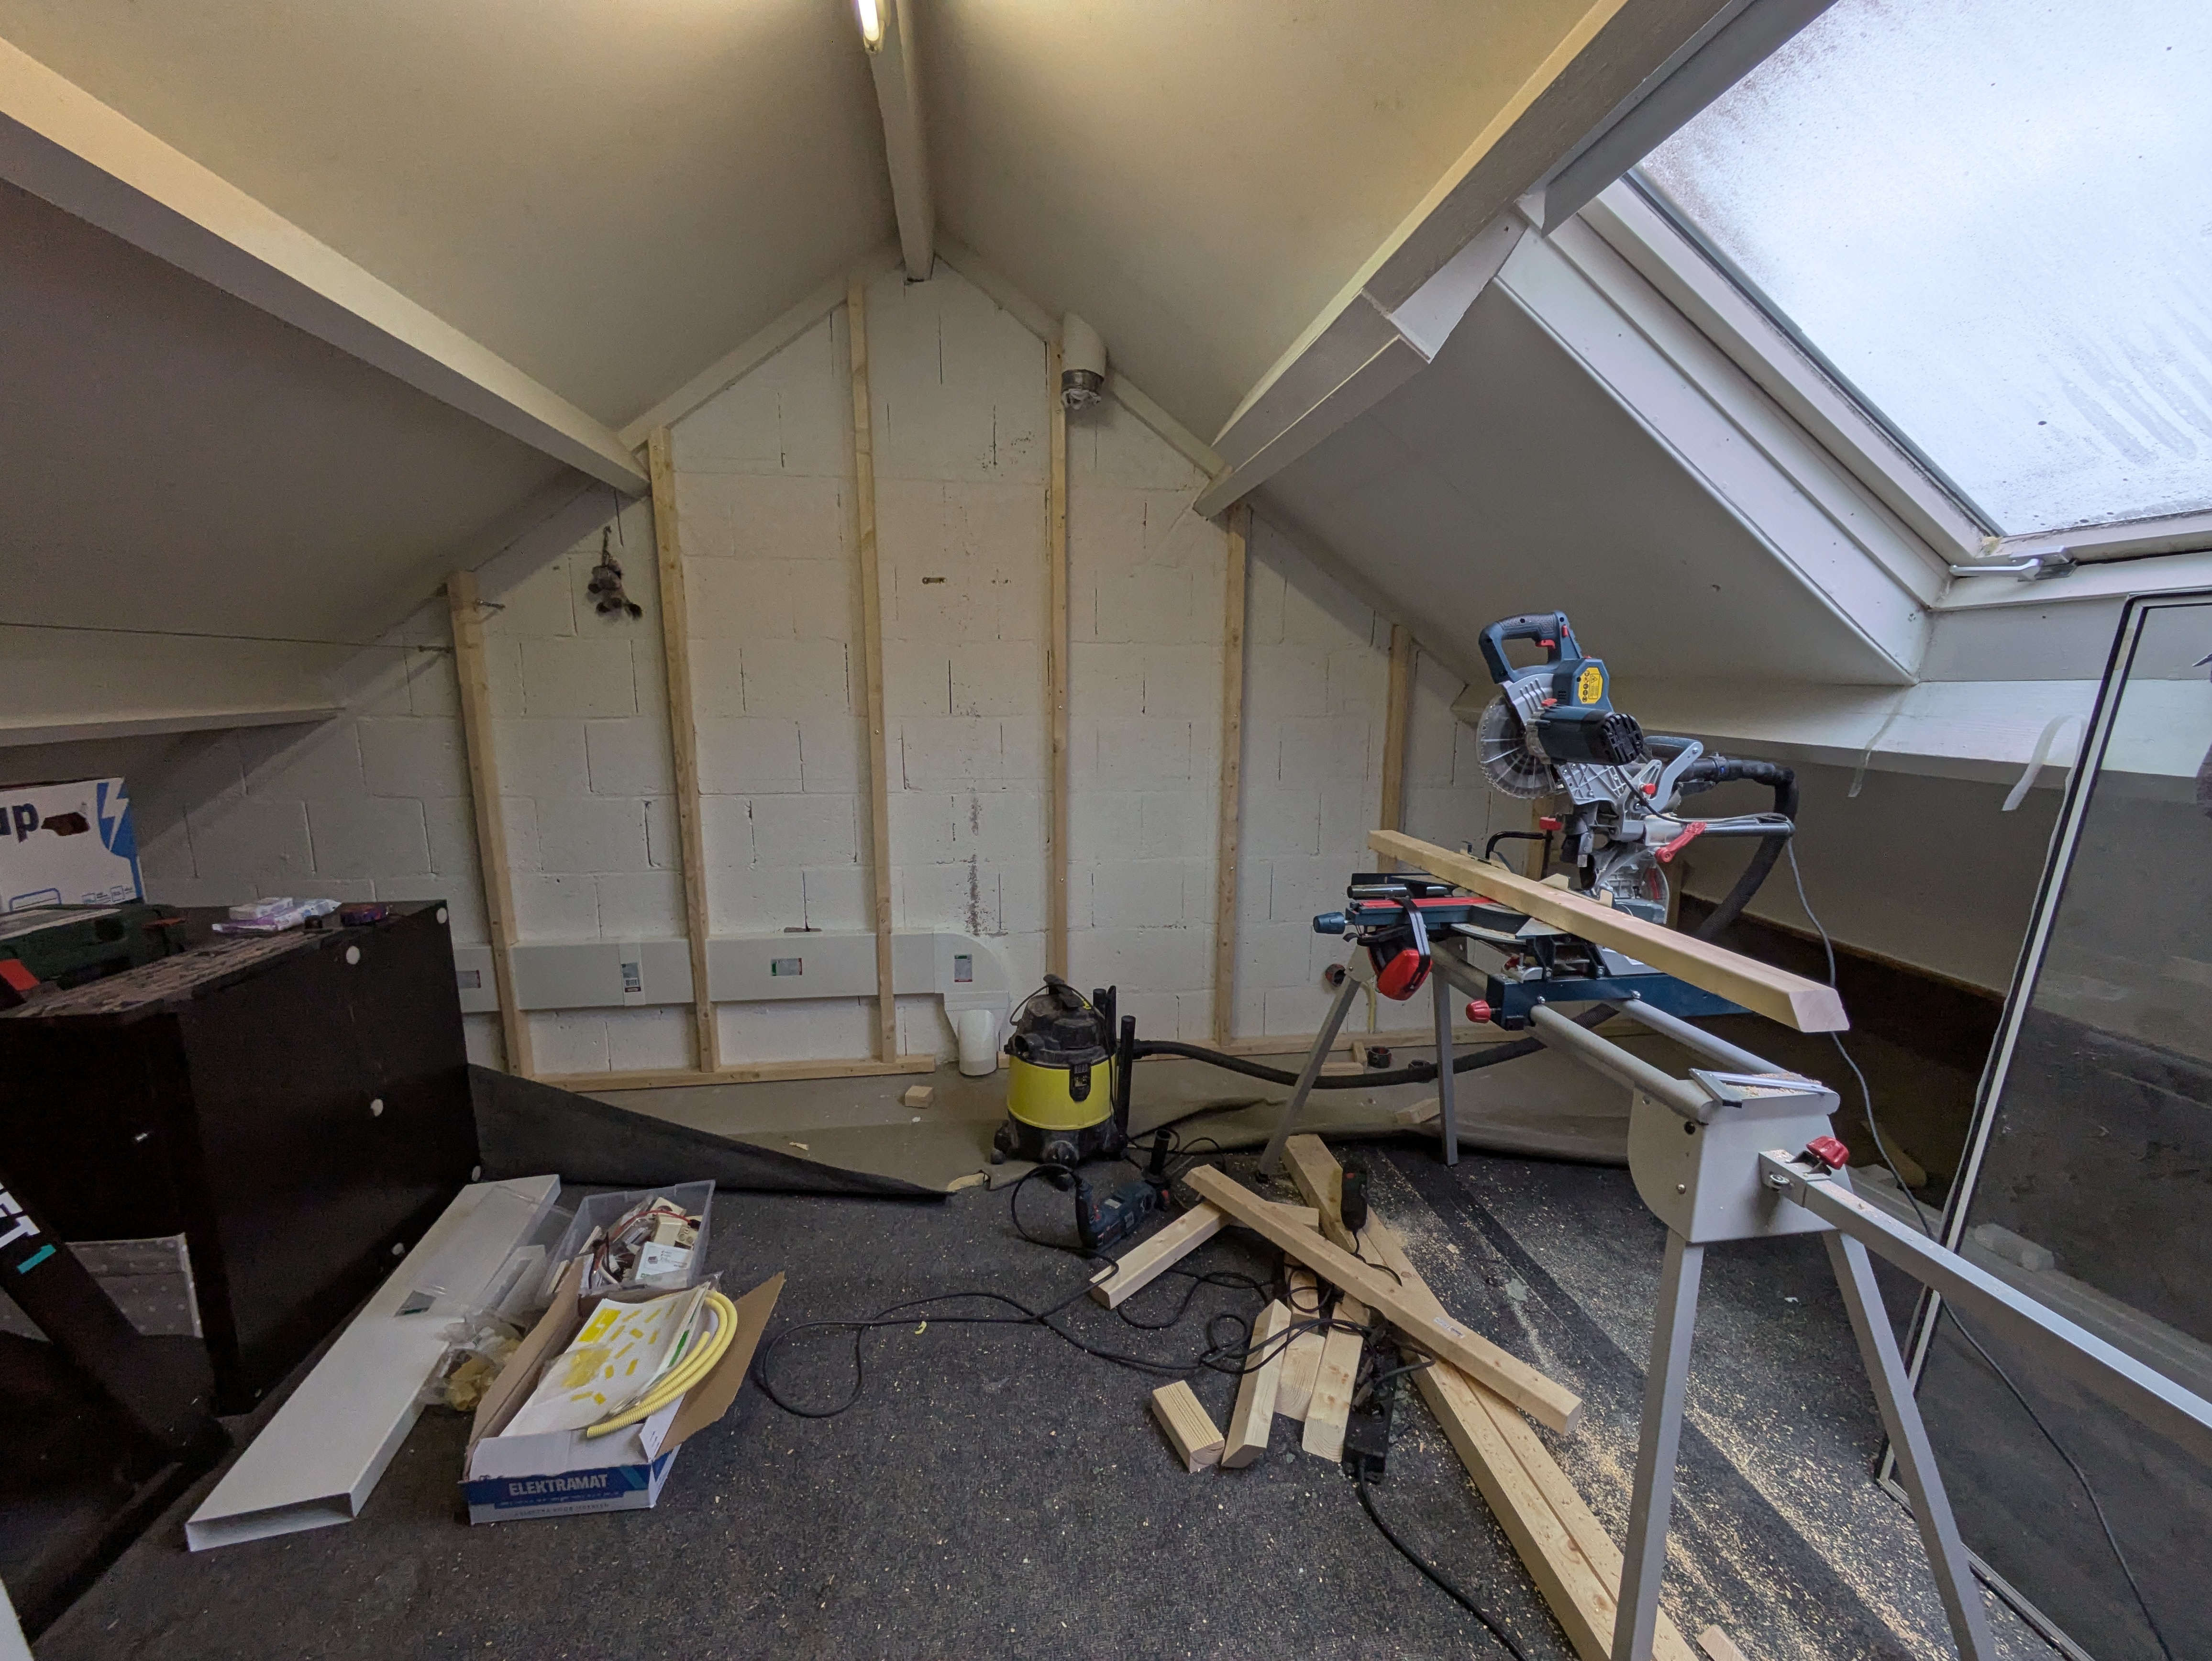
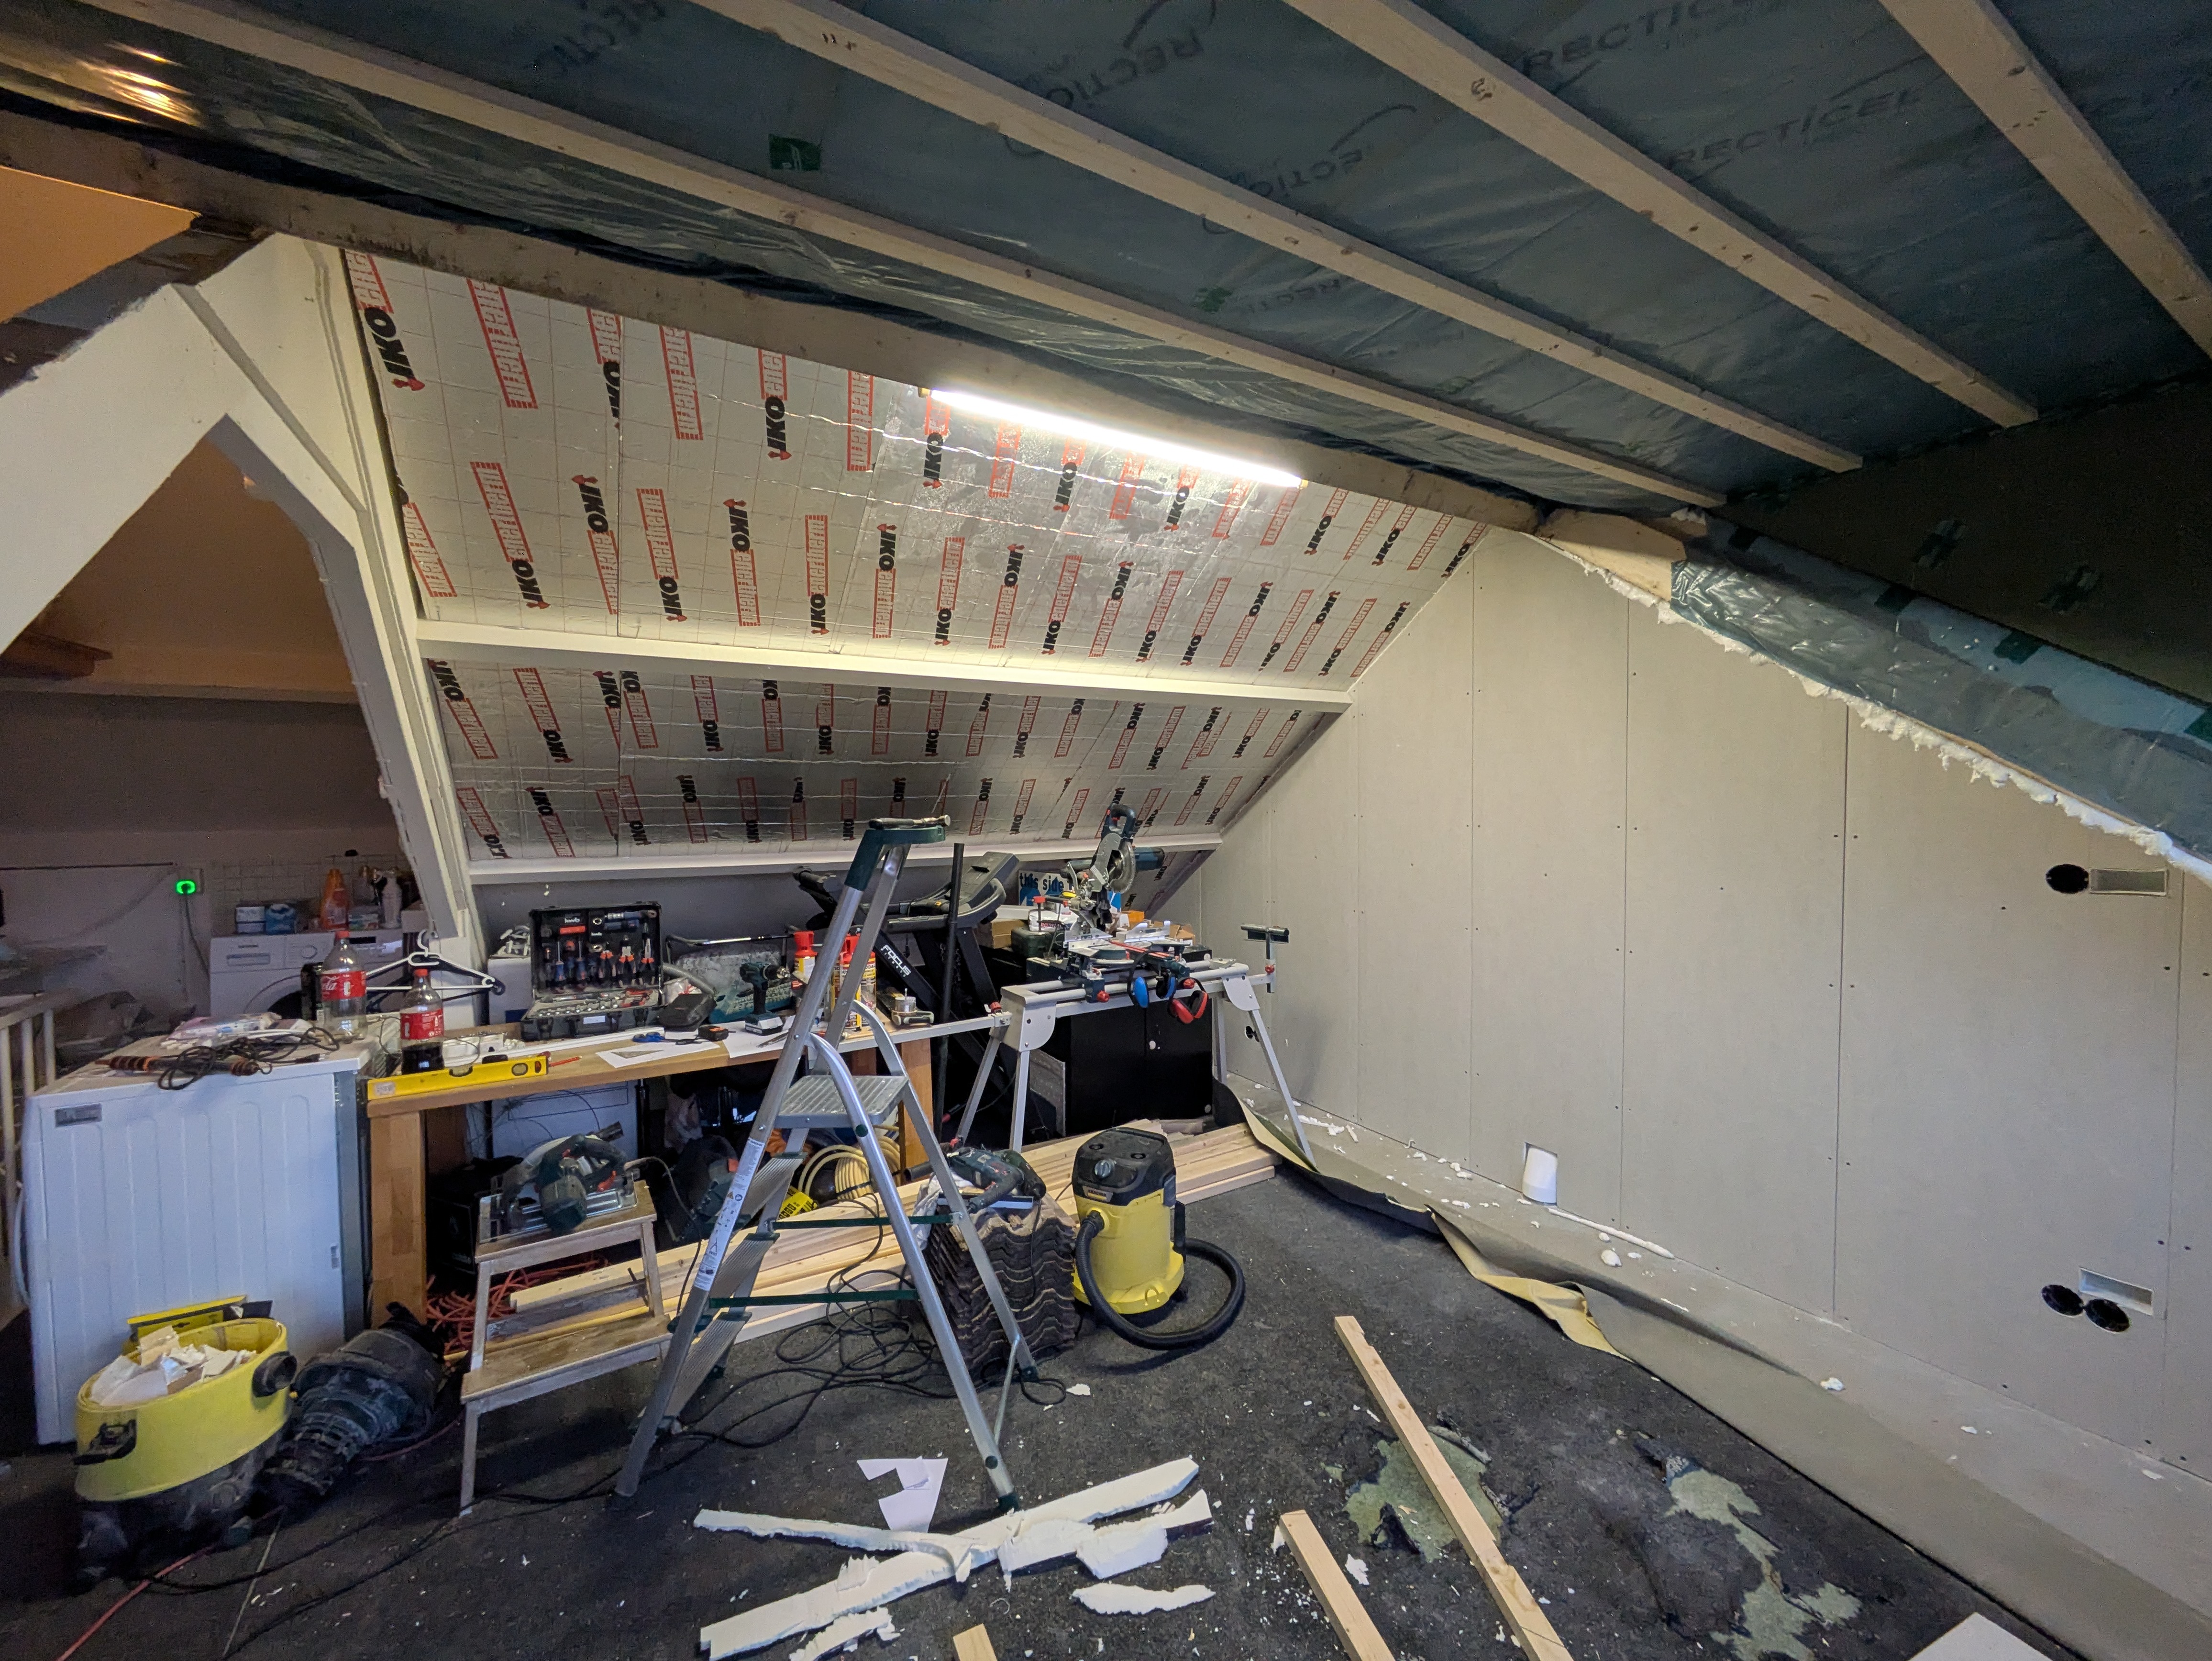
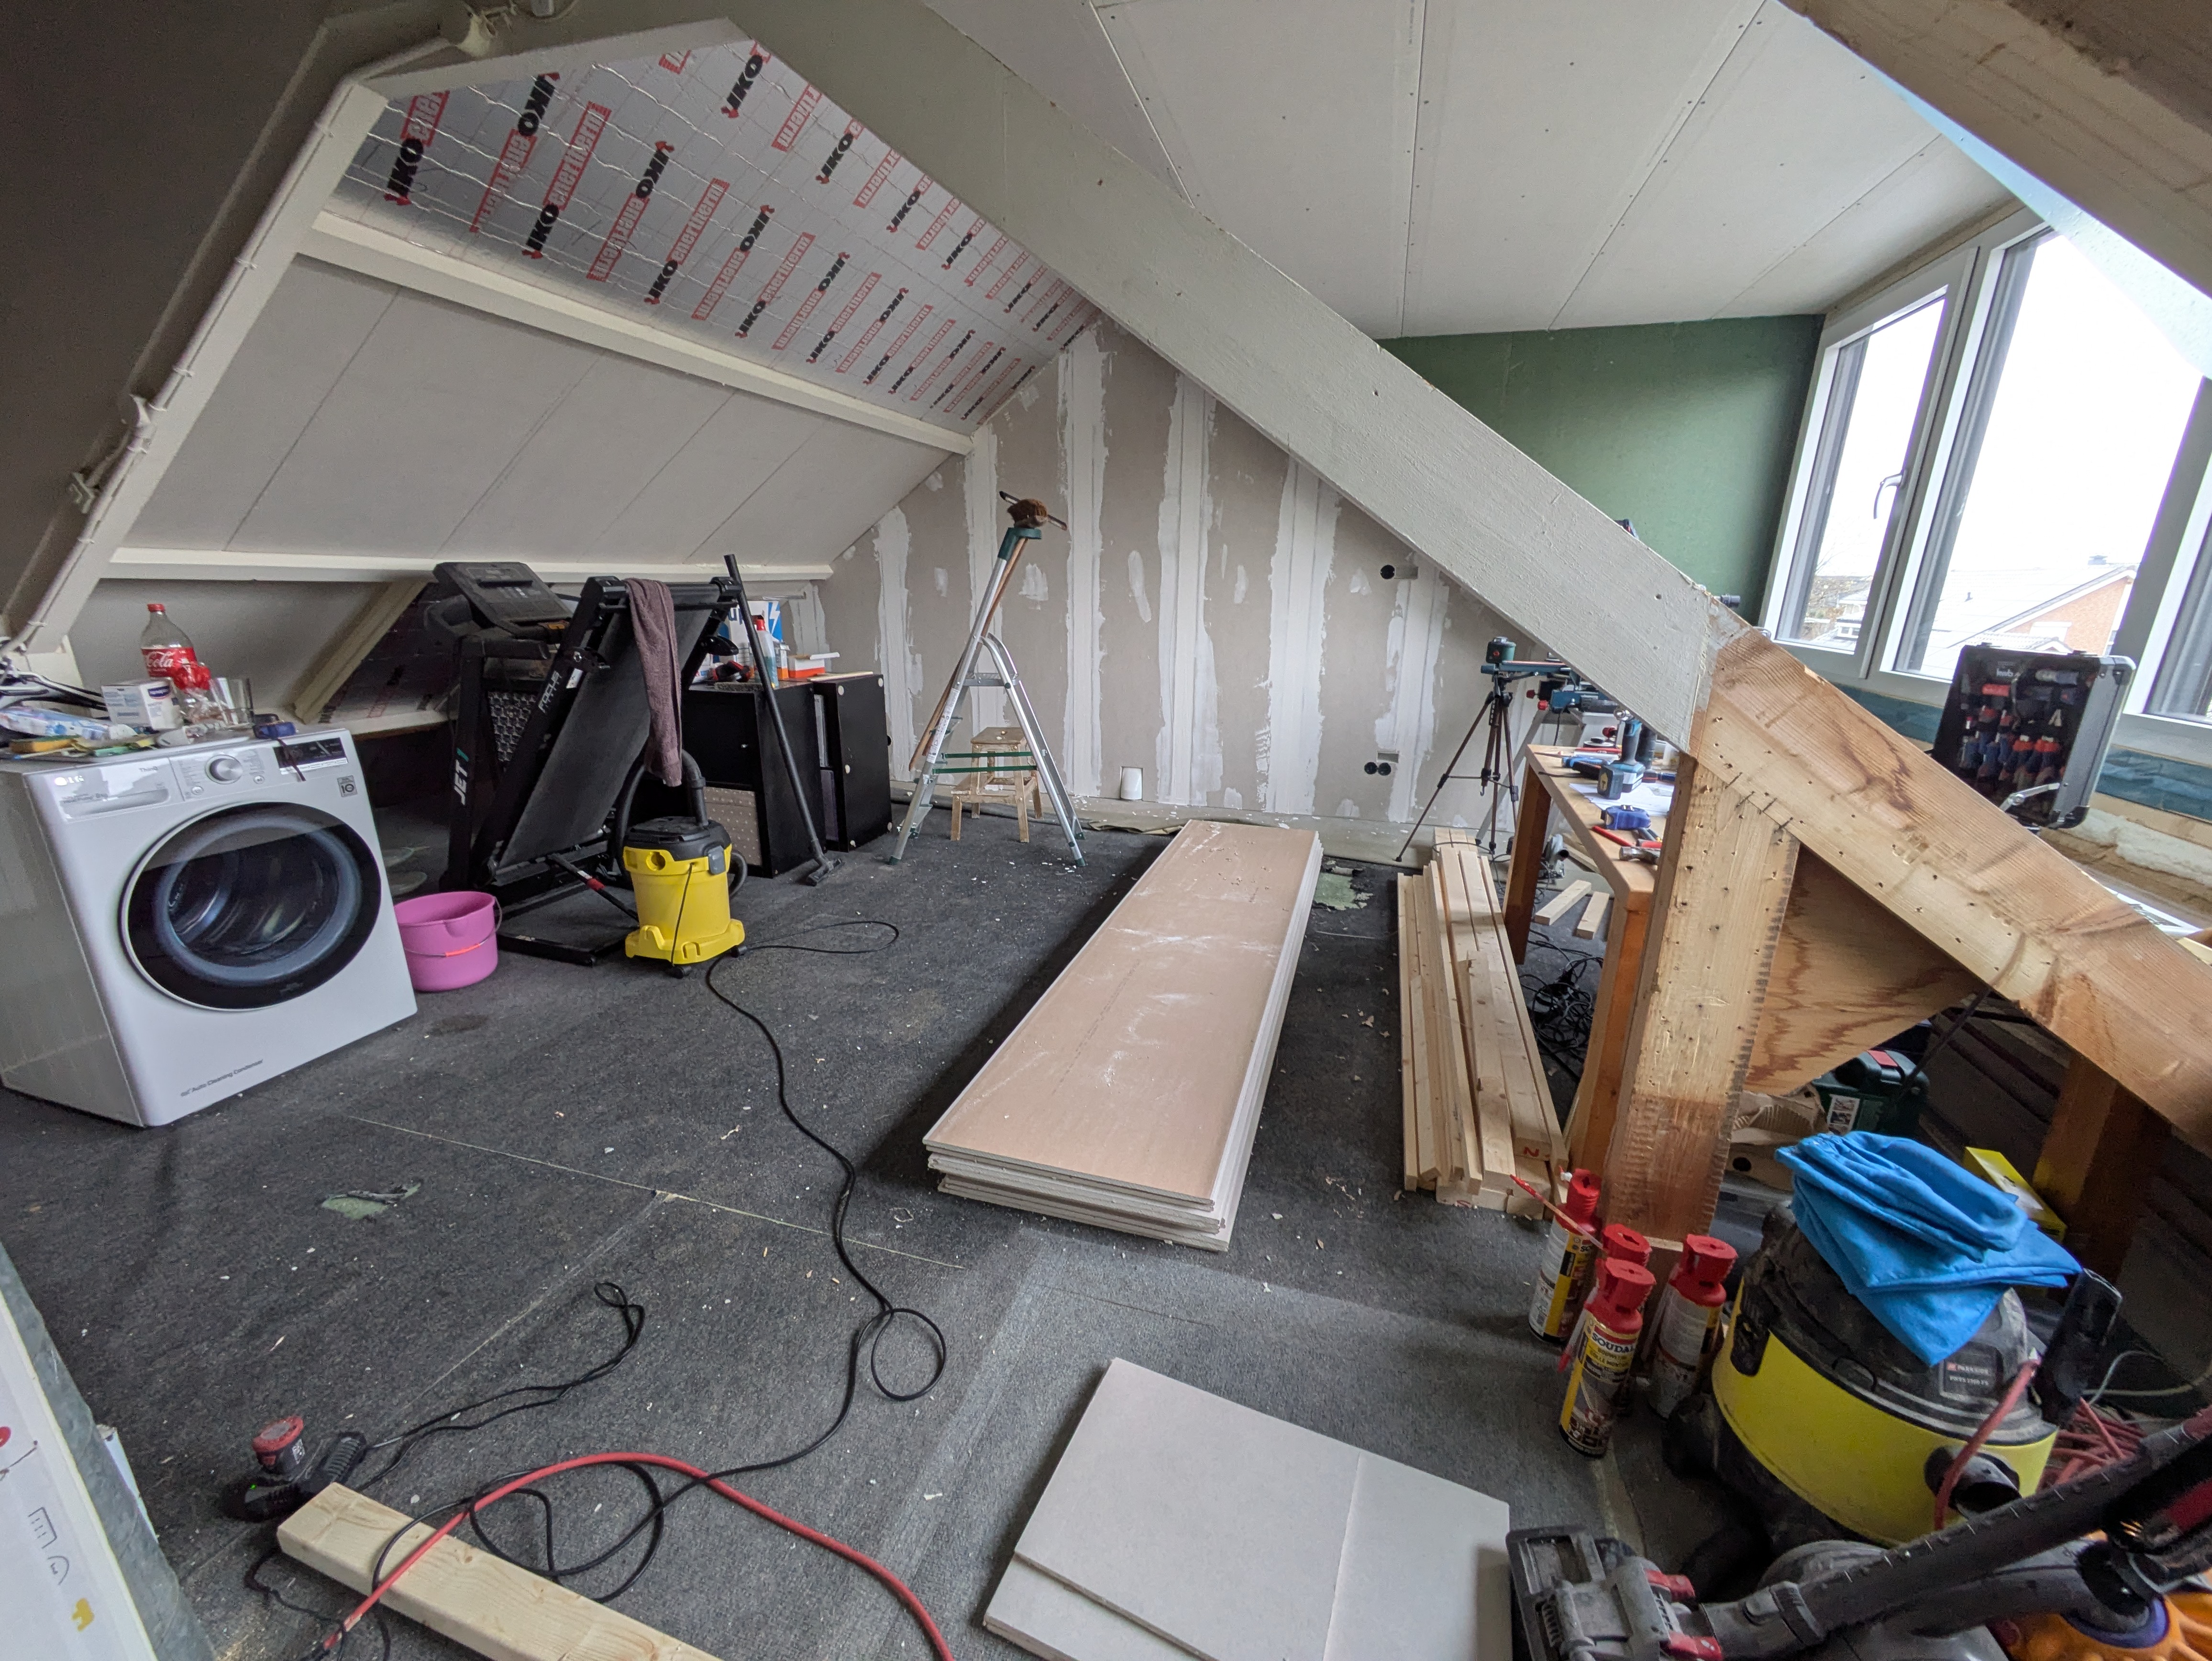
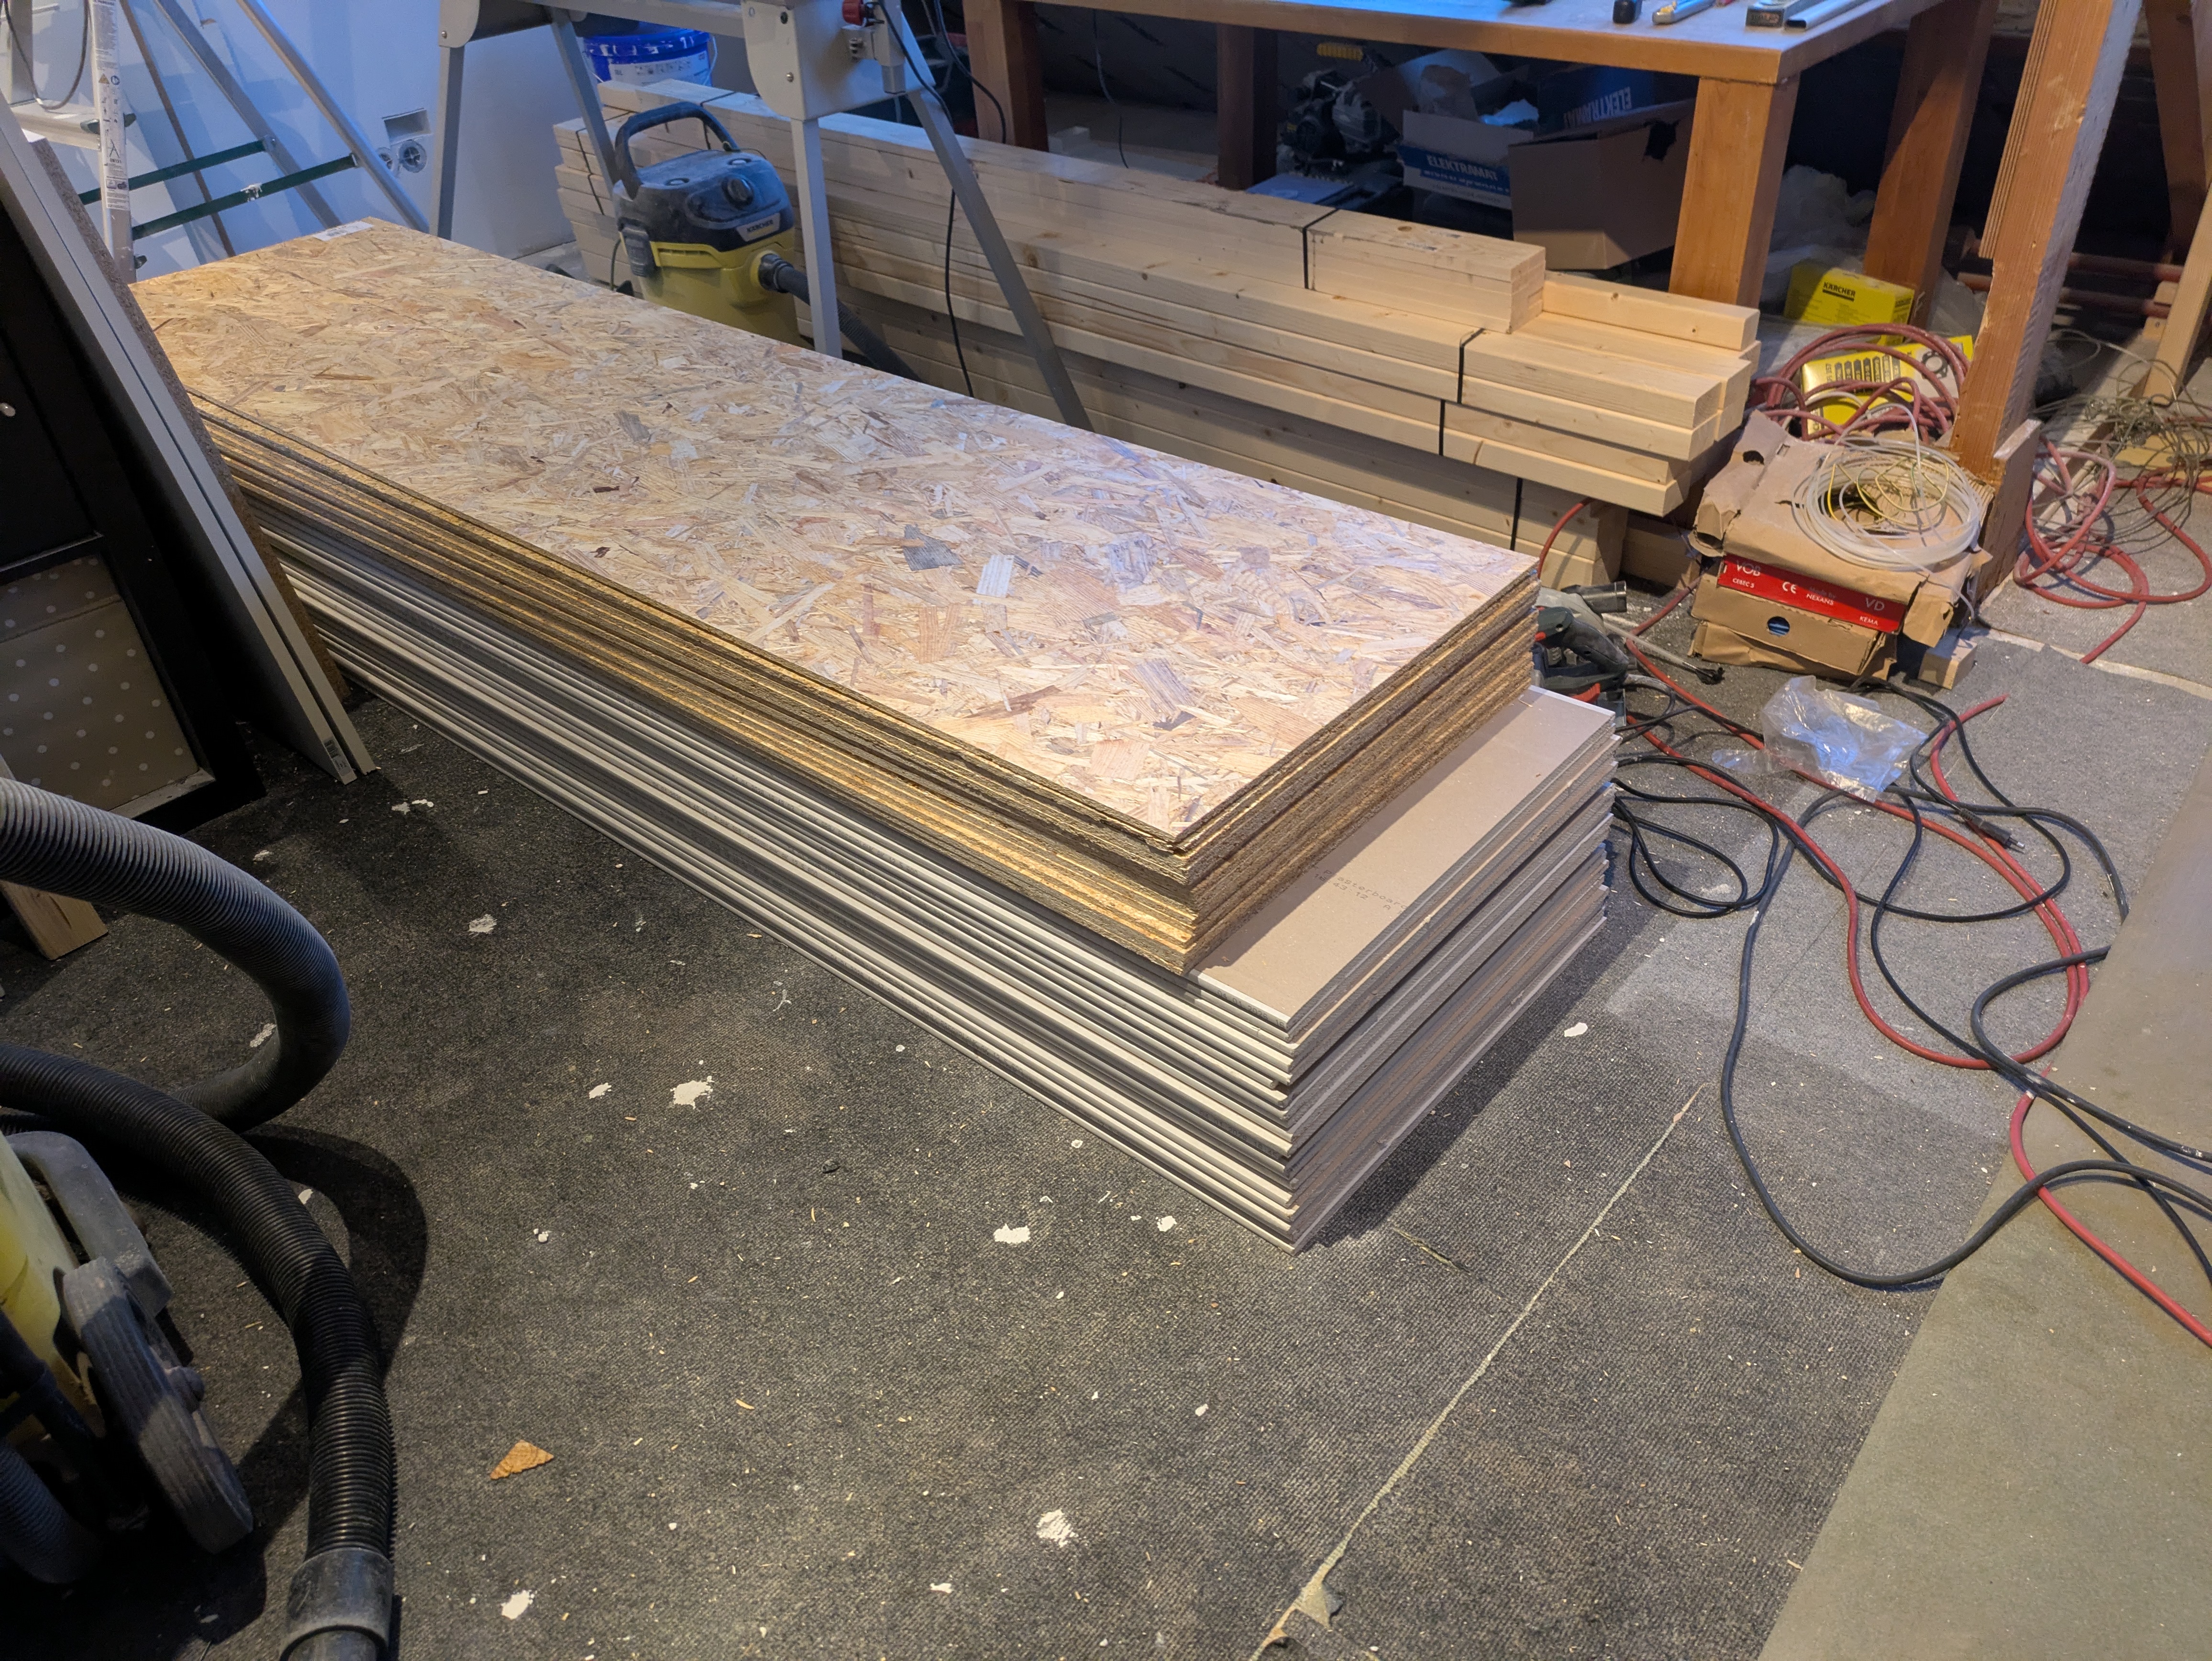
So, off to the hardware store. Gijs stocked up big: beams, drywall sheets, and of course lots of insulation. The first task was building a stud wall at the back side of the attic. Because attic space is limited, he split the renovation into smaller jobs and many trips to the store.
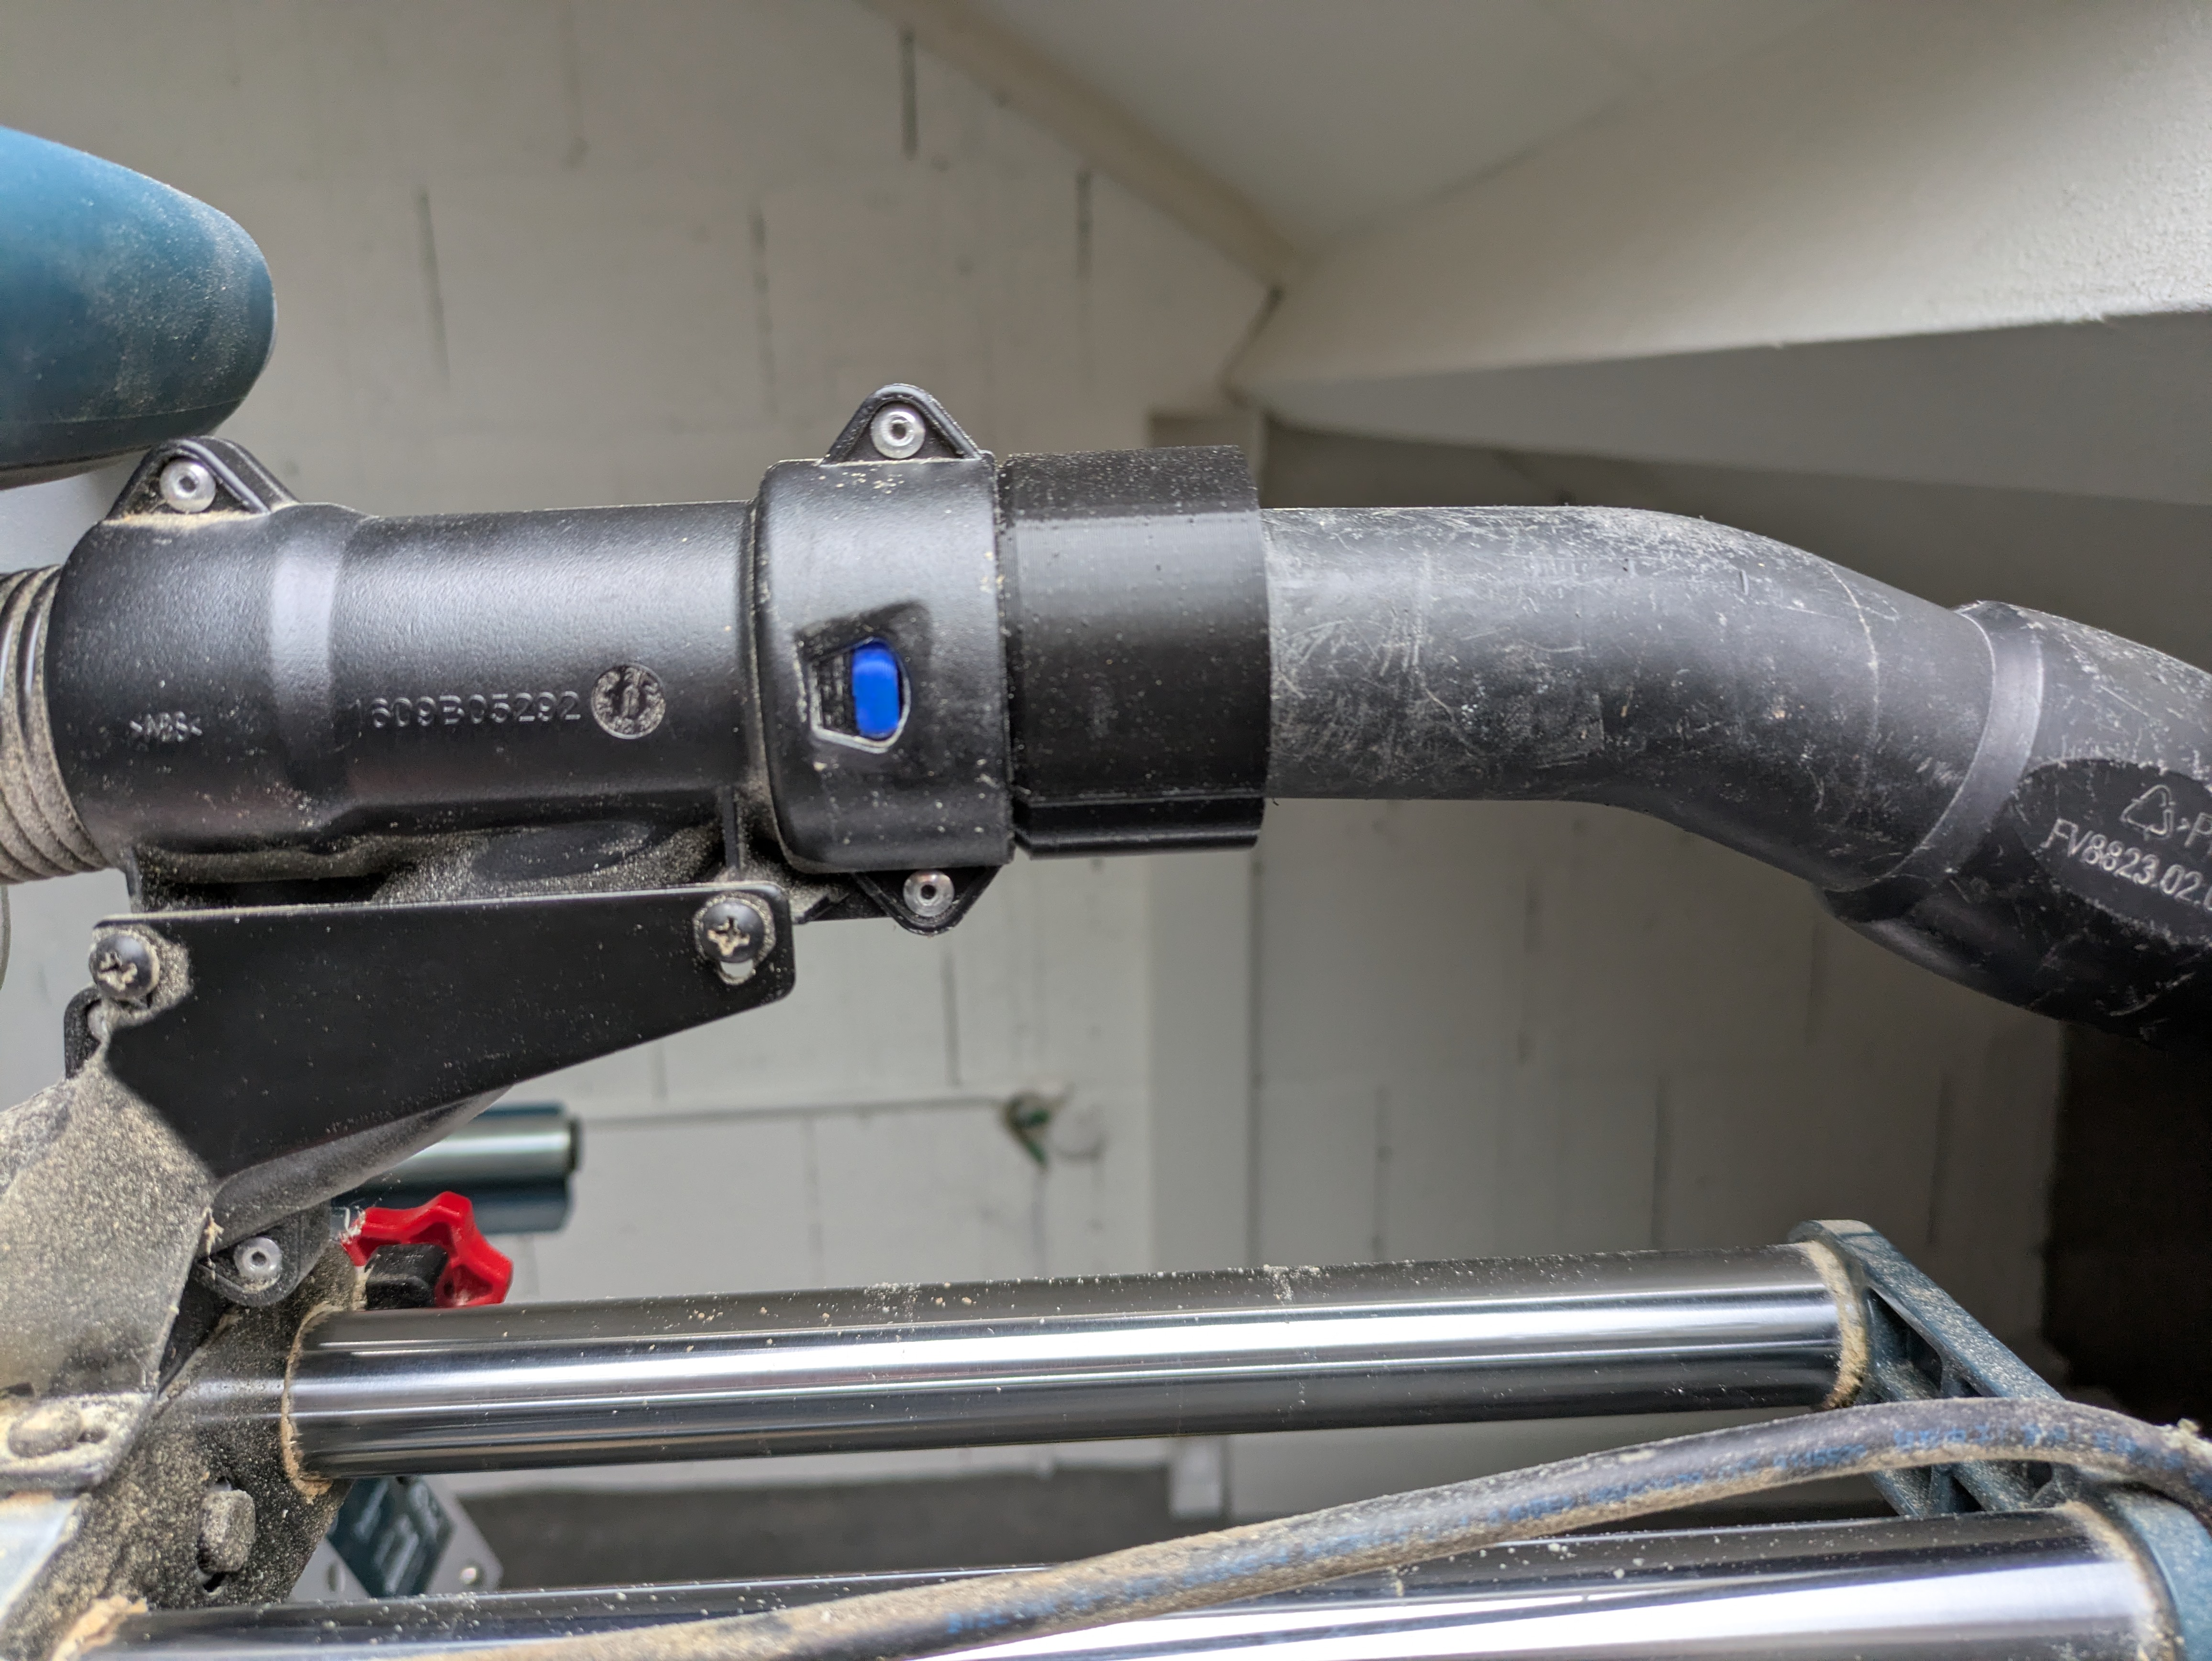
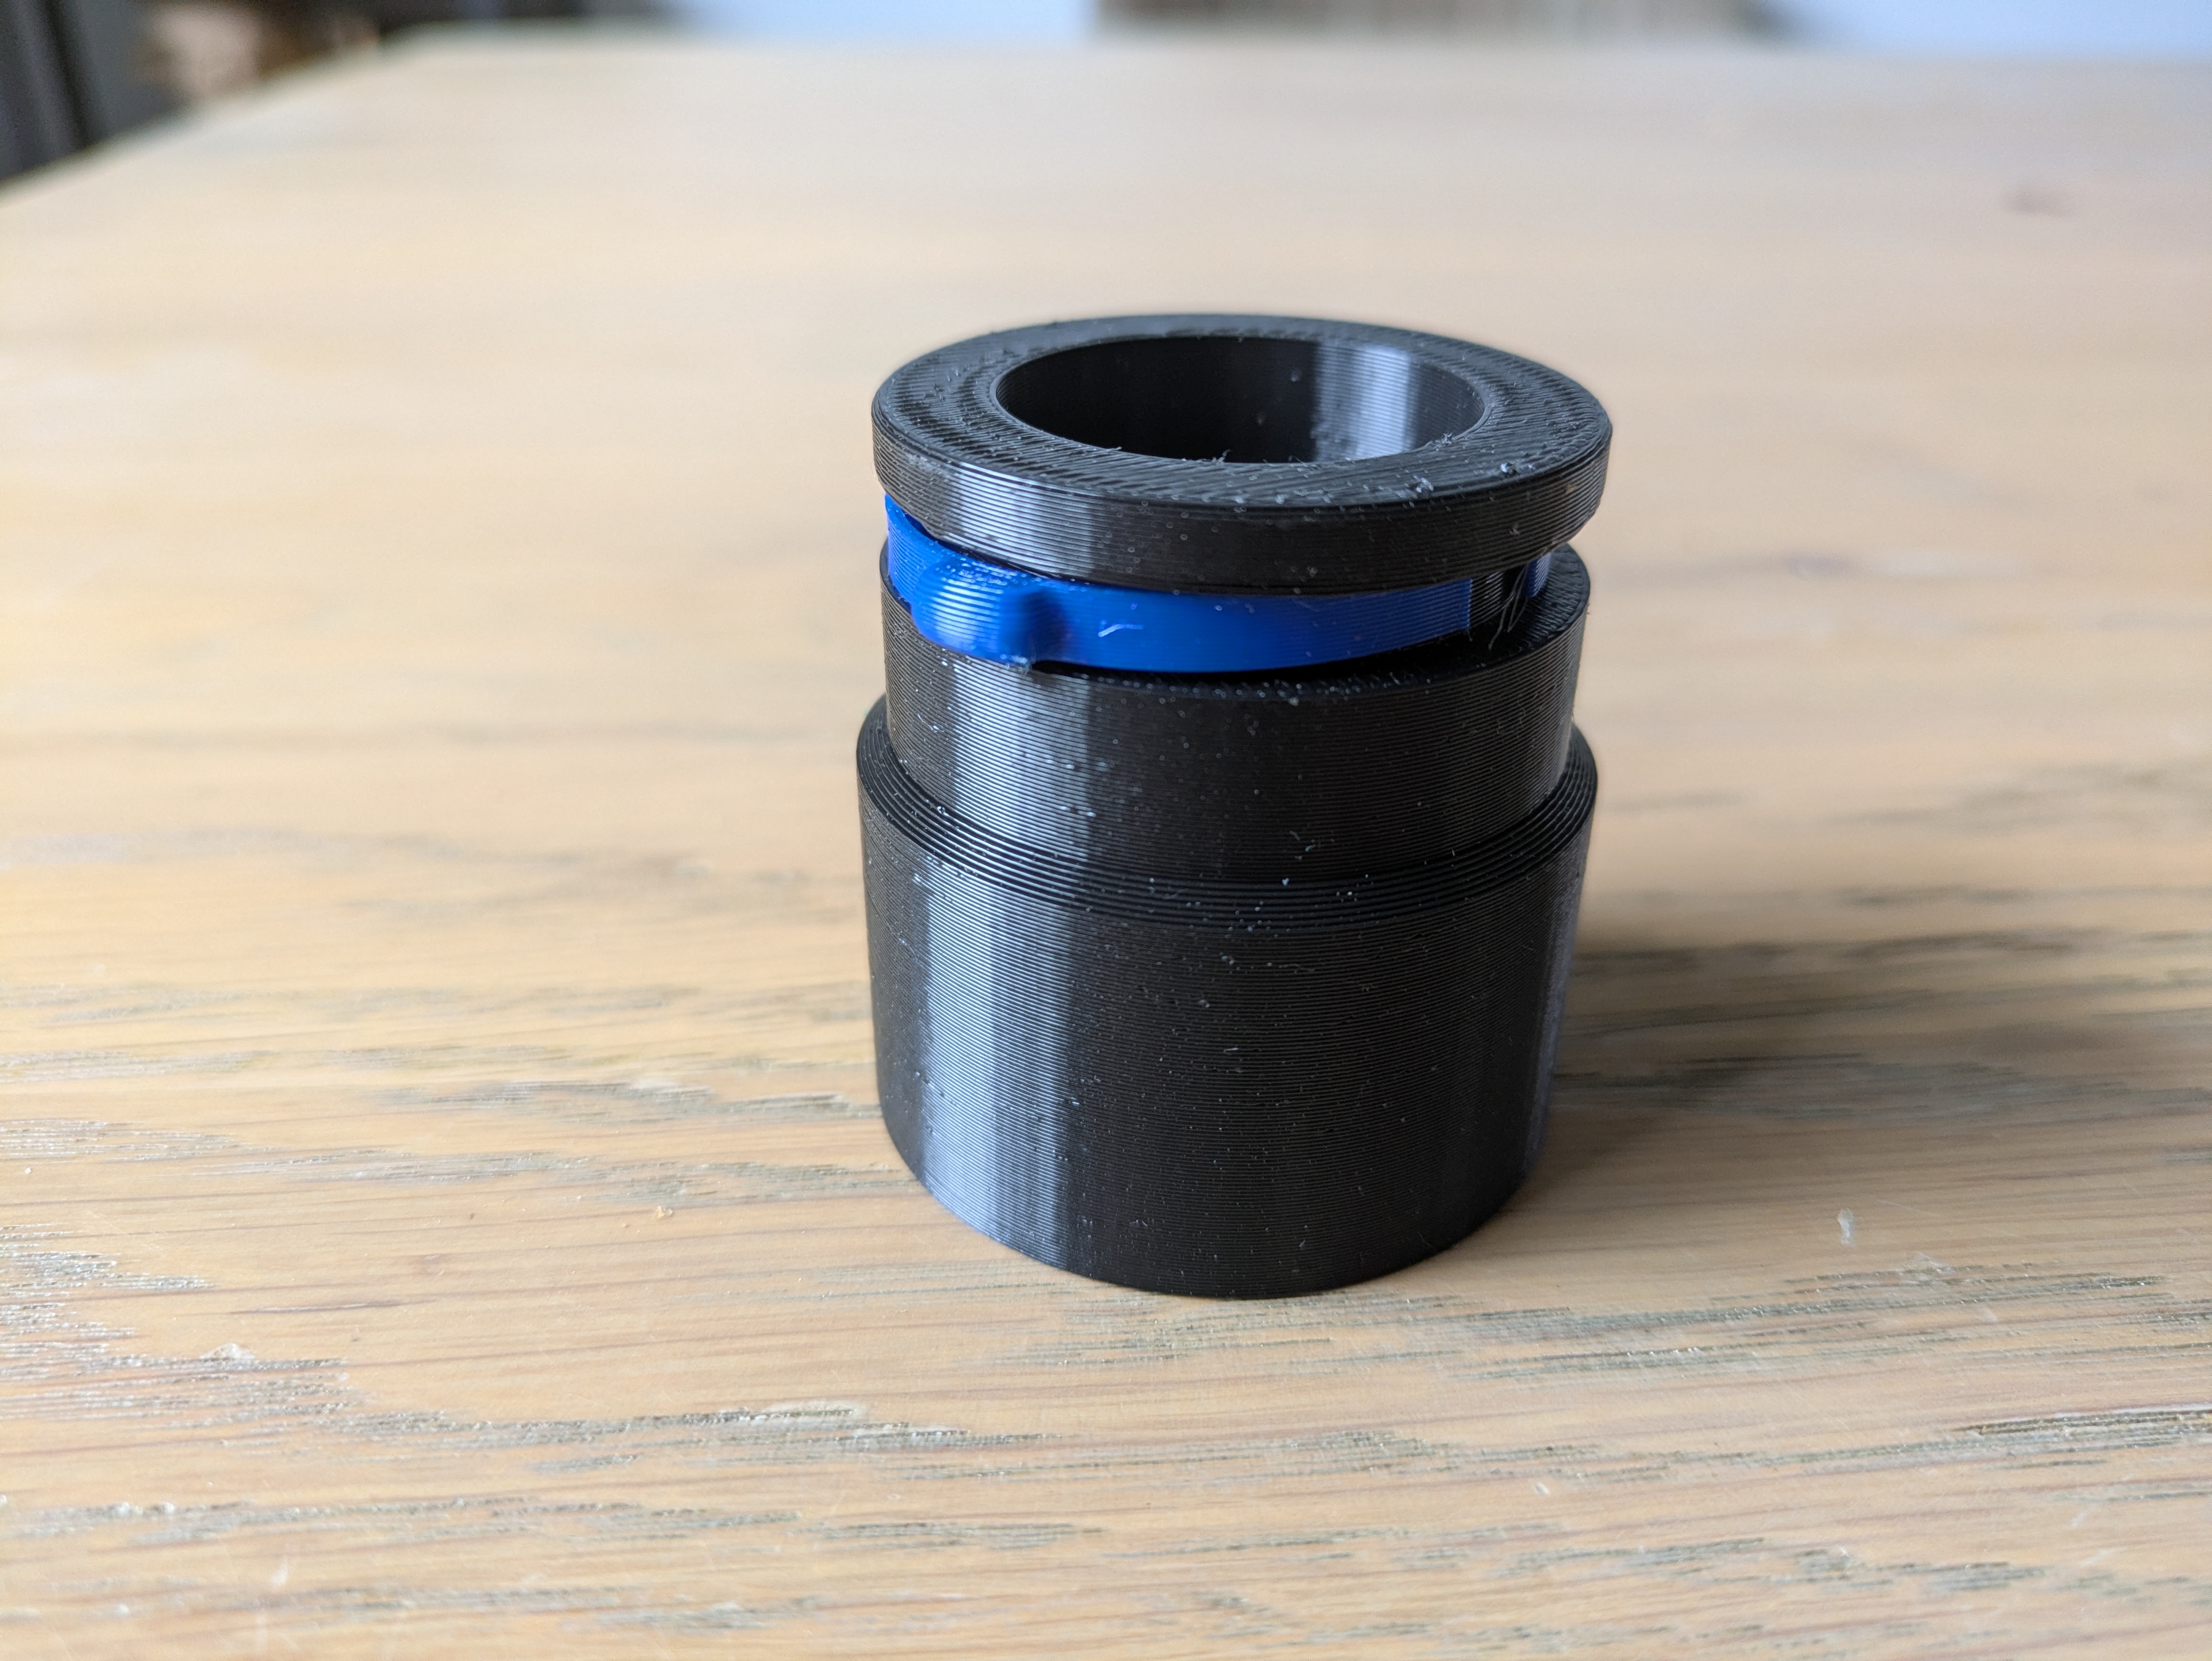
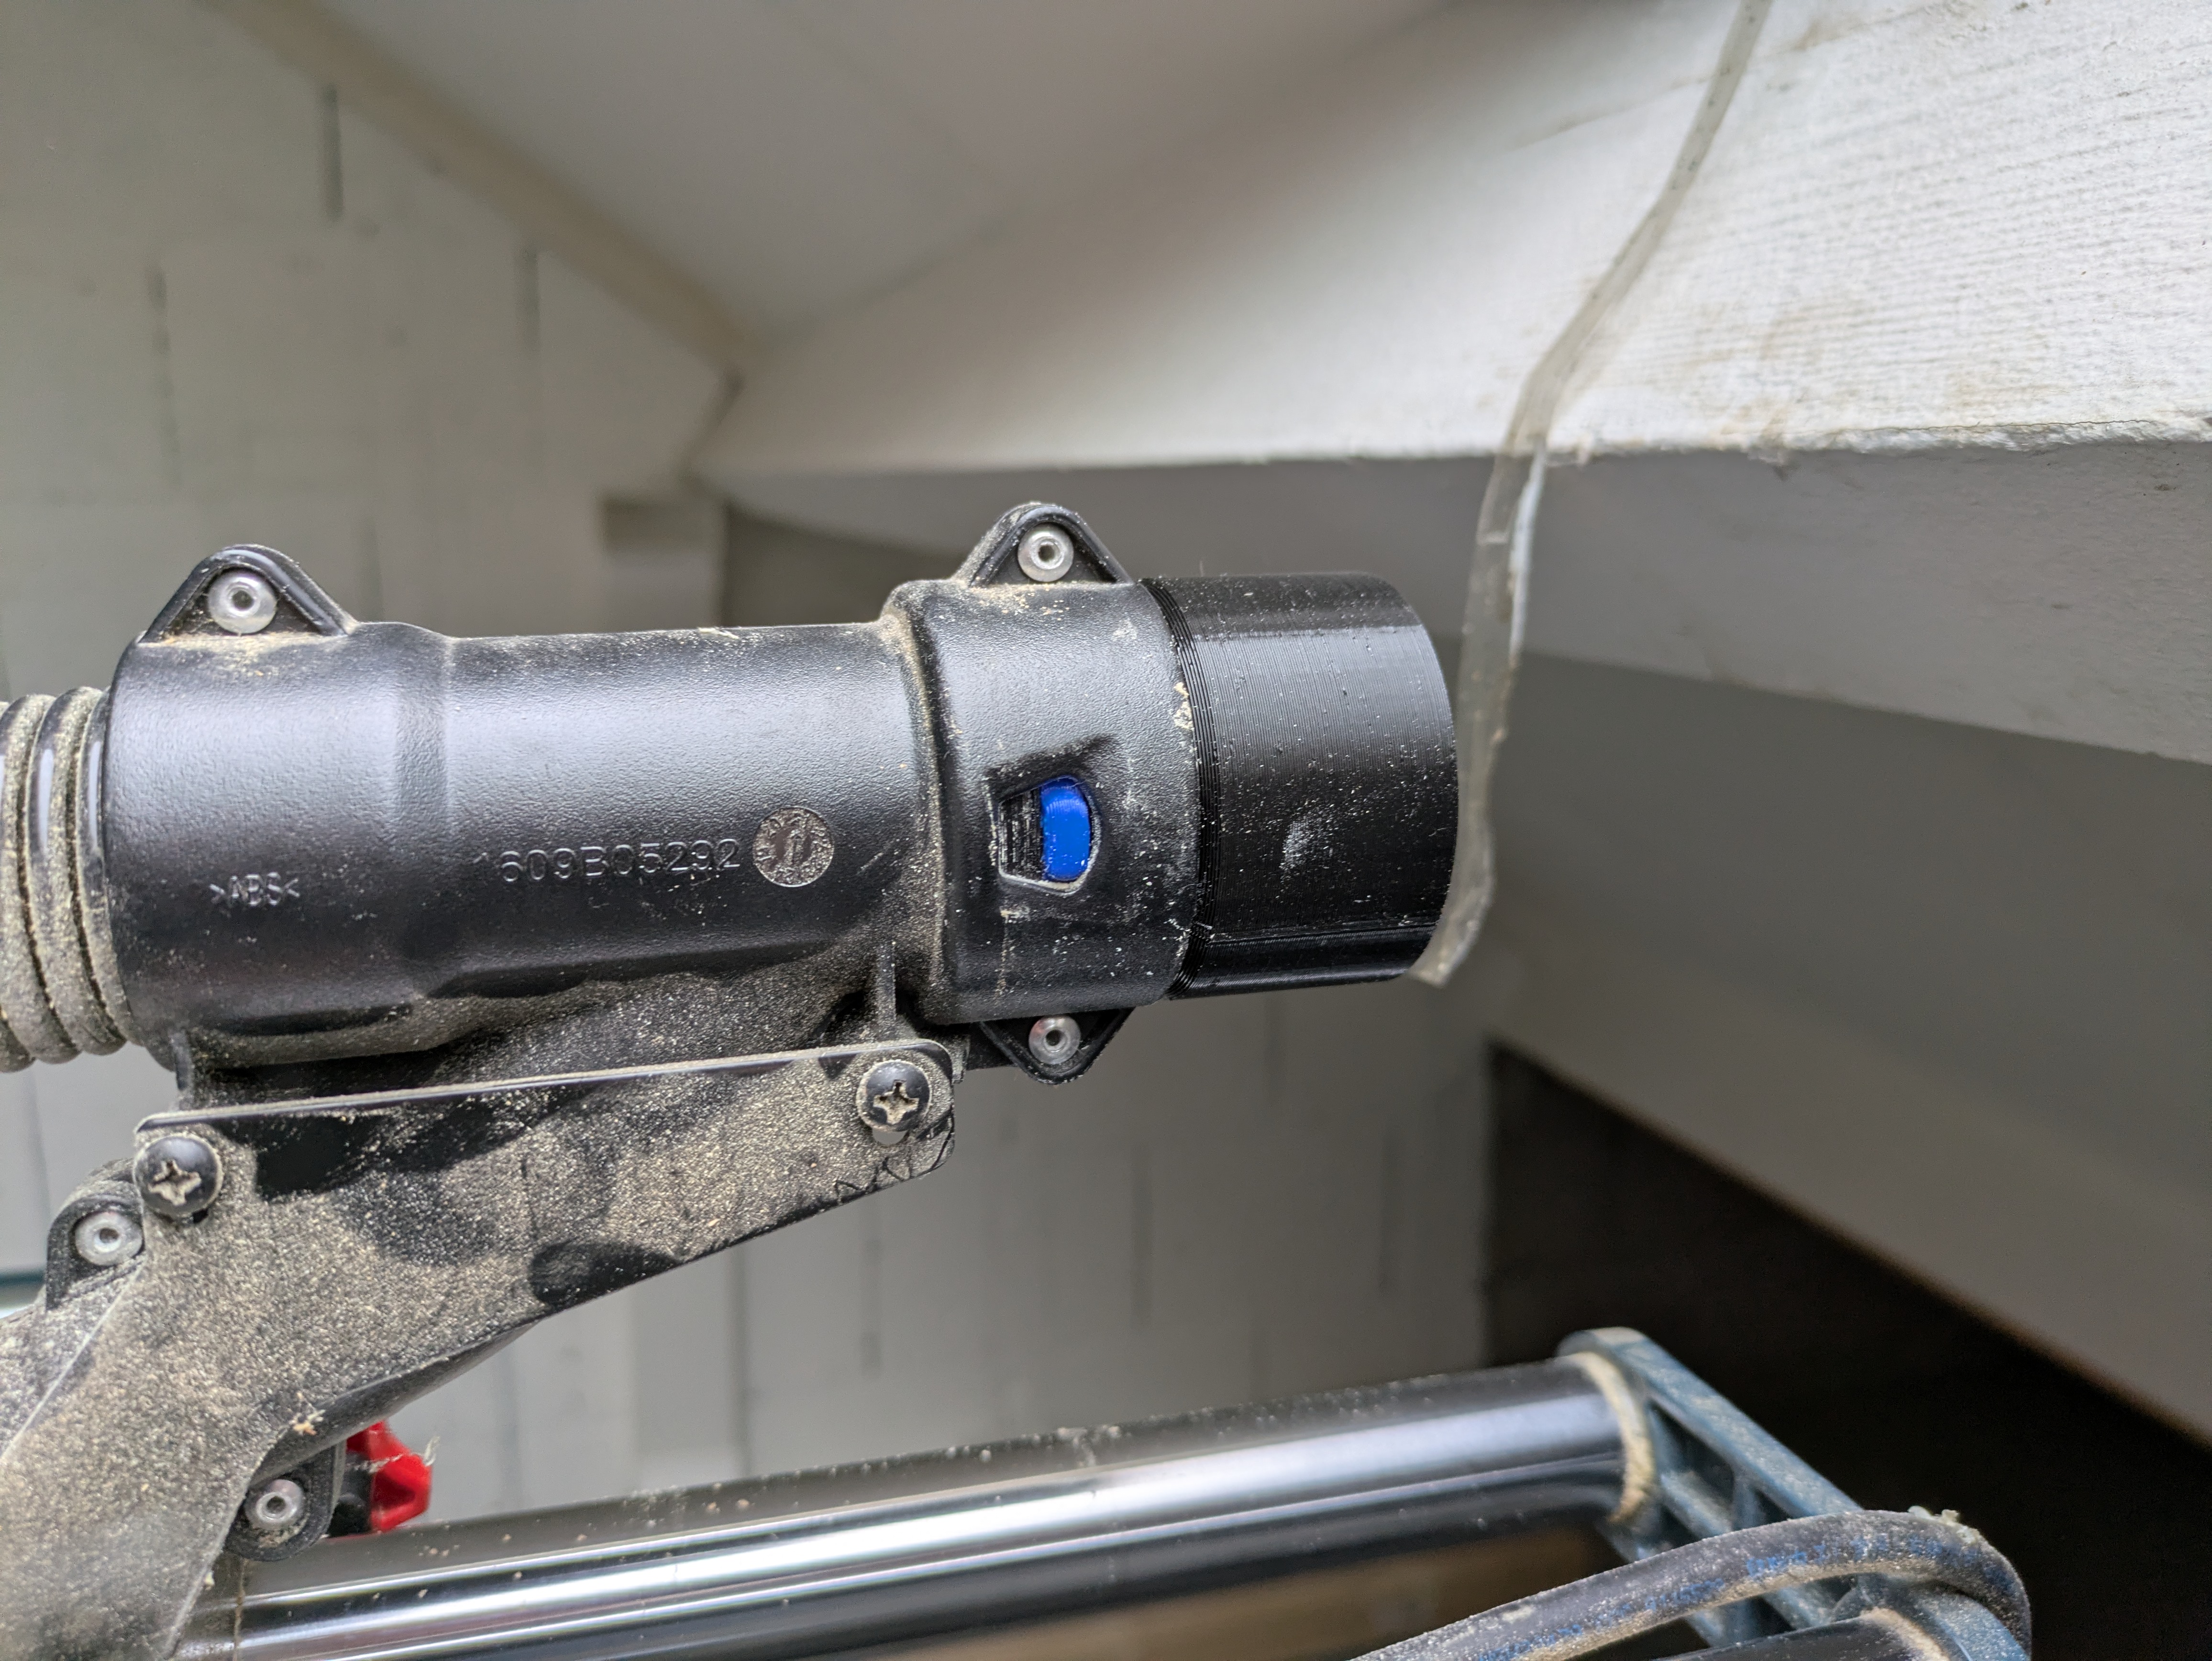
Because it was late autumn when Gijs started this attic makeover, and he wanted to keep windows closed as much as possible due to the cold, he had to minimize dust. Gijs has a great miter saw, but the dust extractor connection was made specifically for Bosch Blue vacuum cleaners. Gijs already had a great Kärcher vacuum with a more standard connector.
He could have solved this with duct tape, but Gijs is a modern man with a 3D printer. Being resourceful, he designed an adapter so standard vacuums can connect to Bosch Blue tools. The files are, of course, available for free online.
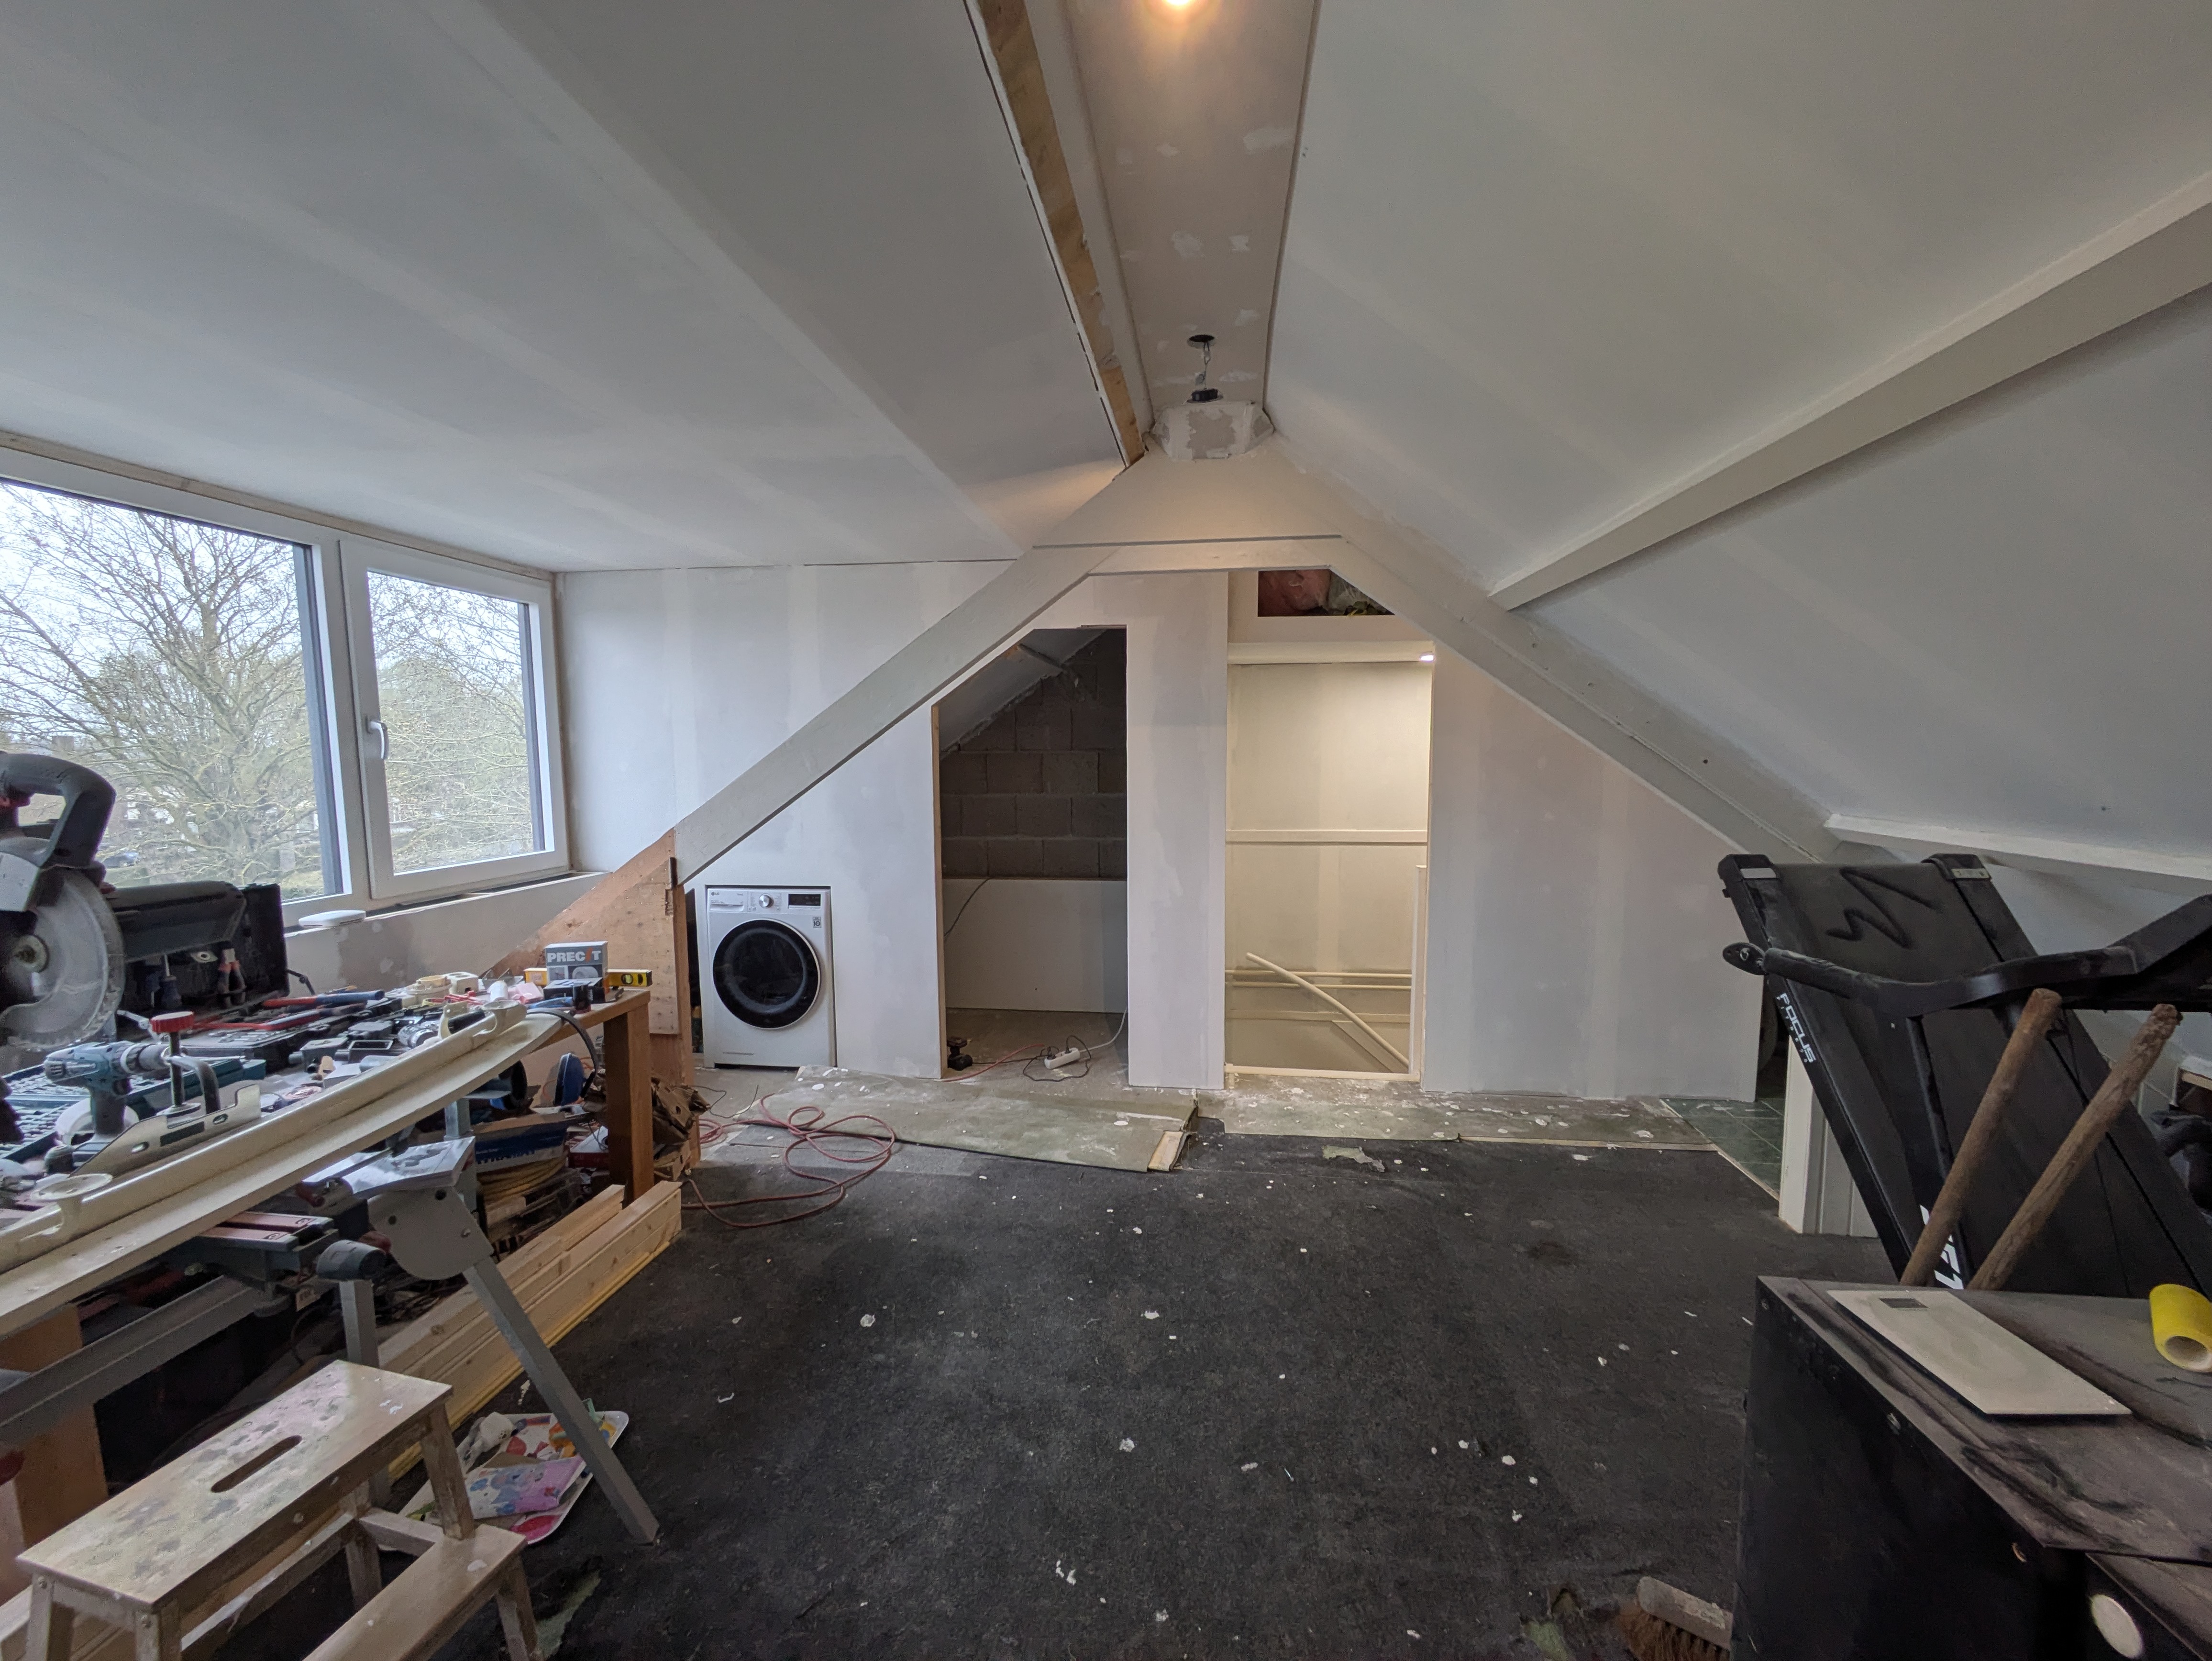
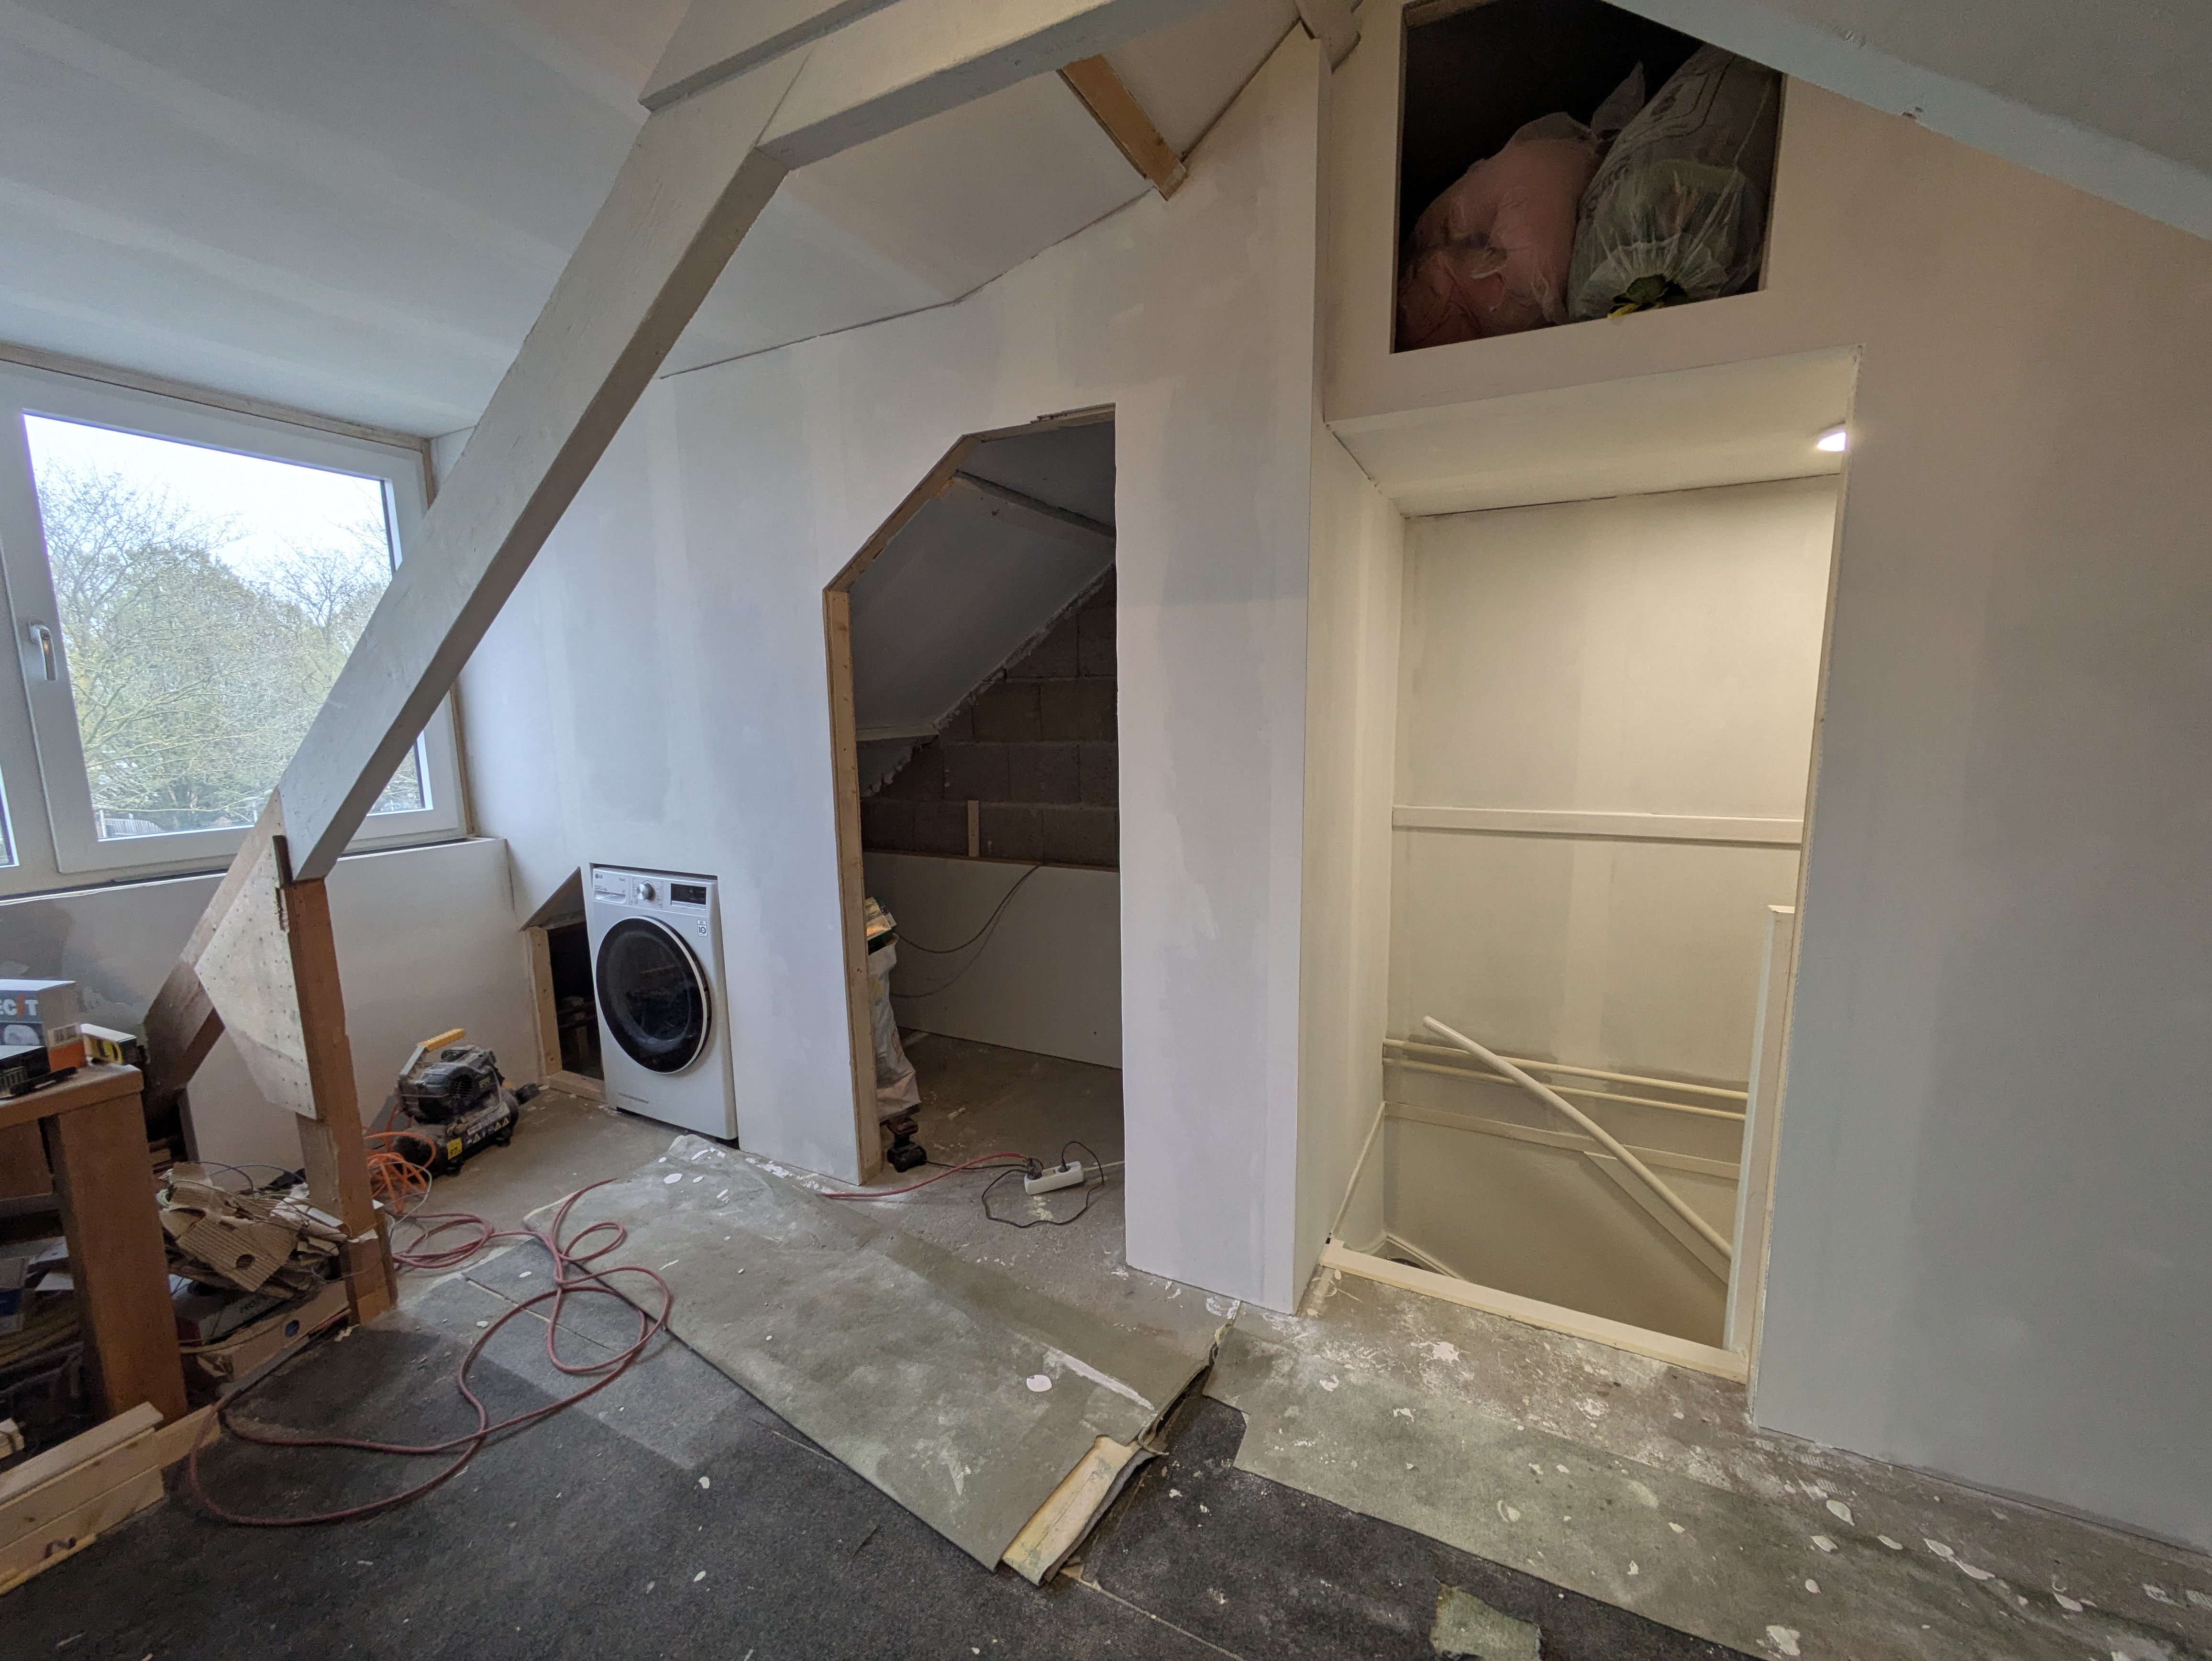
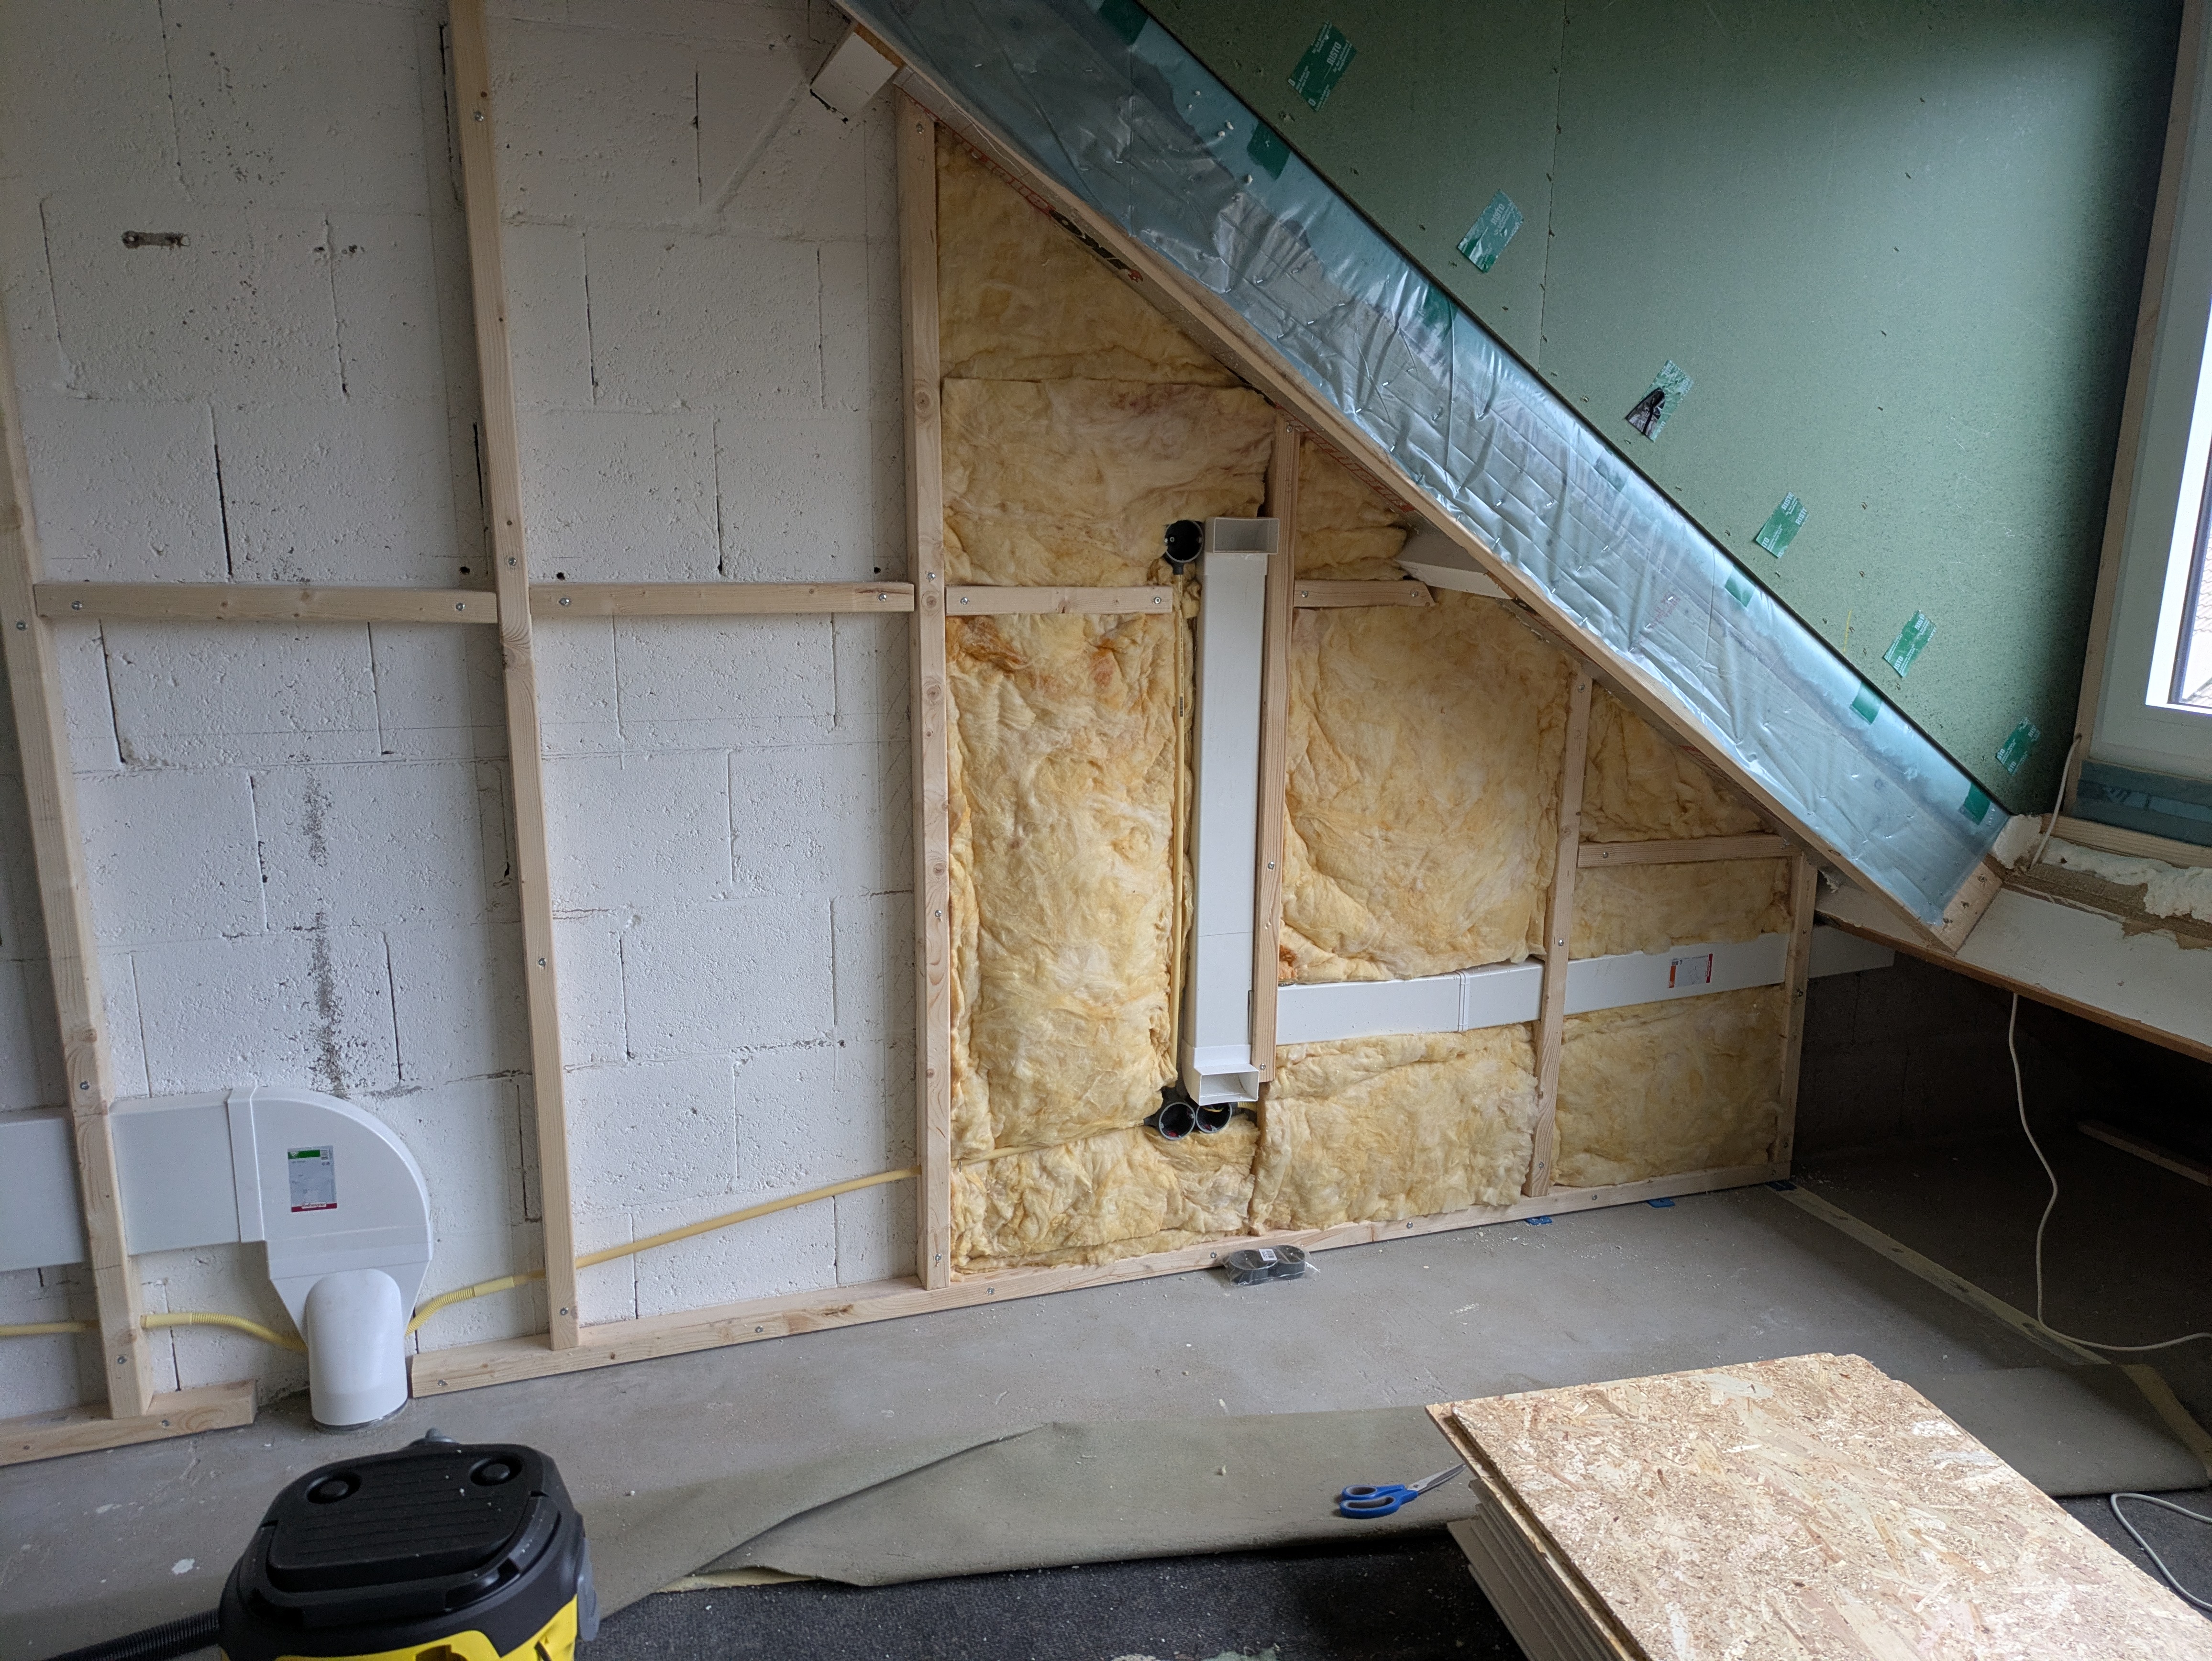
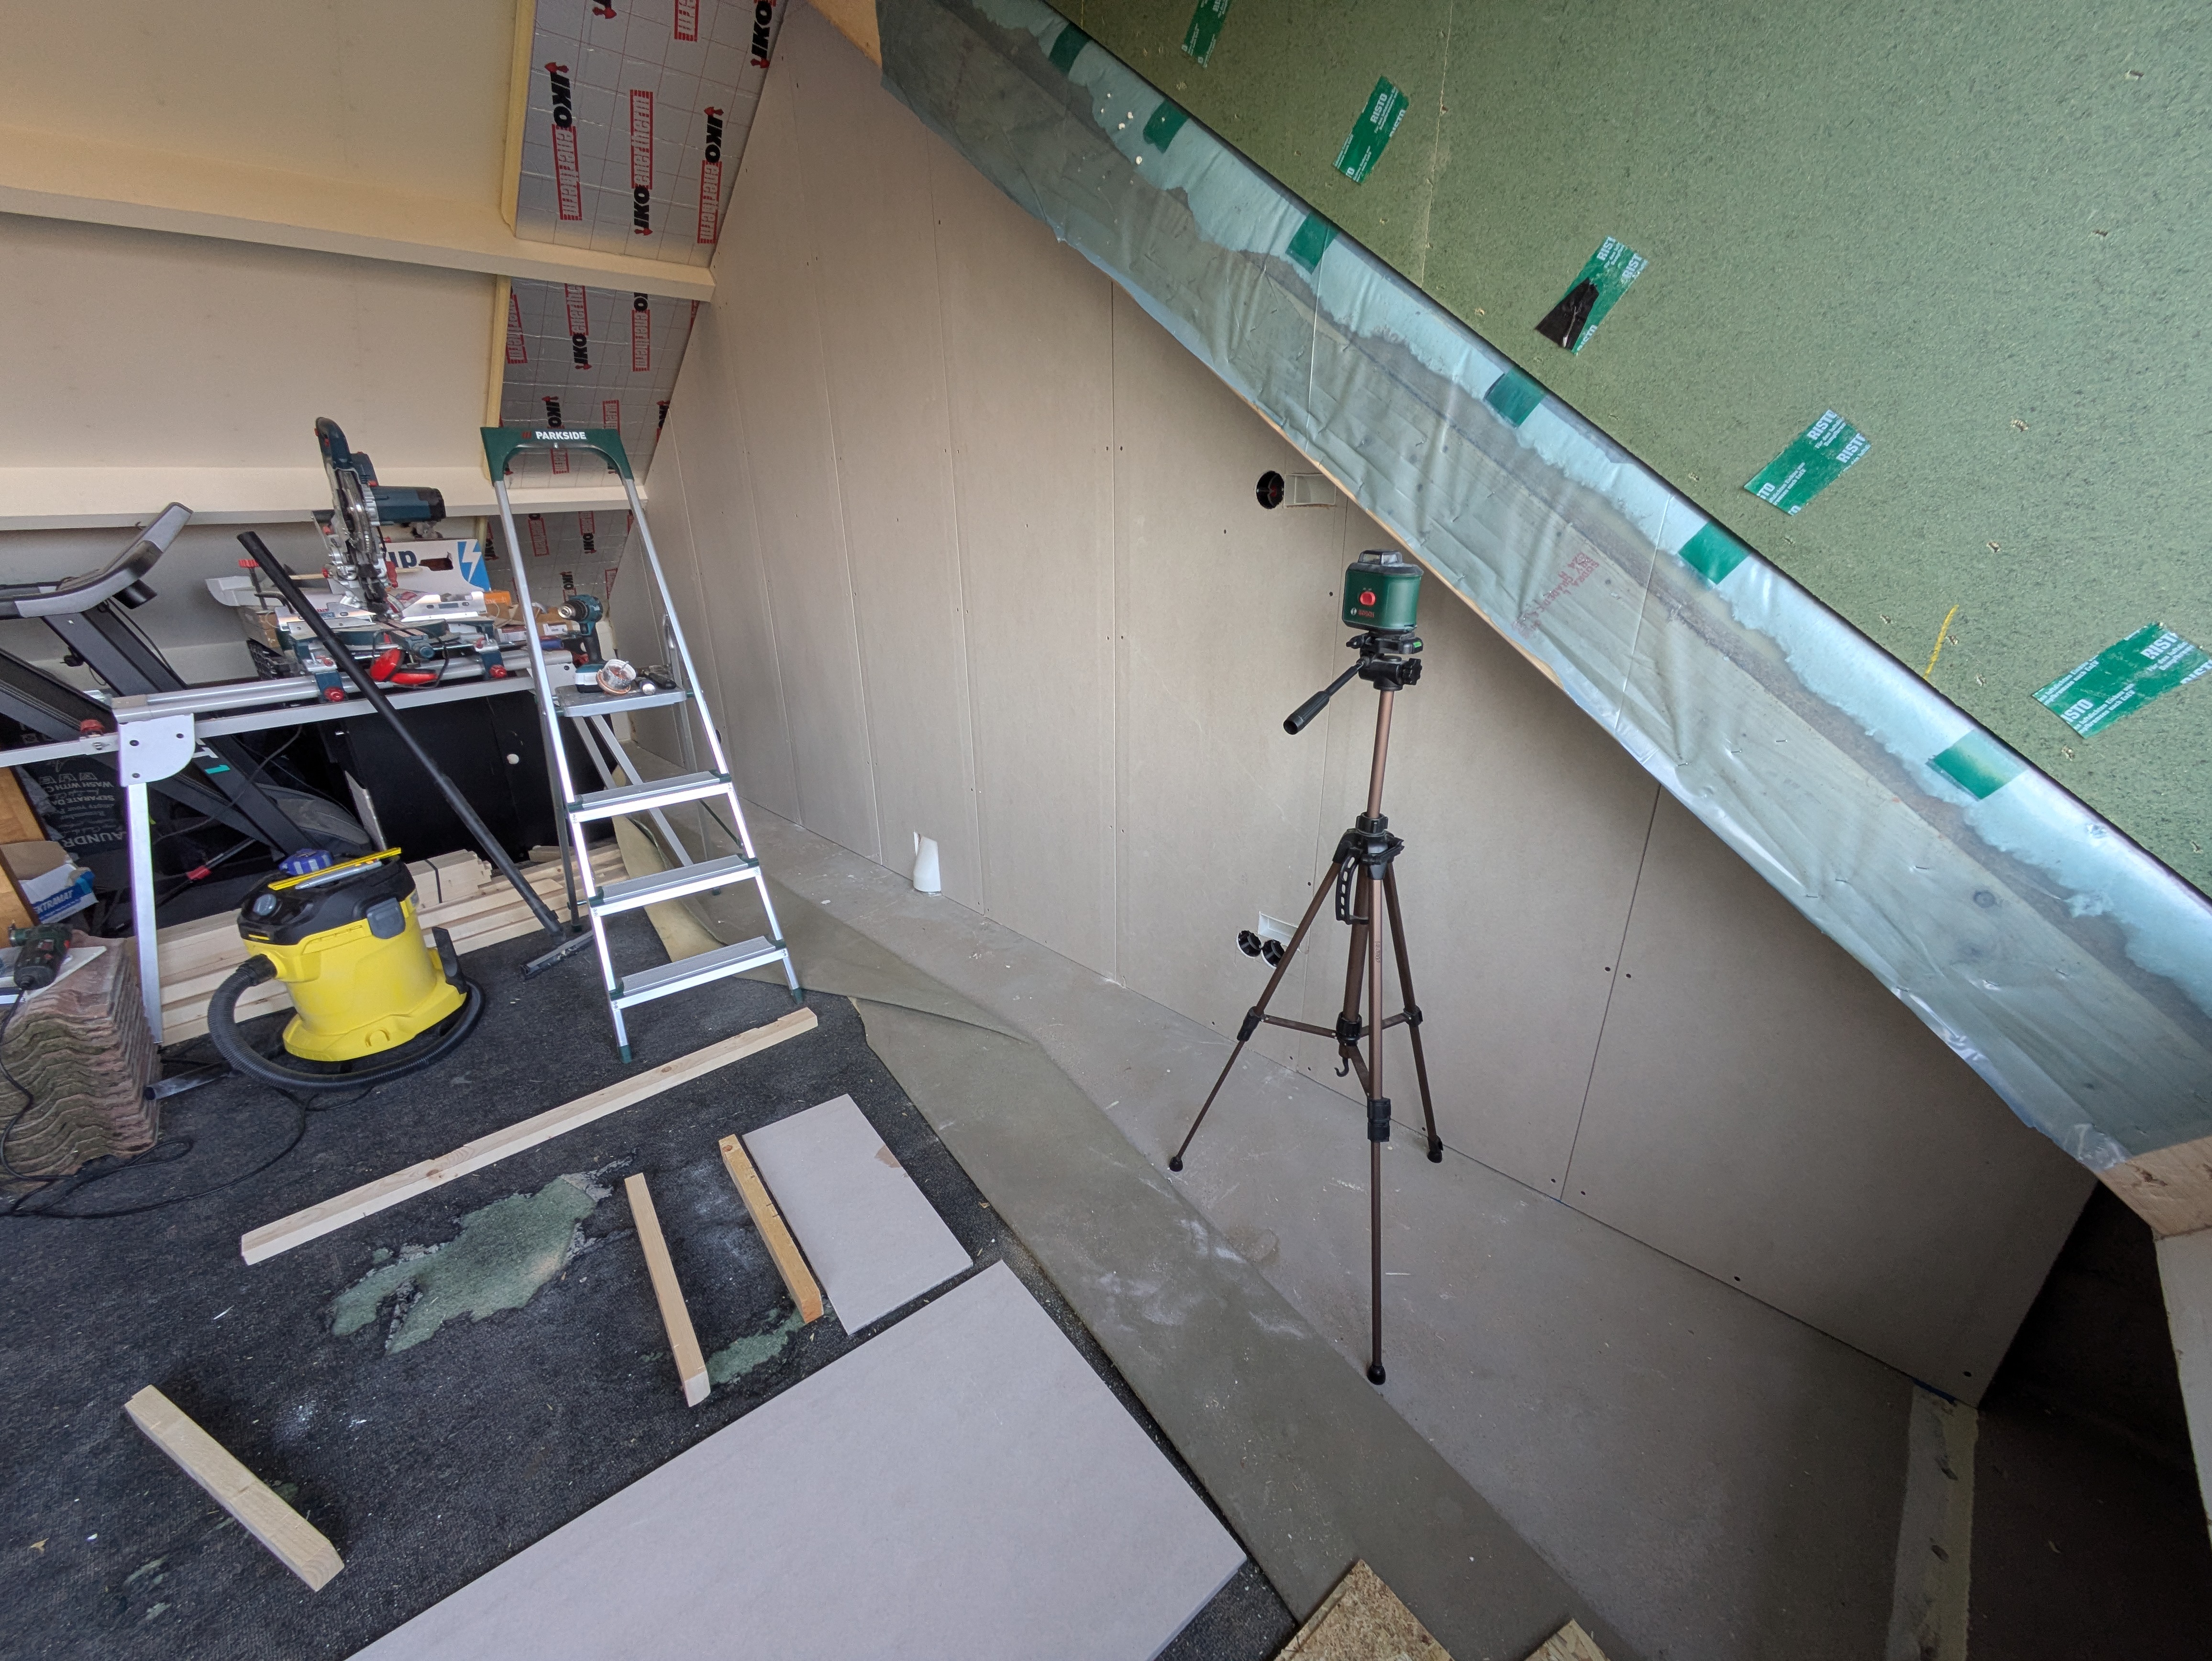
Then the real structural work began. Gijs installed a stud wall in front of the rear attic wall. This allows better insulation and cleaner routing of cables and pipes inside the wall. Since this wall borders the neighbor’s house (which also has a livable attic), he also hoped to reduce sound transfer in both directions.
The plan is to mount a TV on the right side, so Gijs added an extra-wide shaft for hidden cabling. This keeps peripherals (consoles, receivers, etc.) neatly out of sight. A power outlet is also included so all TV cables can be concealed.
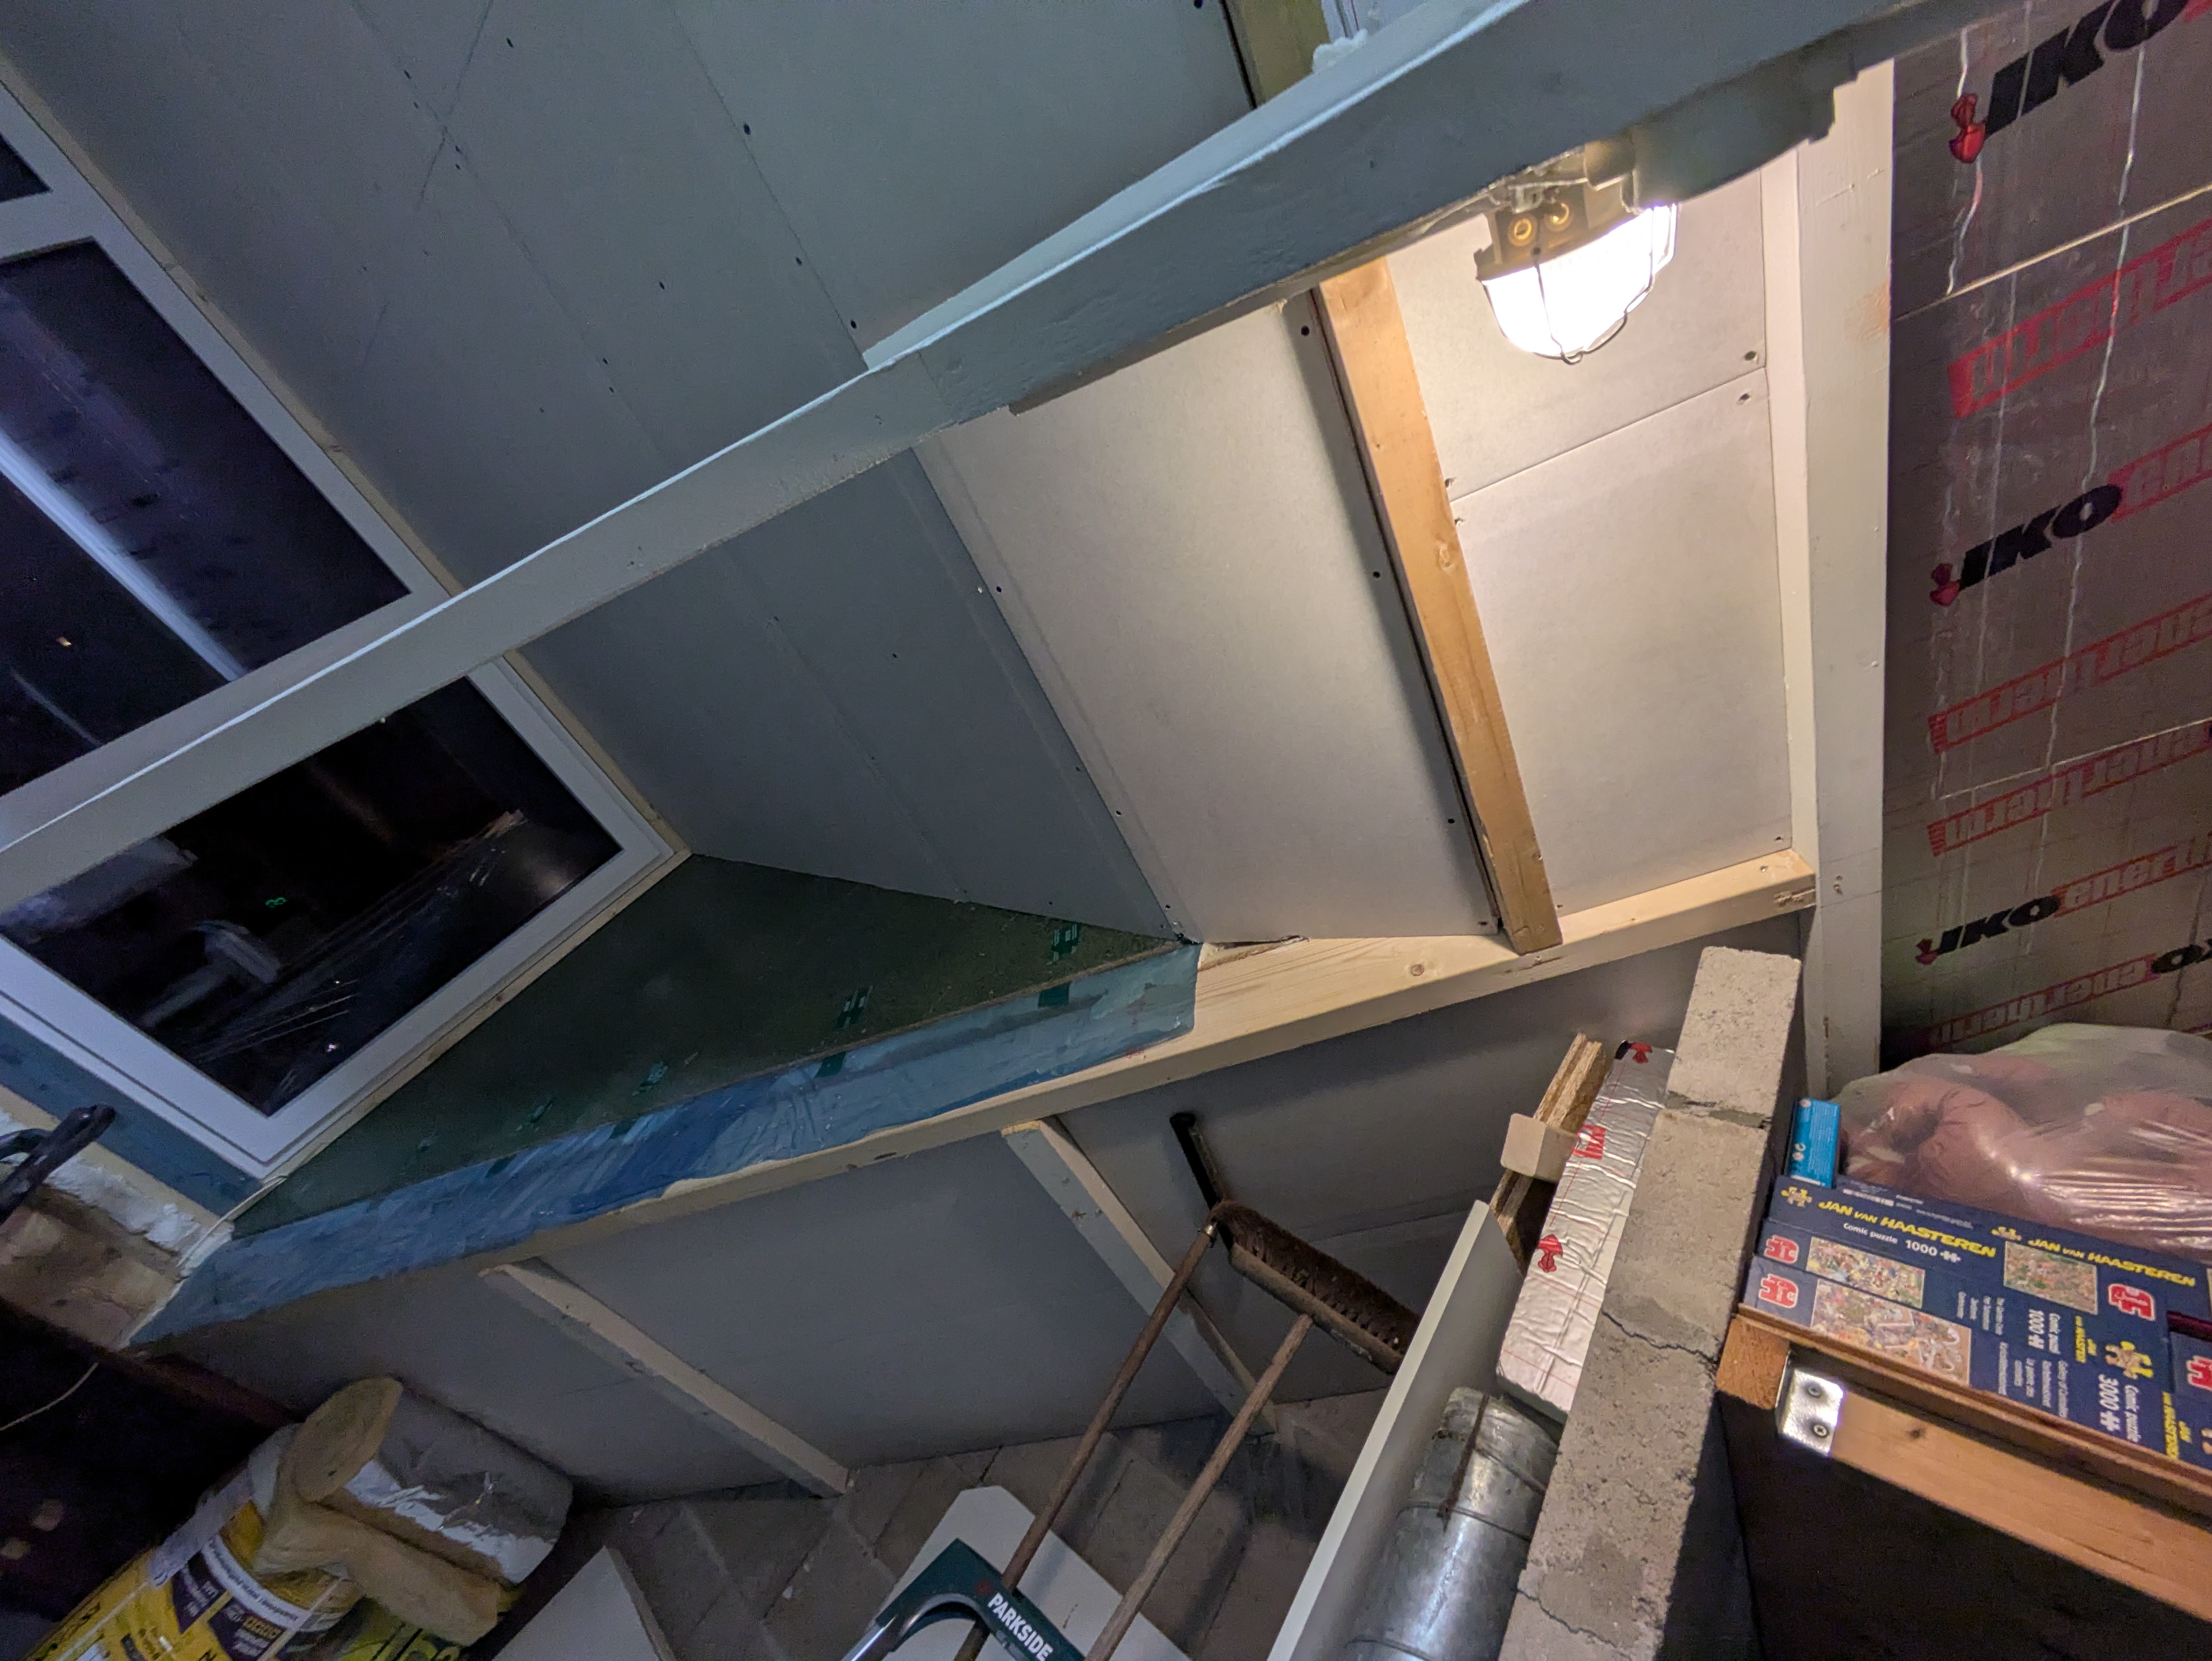
Finally, a wide shaft was added for ventilation from the ground floor. For this he reused the old cooker hood duct. It has not been used for years, and because better insulation makes ventilation increasingly important, this was a practical reuse.

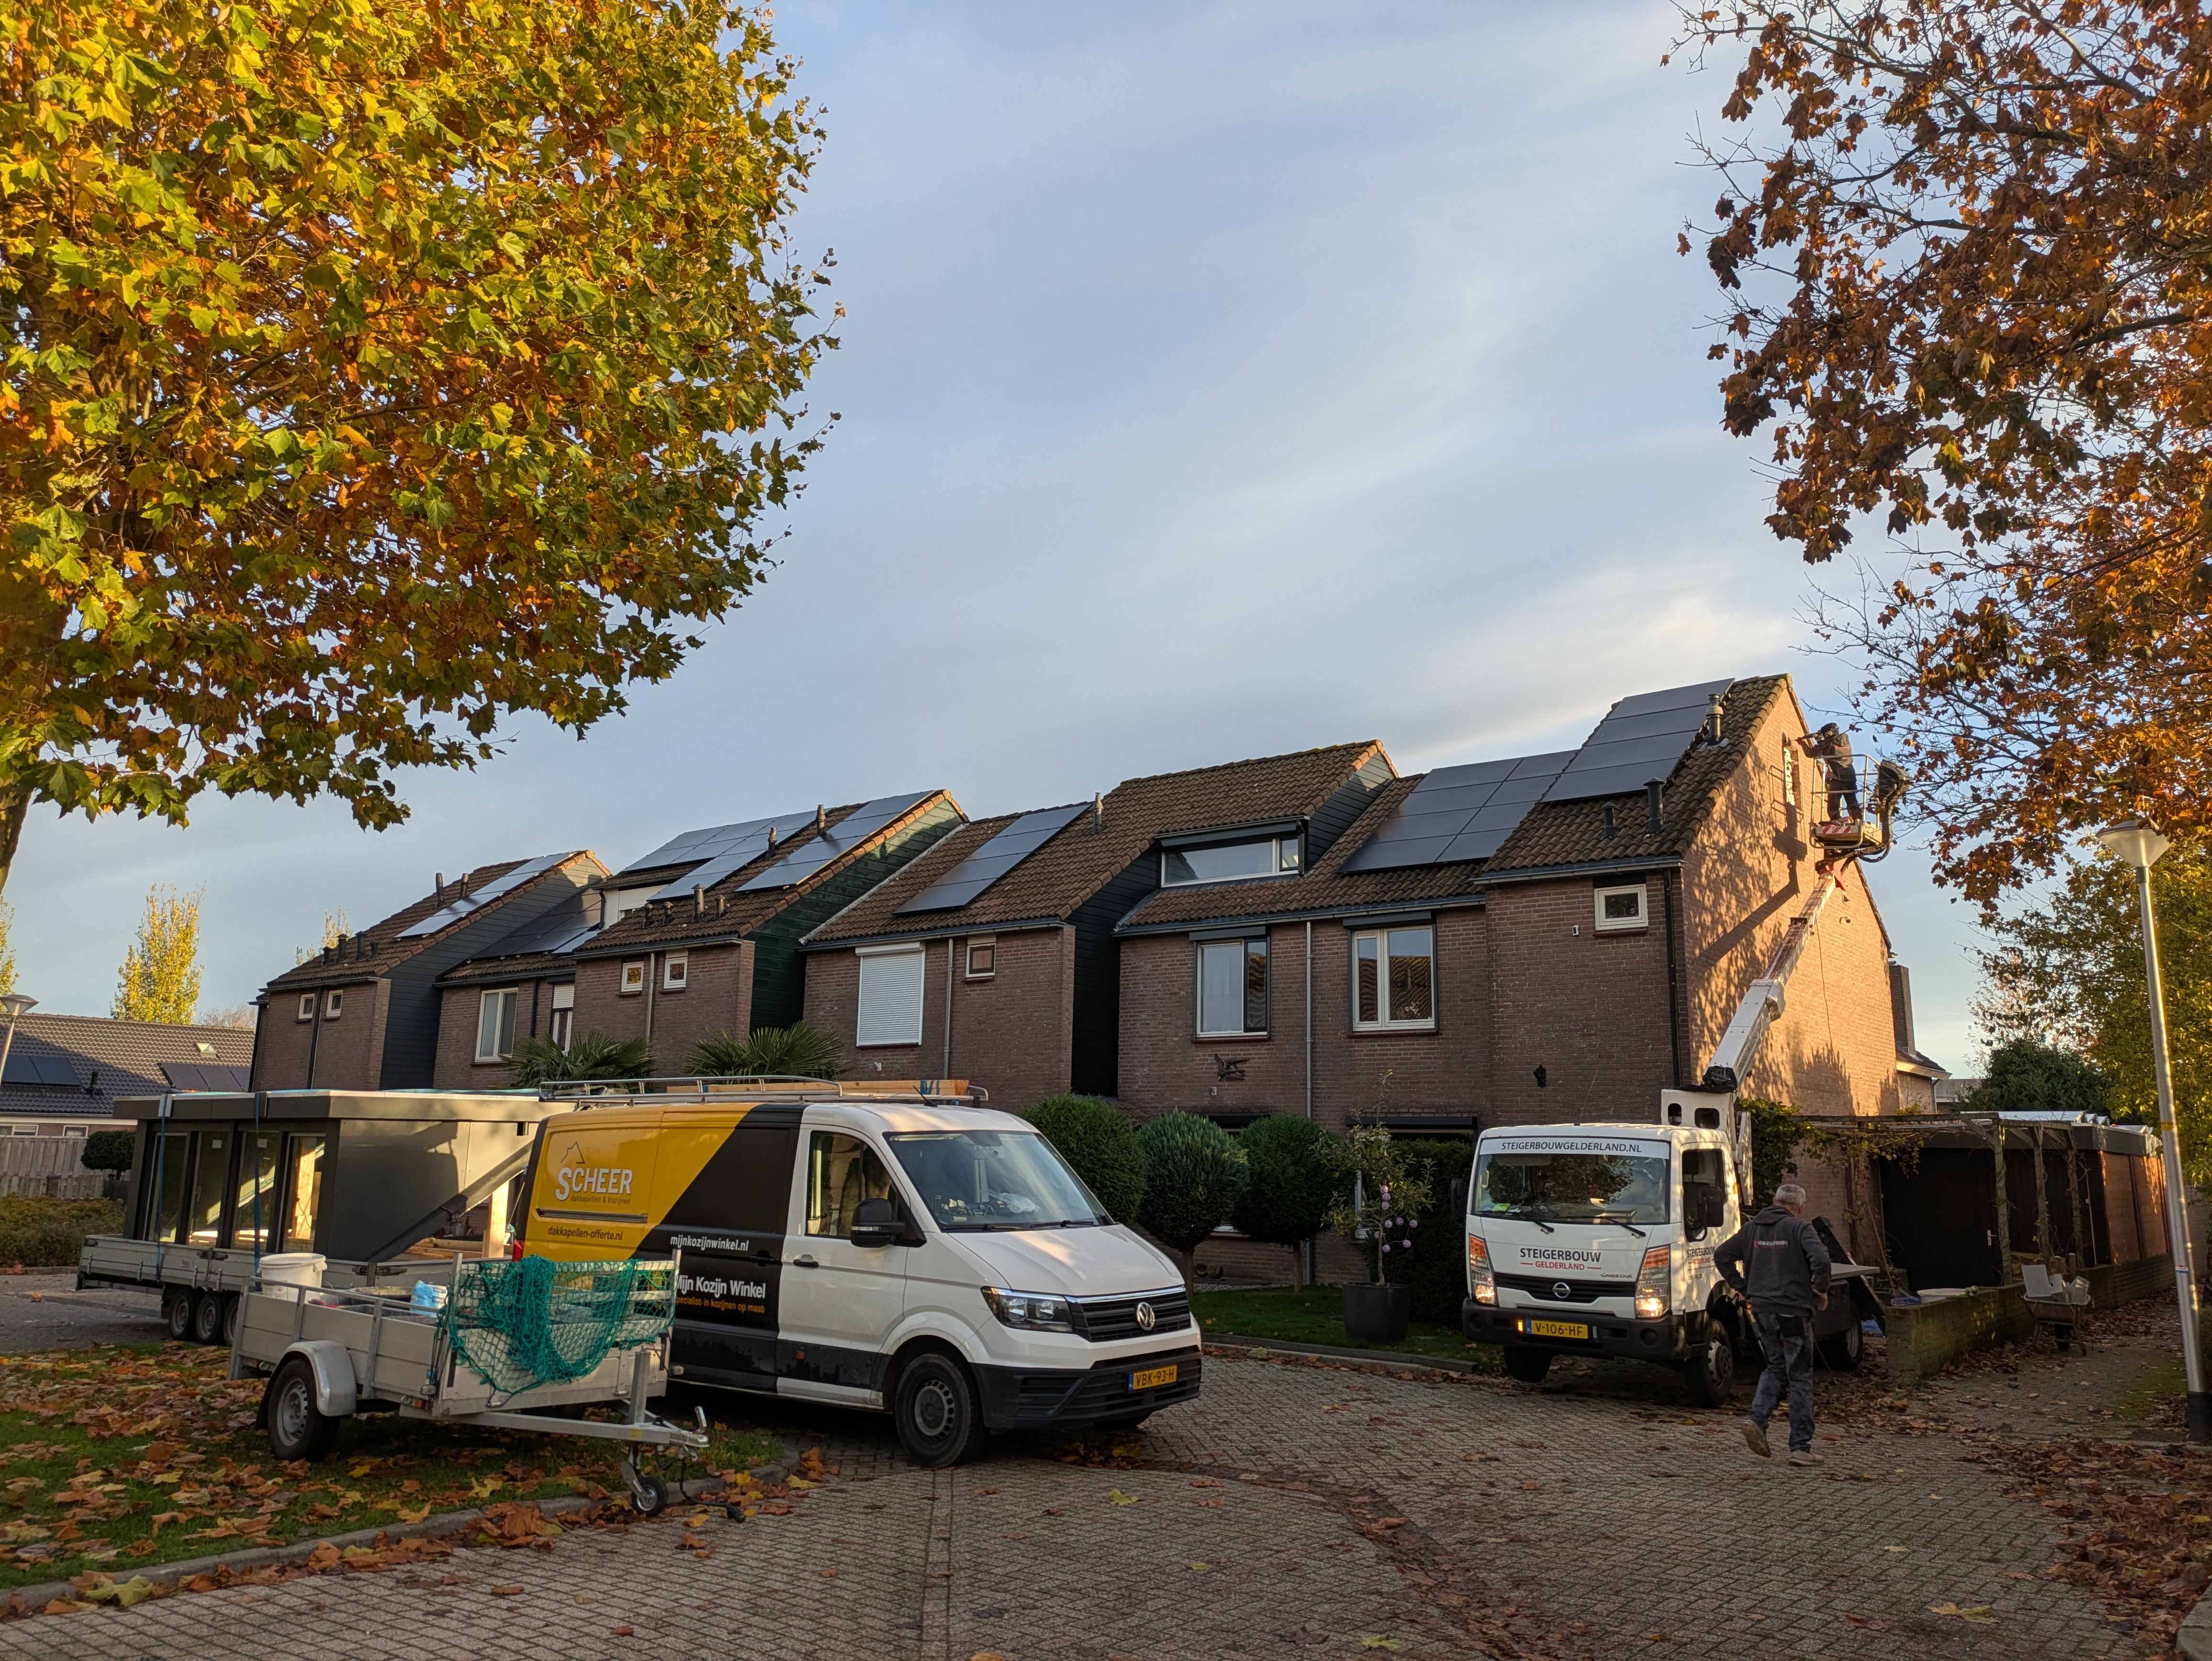
Then came the big moment: the dormer was installed. Gijs did not do this himself; building and installing a dormer is specialist work. From an insurance perspective, it is also wiser to hire a professional company.
The dormer was prefabricated in a workshop and installed as one unit. First, a hole was cut in the roof, and all debris was loaded into big bags so a large crane could lift it down through the opening. Gijs made eager use of this by buying his own big bag and filling it with construction waste, saving a lot of heavy carrying.
After all waste was removed, the crane lifted the dormer over the roof and secured it in its final position. It was then sealed water- and airtight with lead flashing and insulating foam.
After this exciting interruption, Gijs went straight back to work on the stud wall. He already gained experience with this in Gijs Grote Garageverbouwing ©.
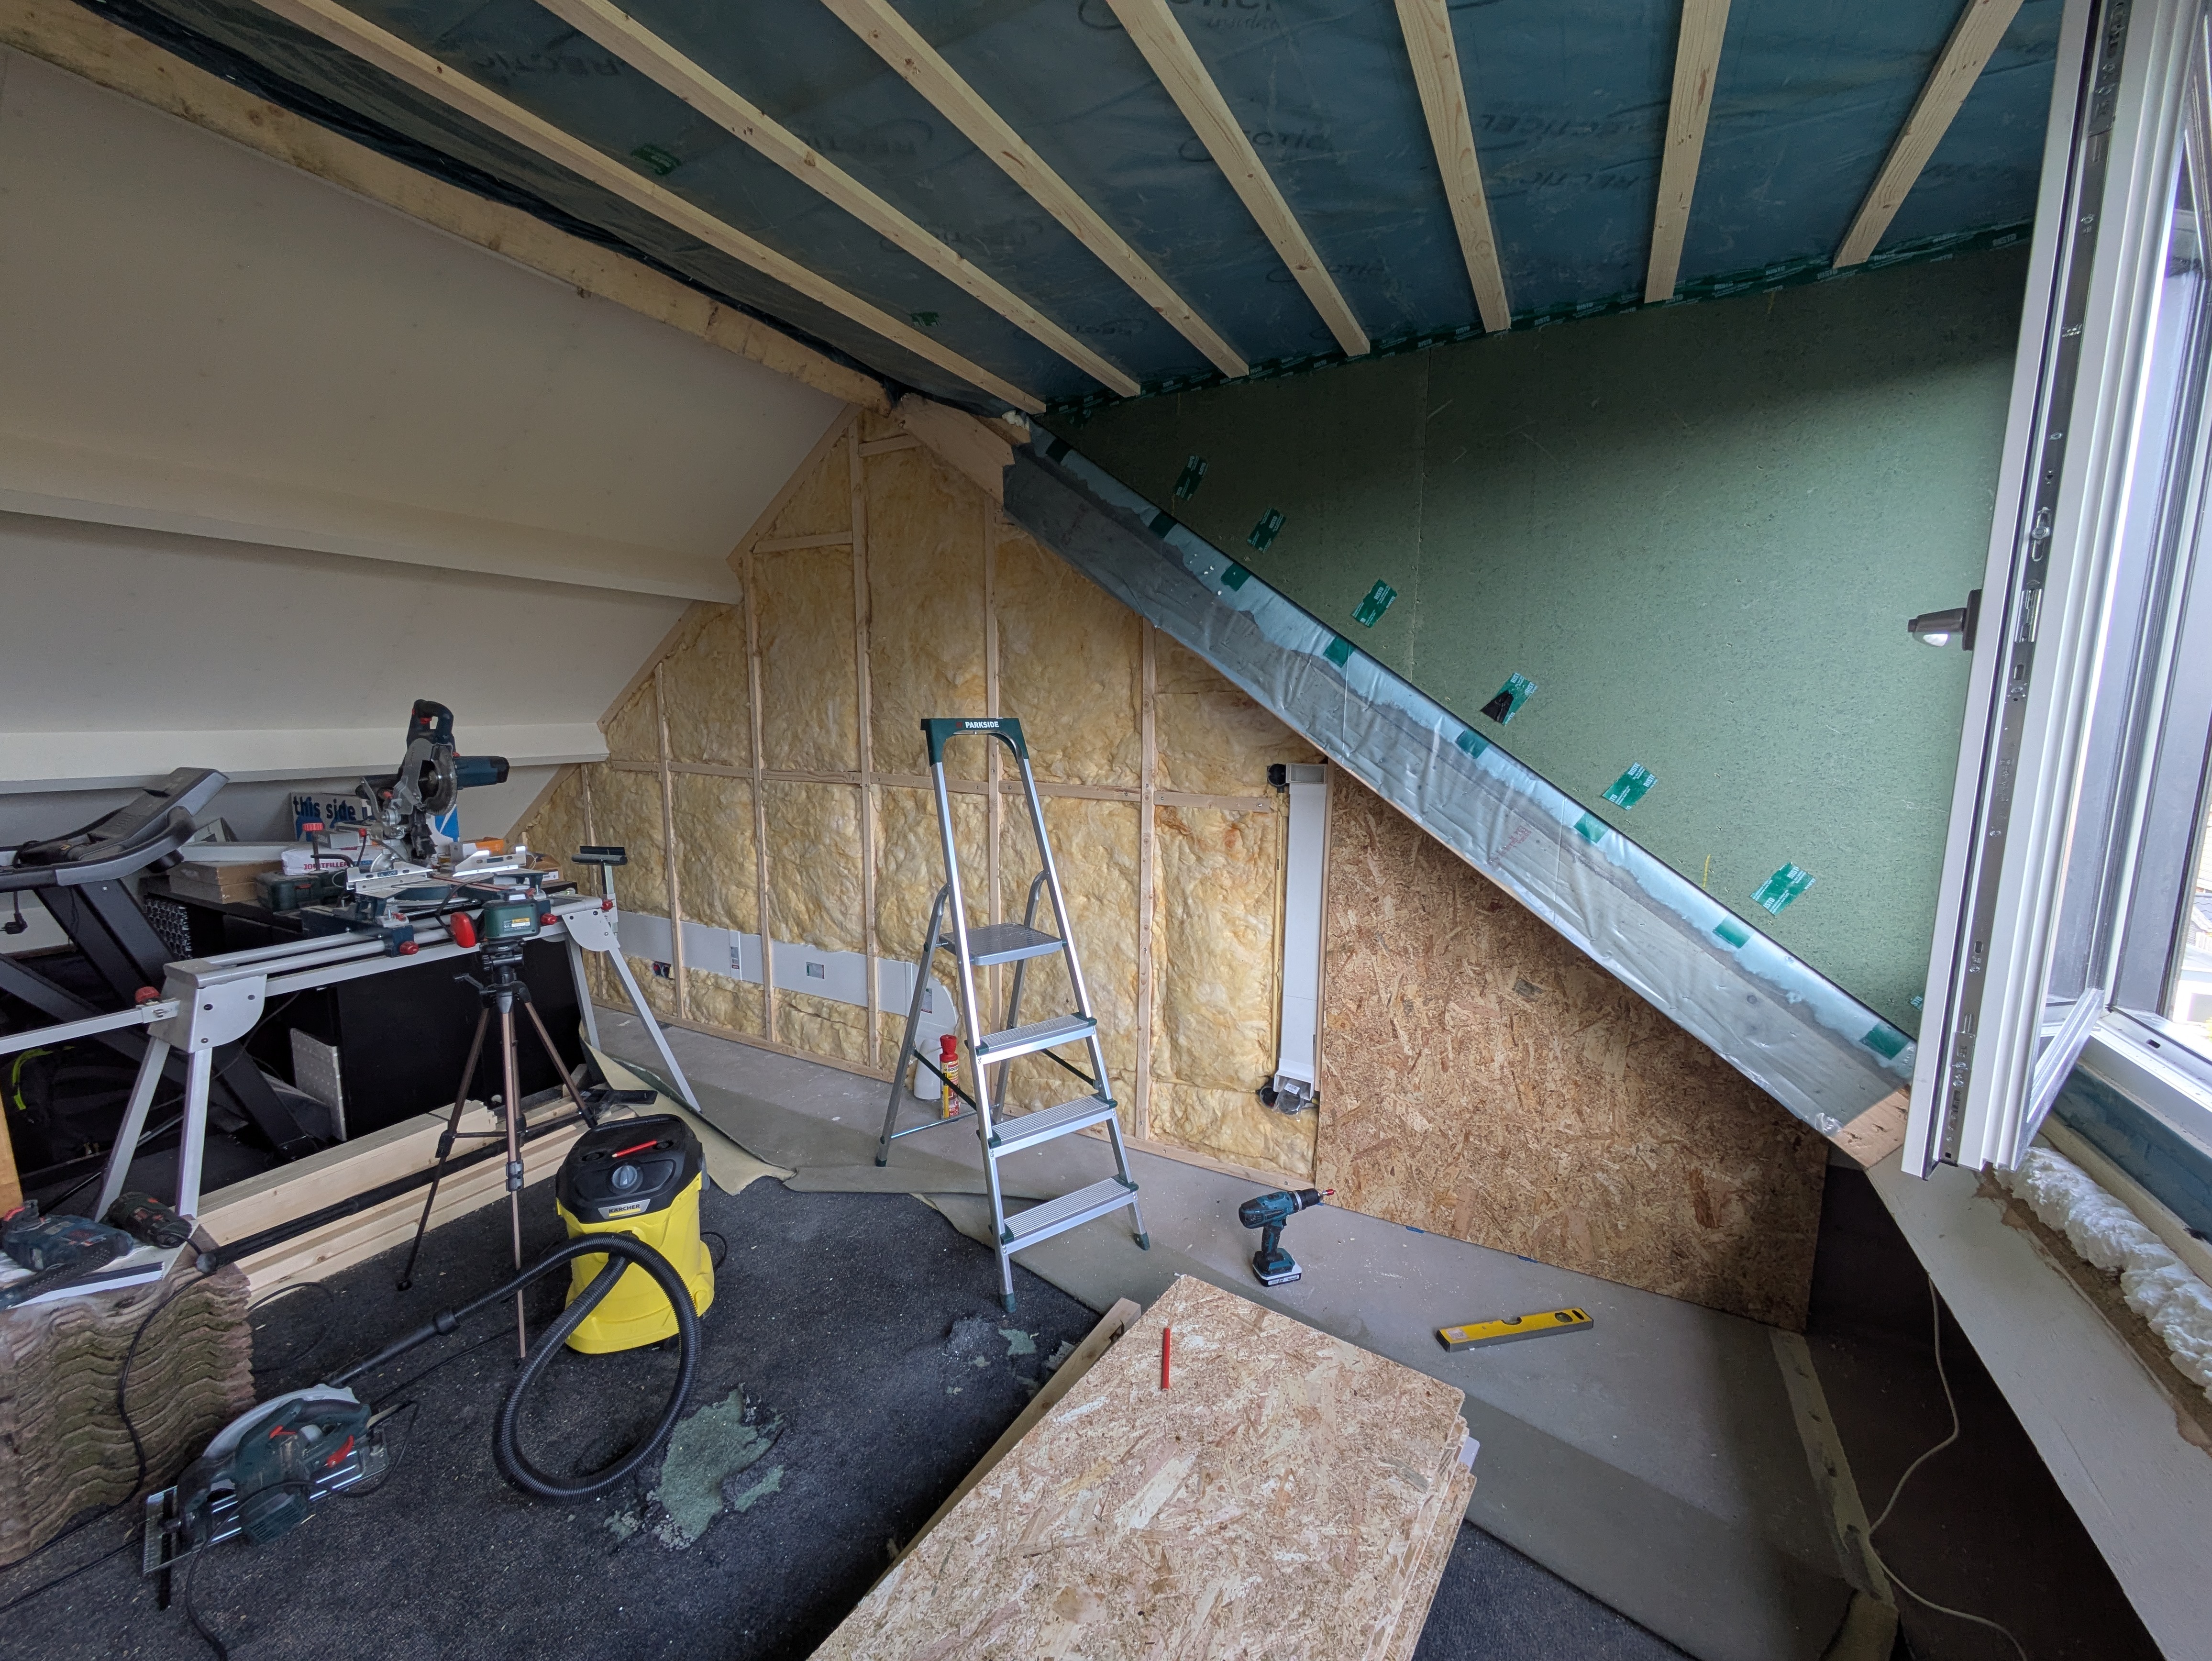
First he built a frame and filled it with glass wool insulation. OSB boards were screwed onto the frame to add rigidity. This makes the wall more impact-resistant and makes it easier to mount shelves or paintings later. Drywall sheets were then installed for a clean finish. To hide seams neatly, Gijs chose boards with recessed edges so joint compound could be applied and smoothed flush.
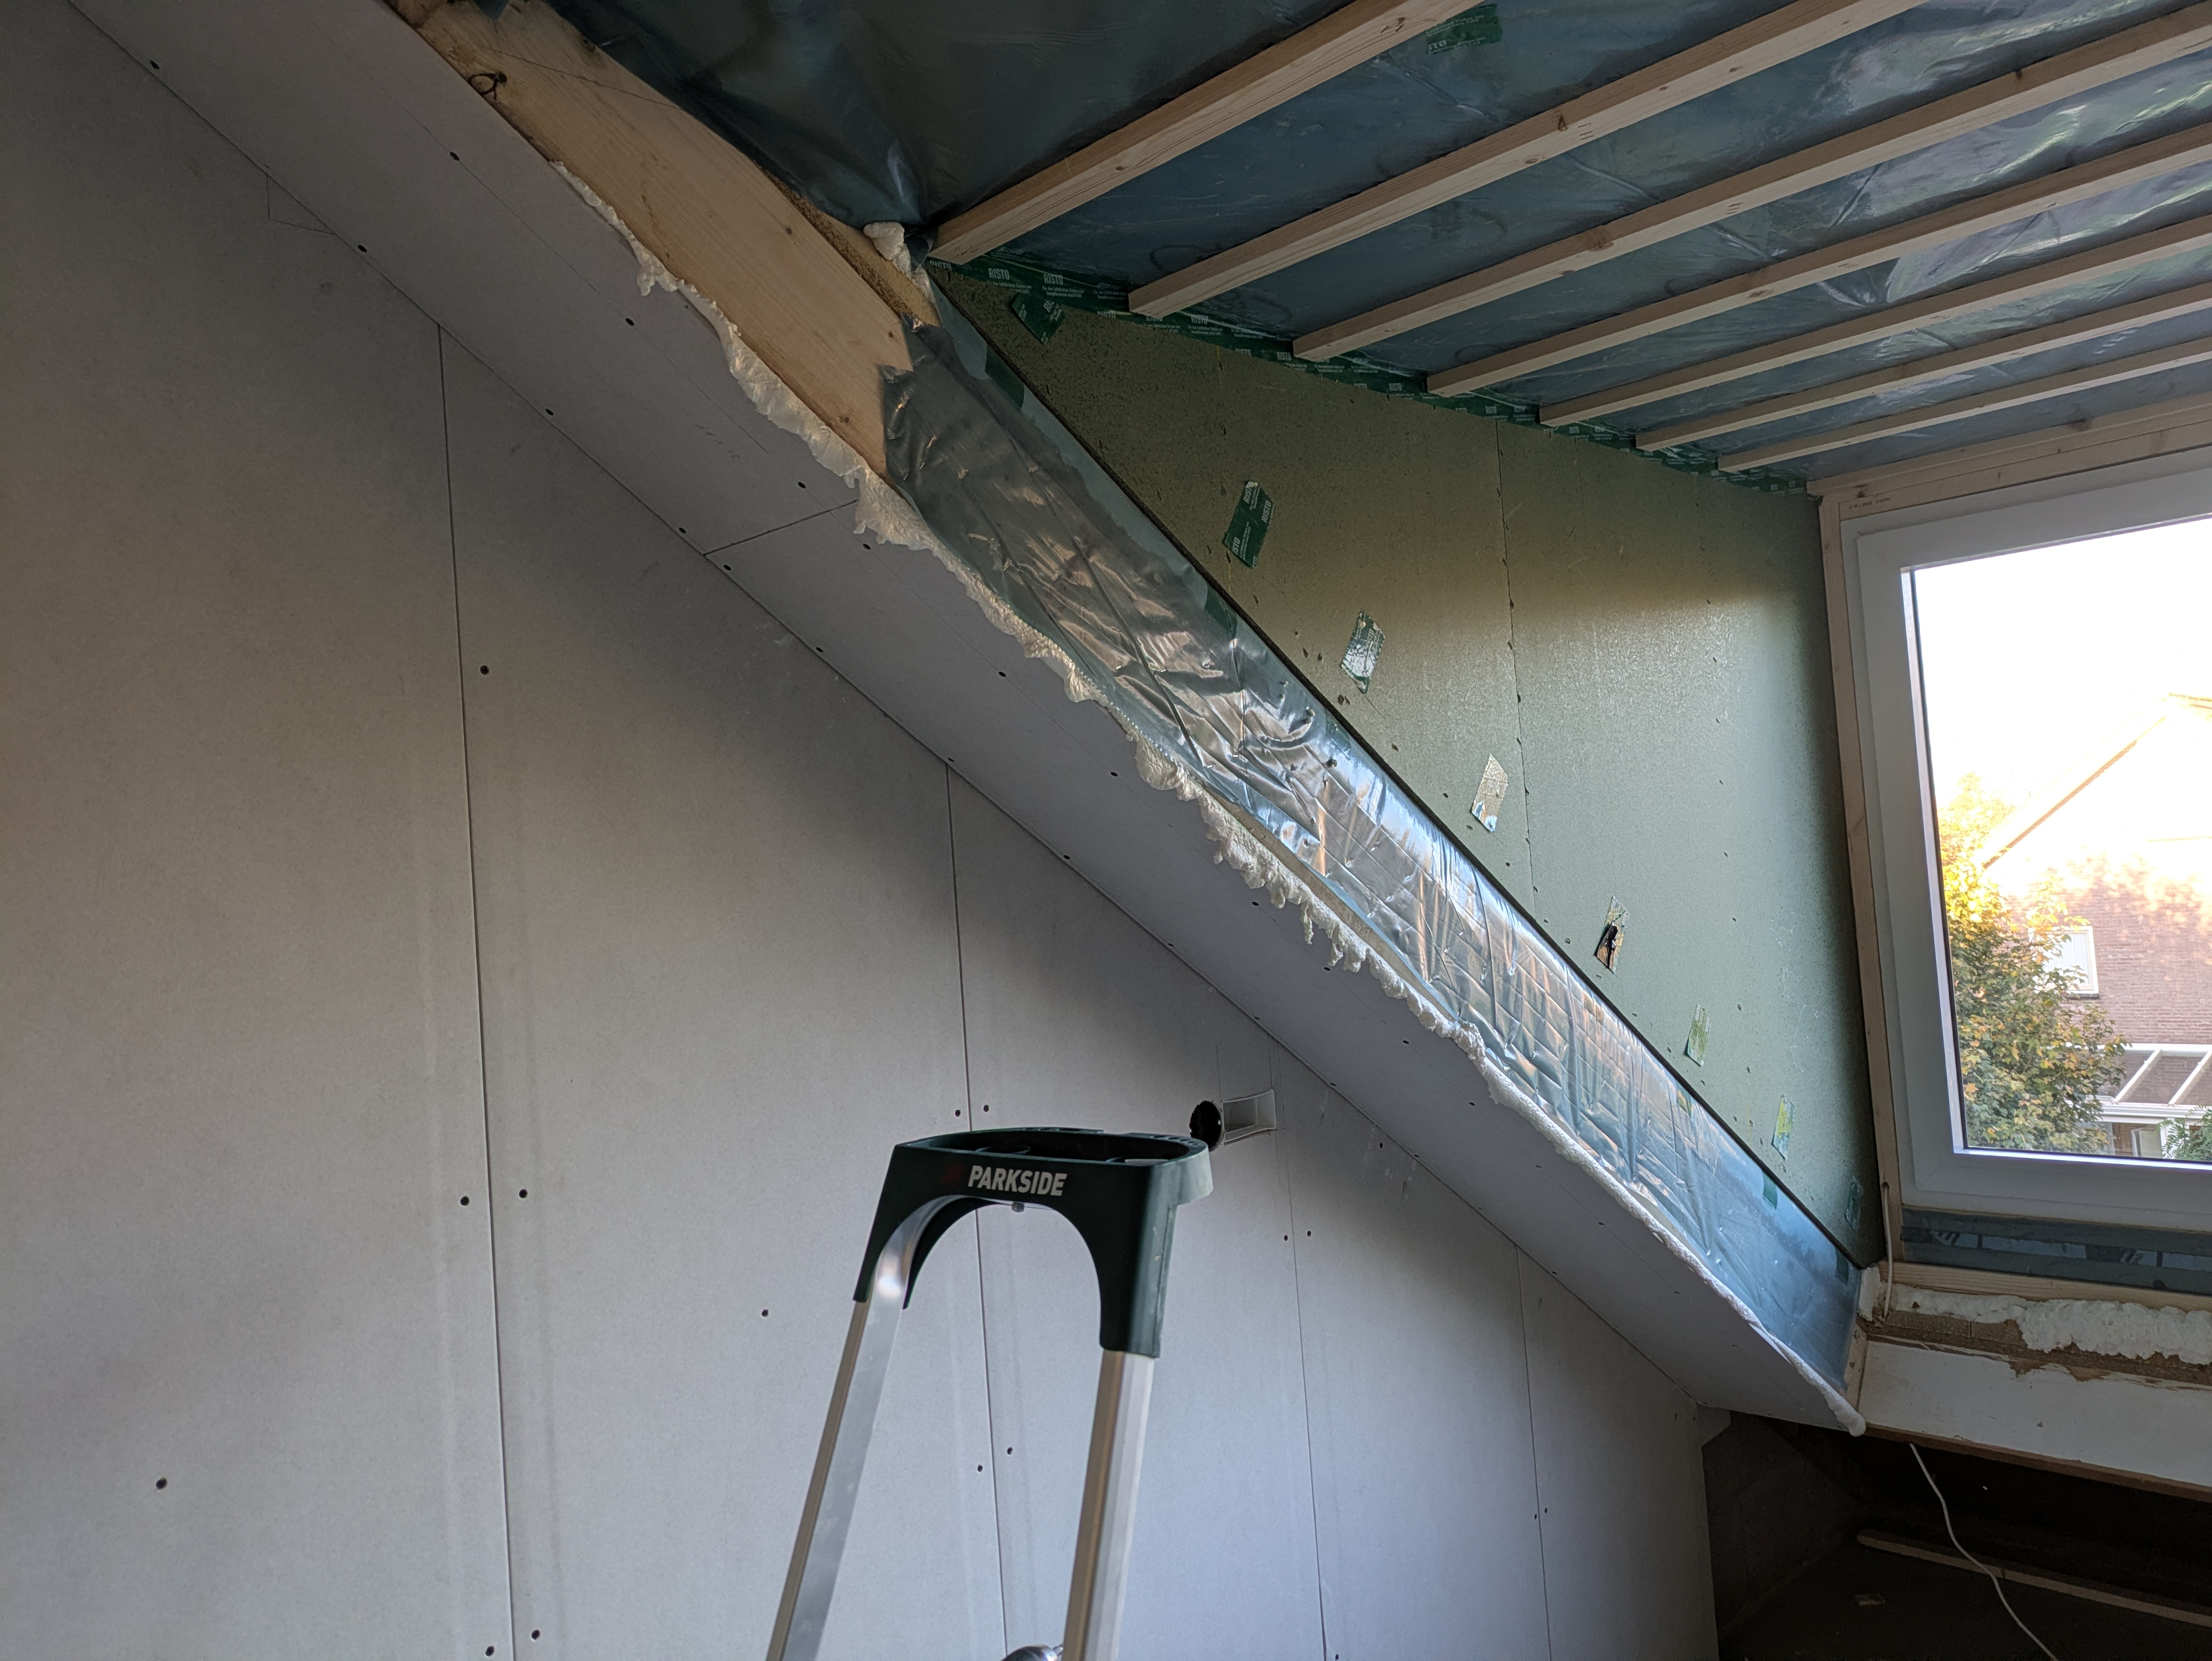
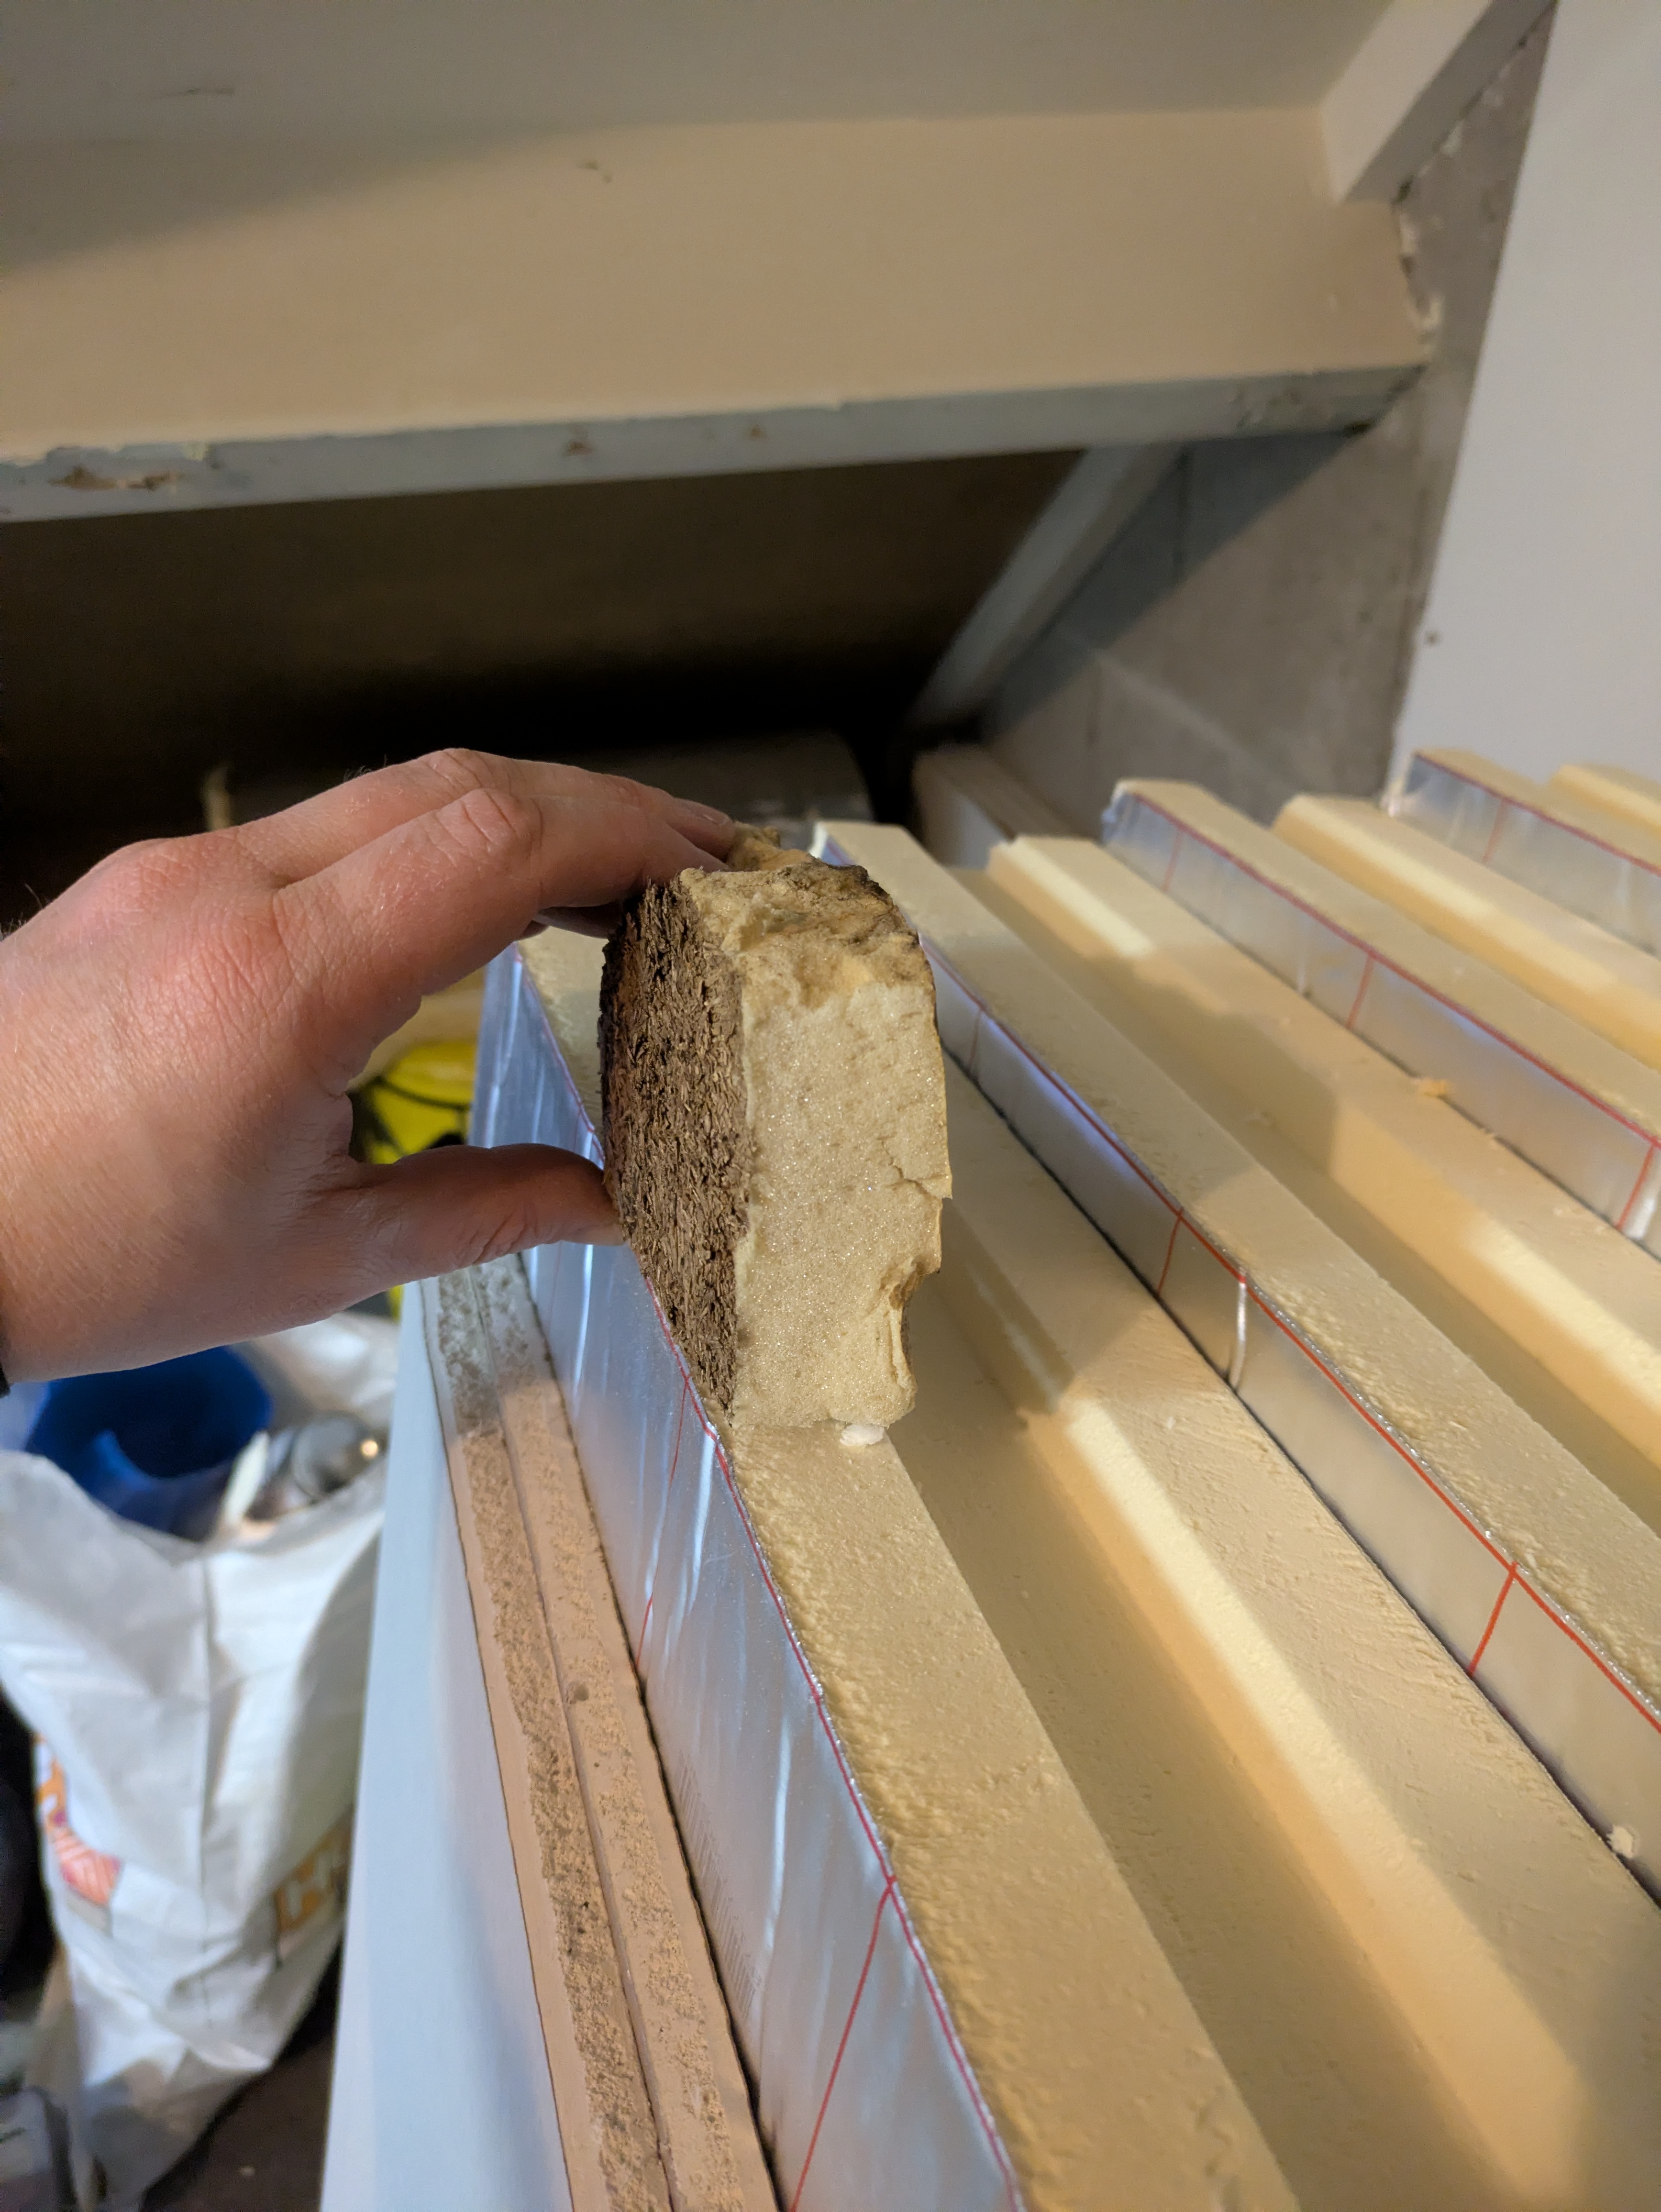
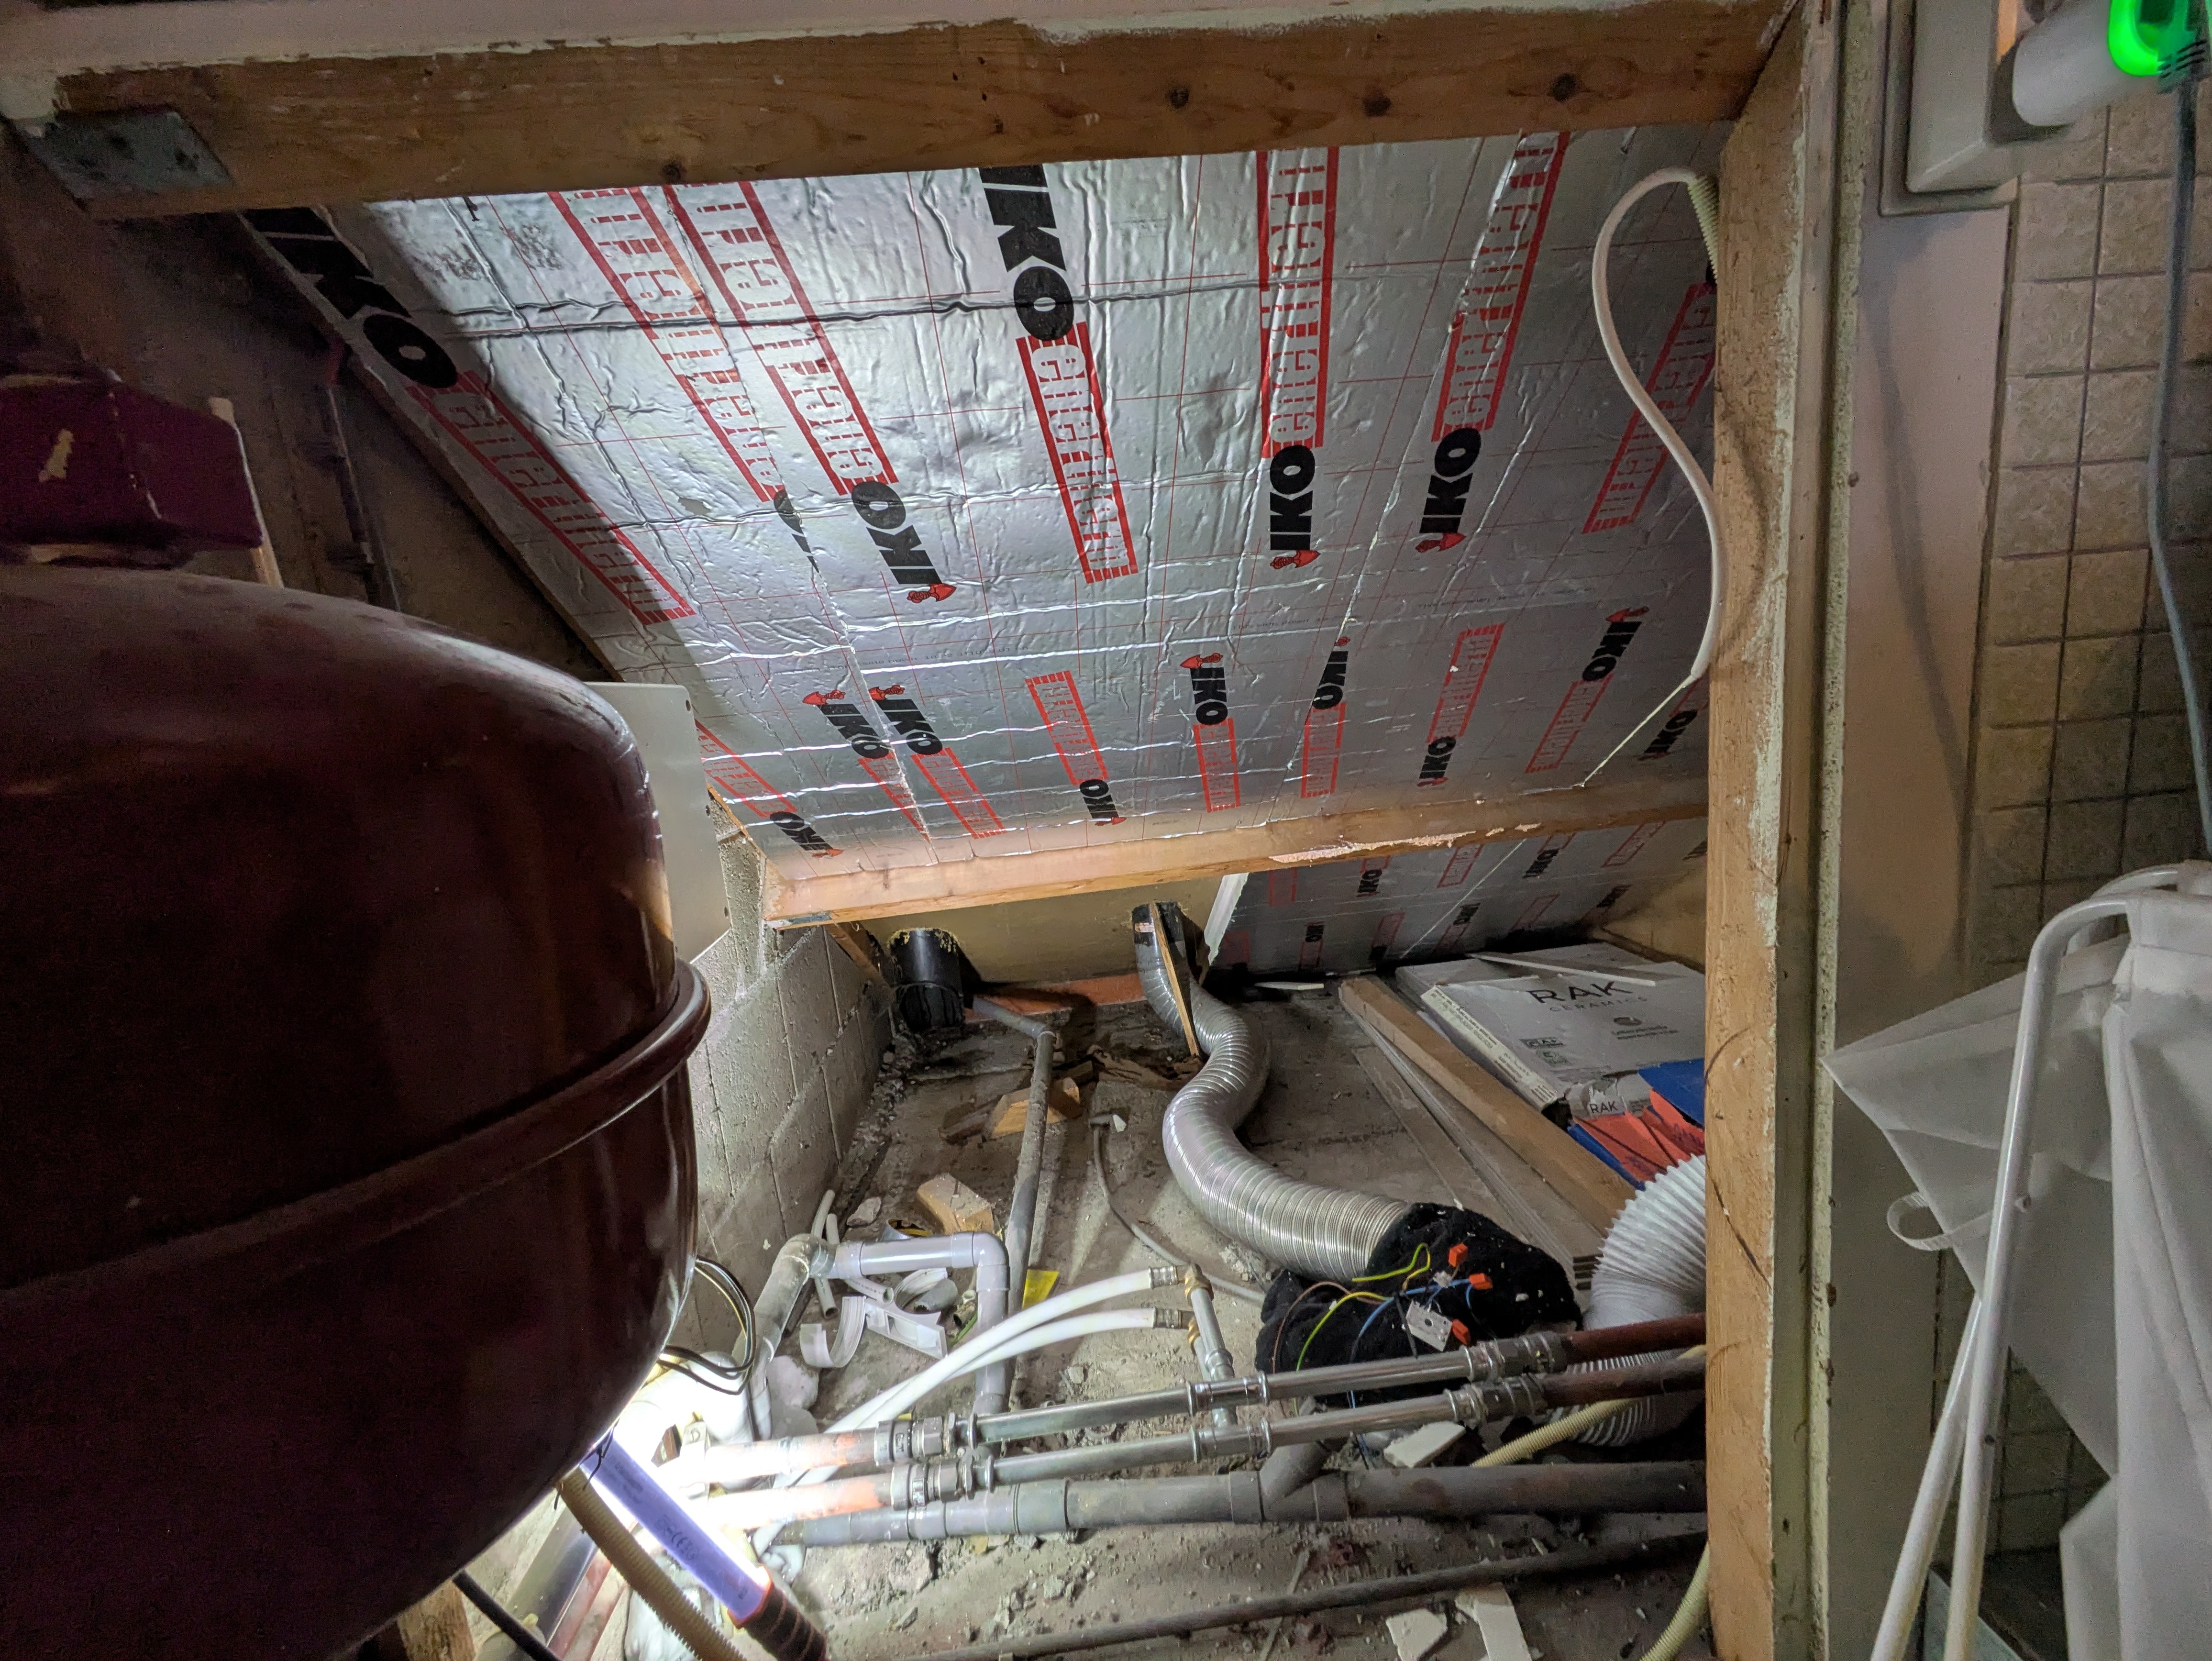
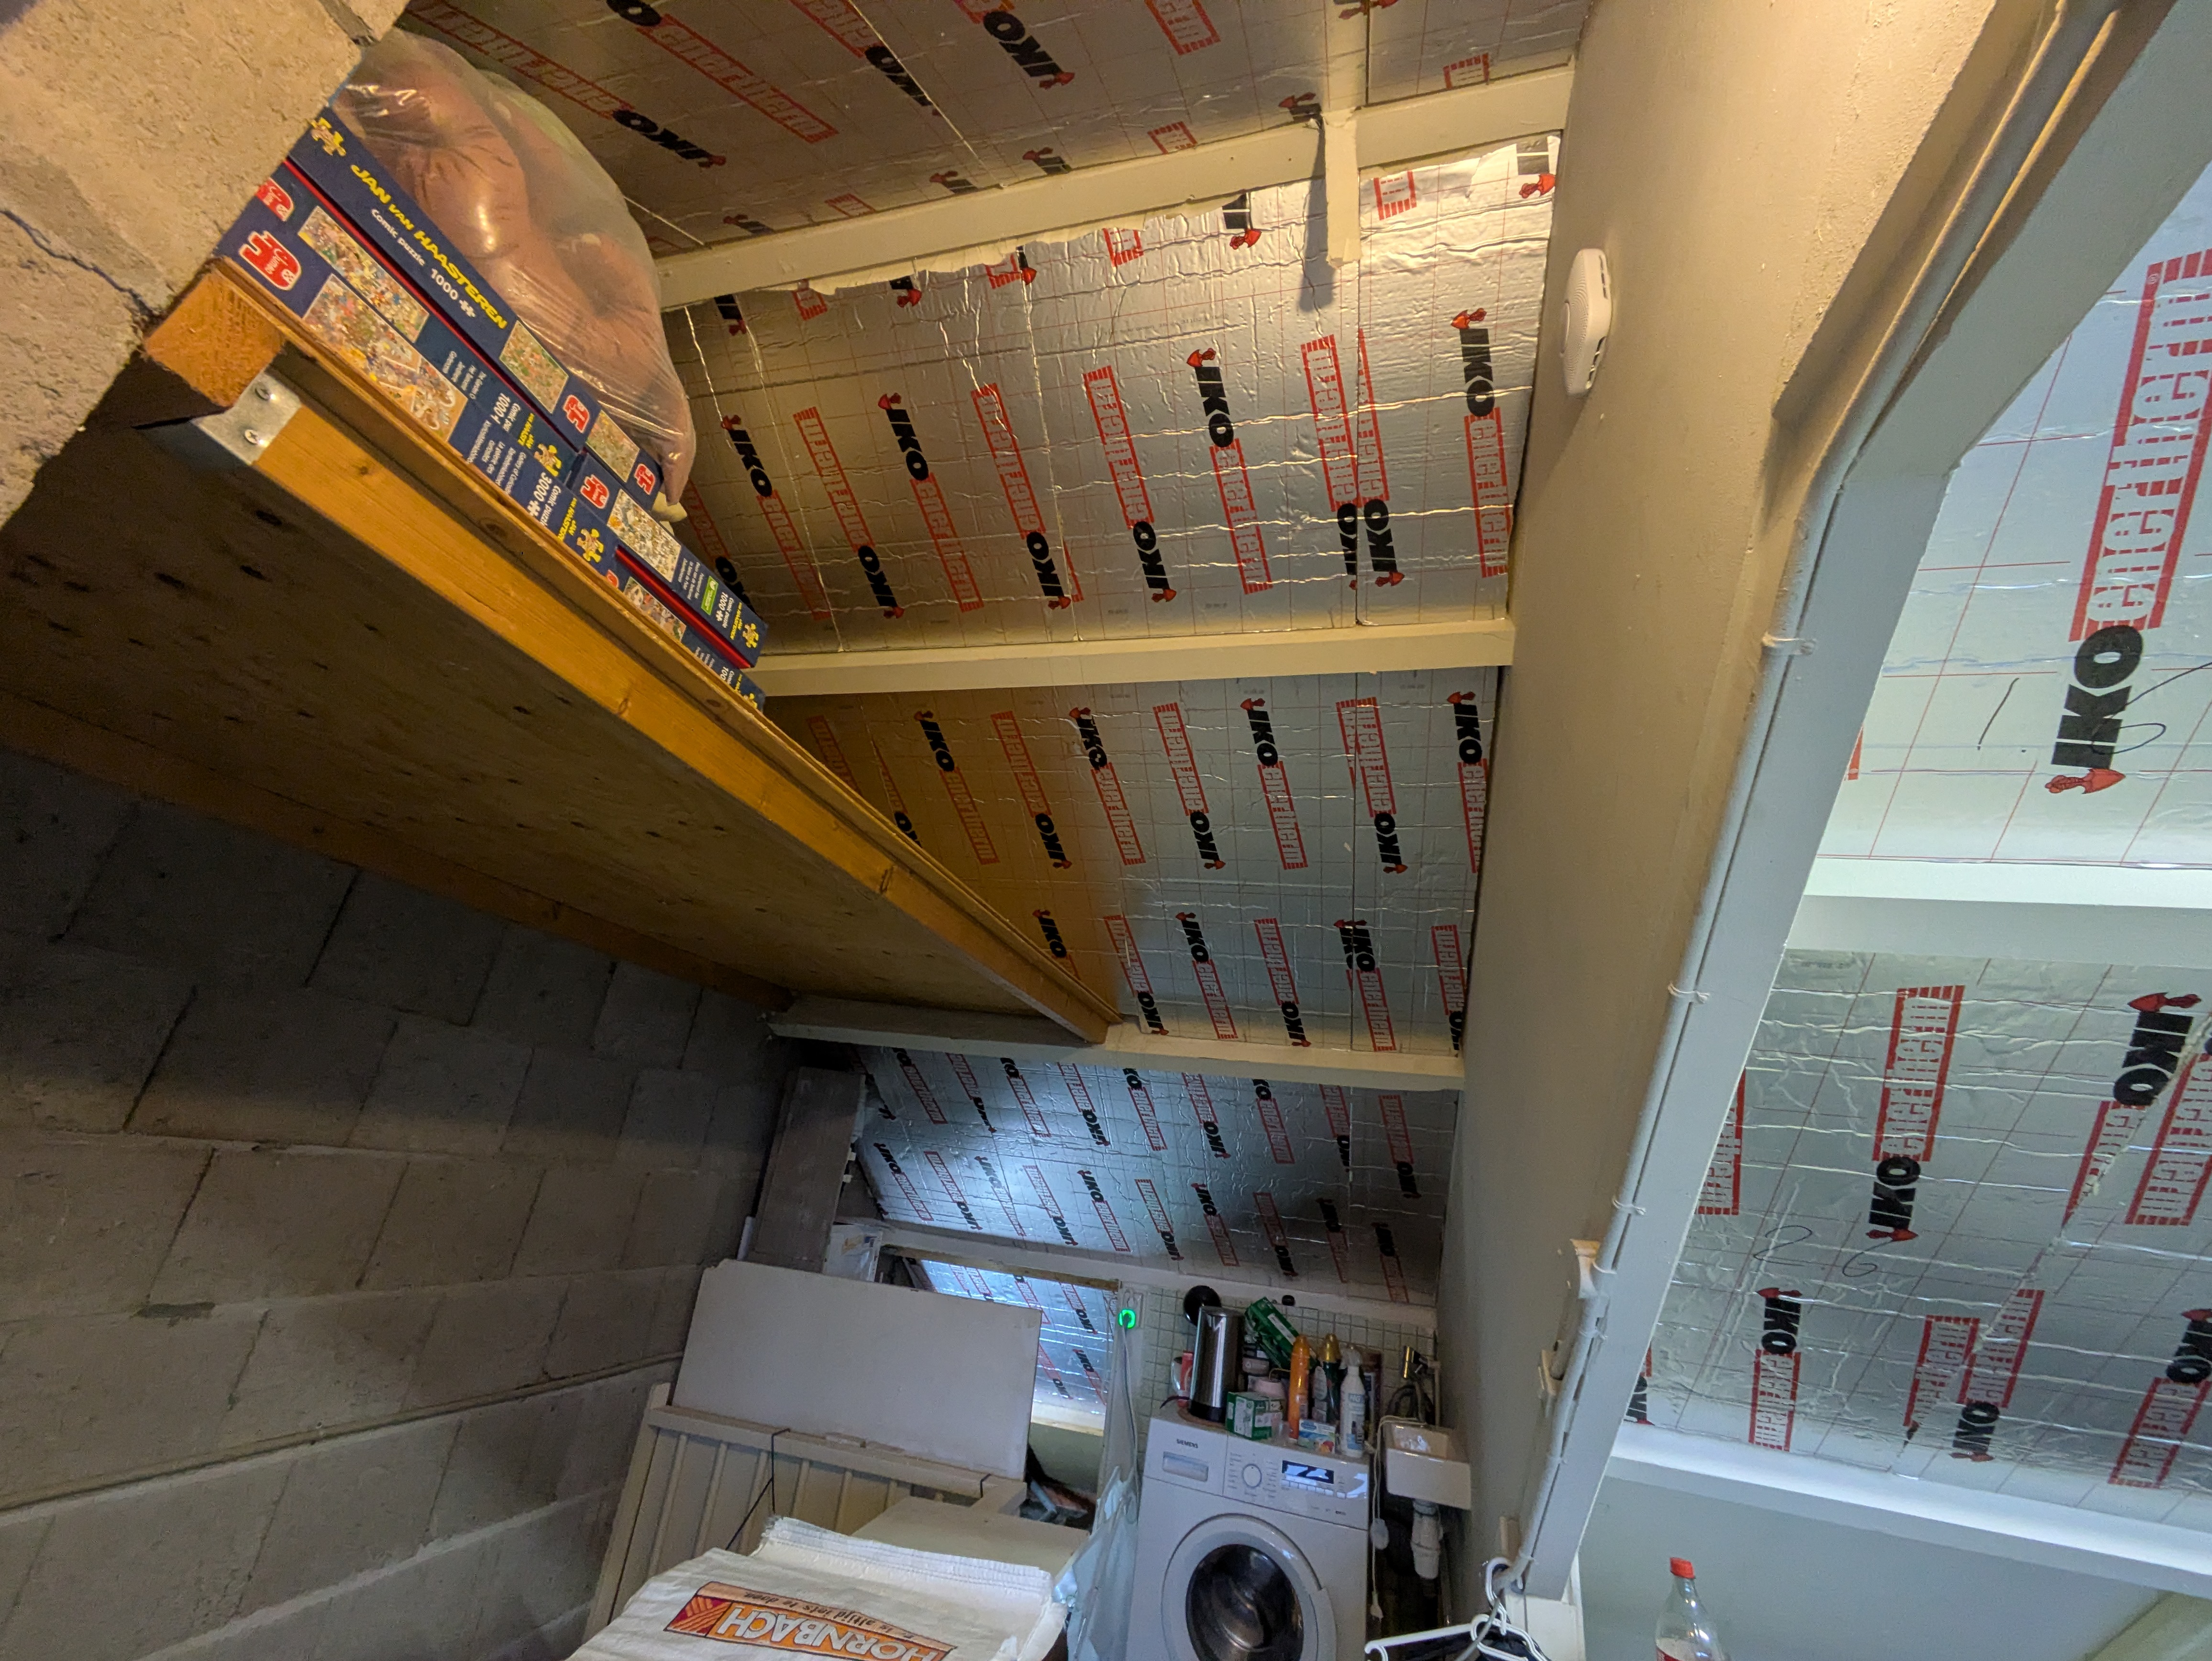
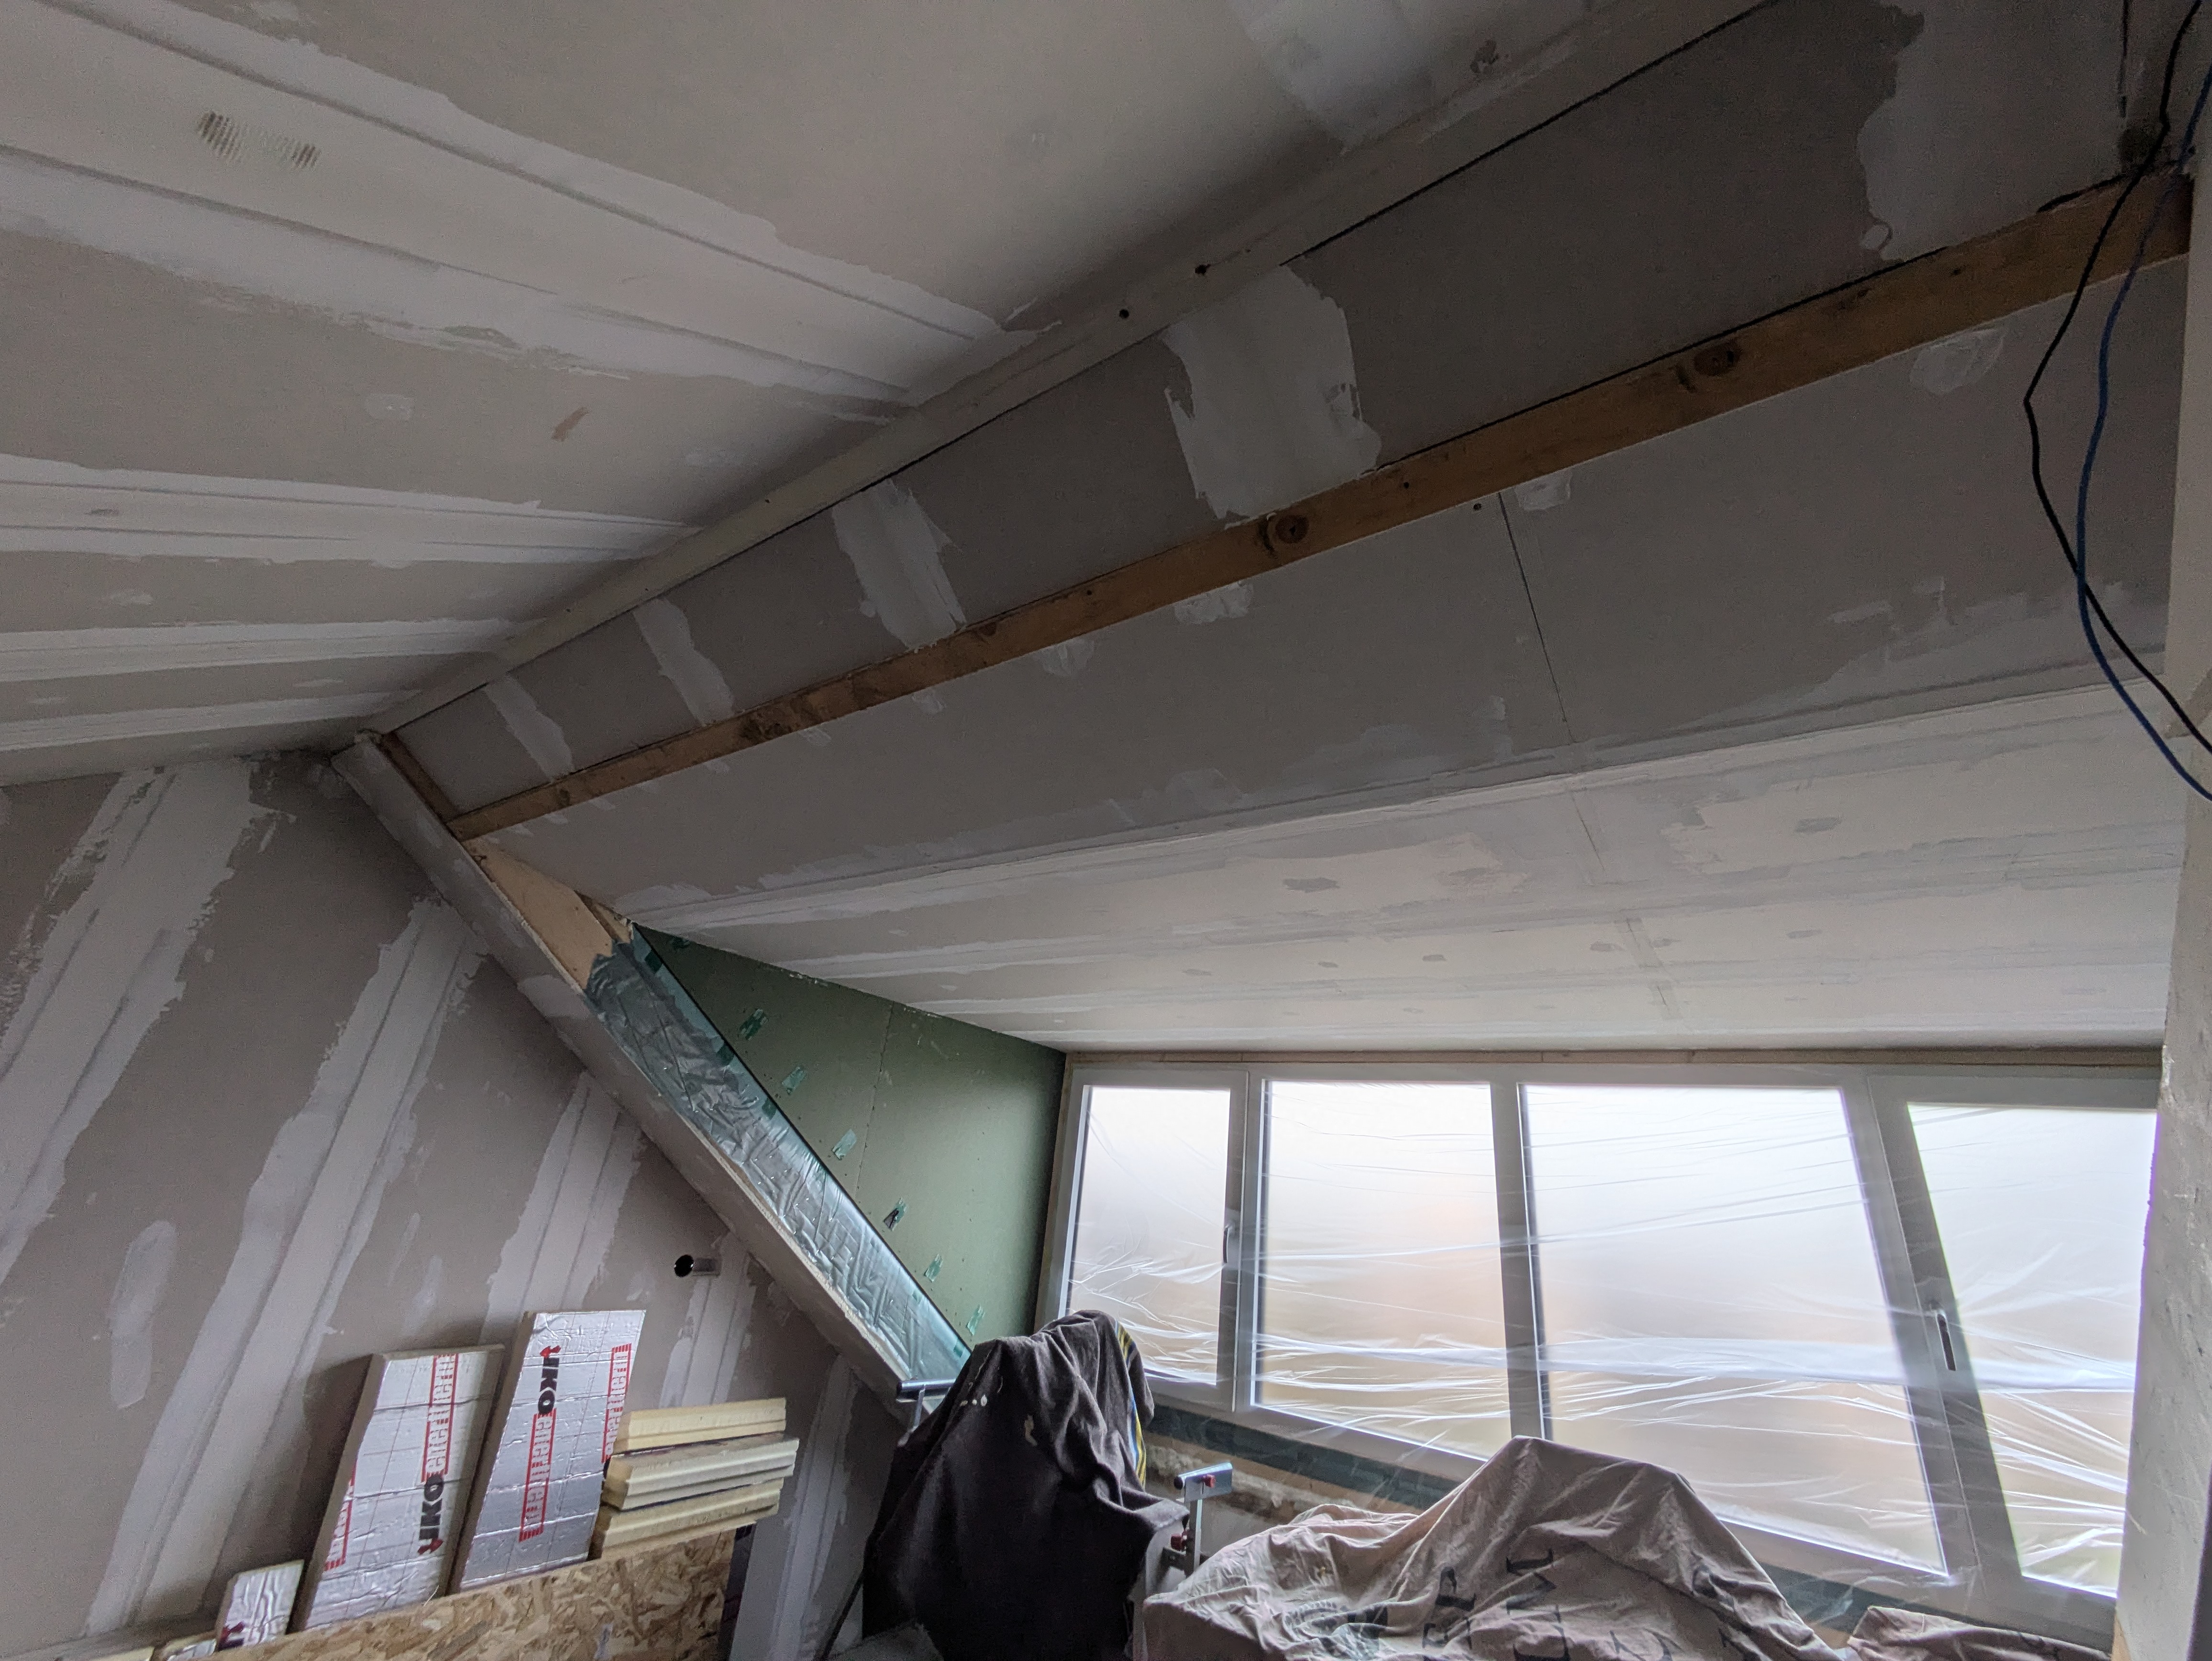
Then it was time to insulate the ceiling. For this, Gijs used thick PUR boards with an R-value of 4.5. Combined with the existing insulation, this brings the roof insulation in line with current new-build standards. Gijs held a piece of old insulation next to the new boards to clearly show the difference.
Because PUR boards are very thick and screws have little to no grip in this material, Gijs chose construction adhesive. The existing ceiling first had to be thoroughly degreased. Then the boards were cut to size and construction adhesive (a PUR-like foam) was sprayed onto each board. The foam had to rest for 5 minutes before pressing the board against the ceiling. Each board then had to be held in place for over a minute before moving on.
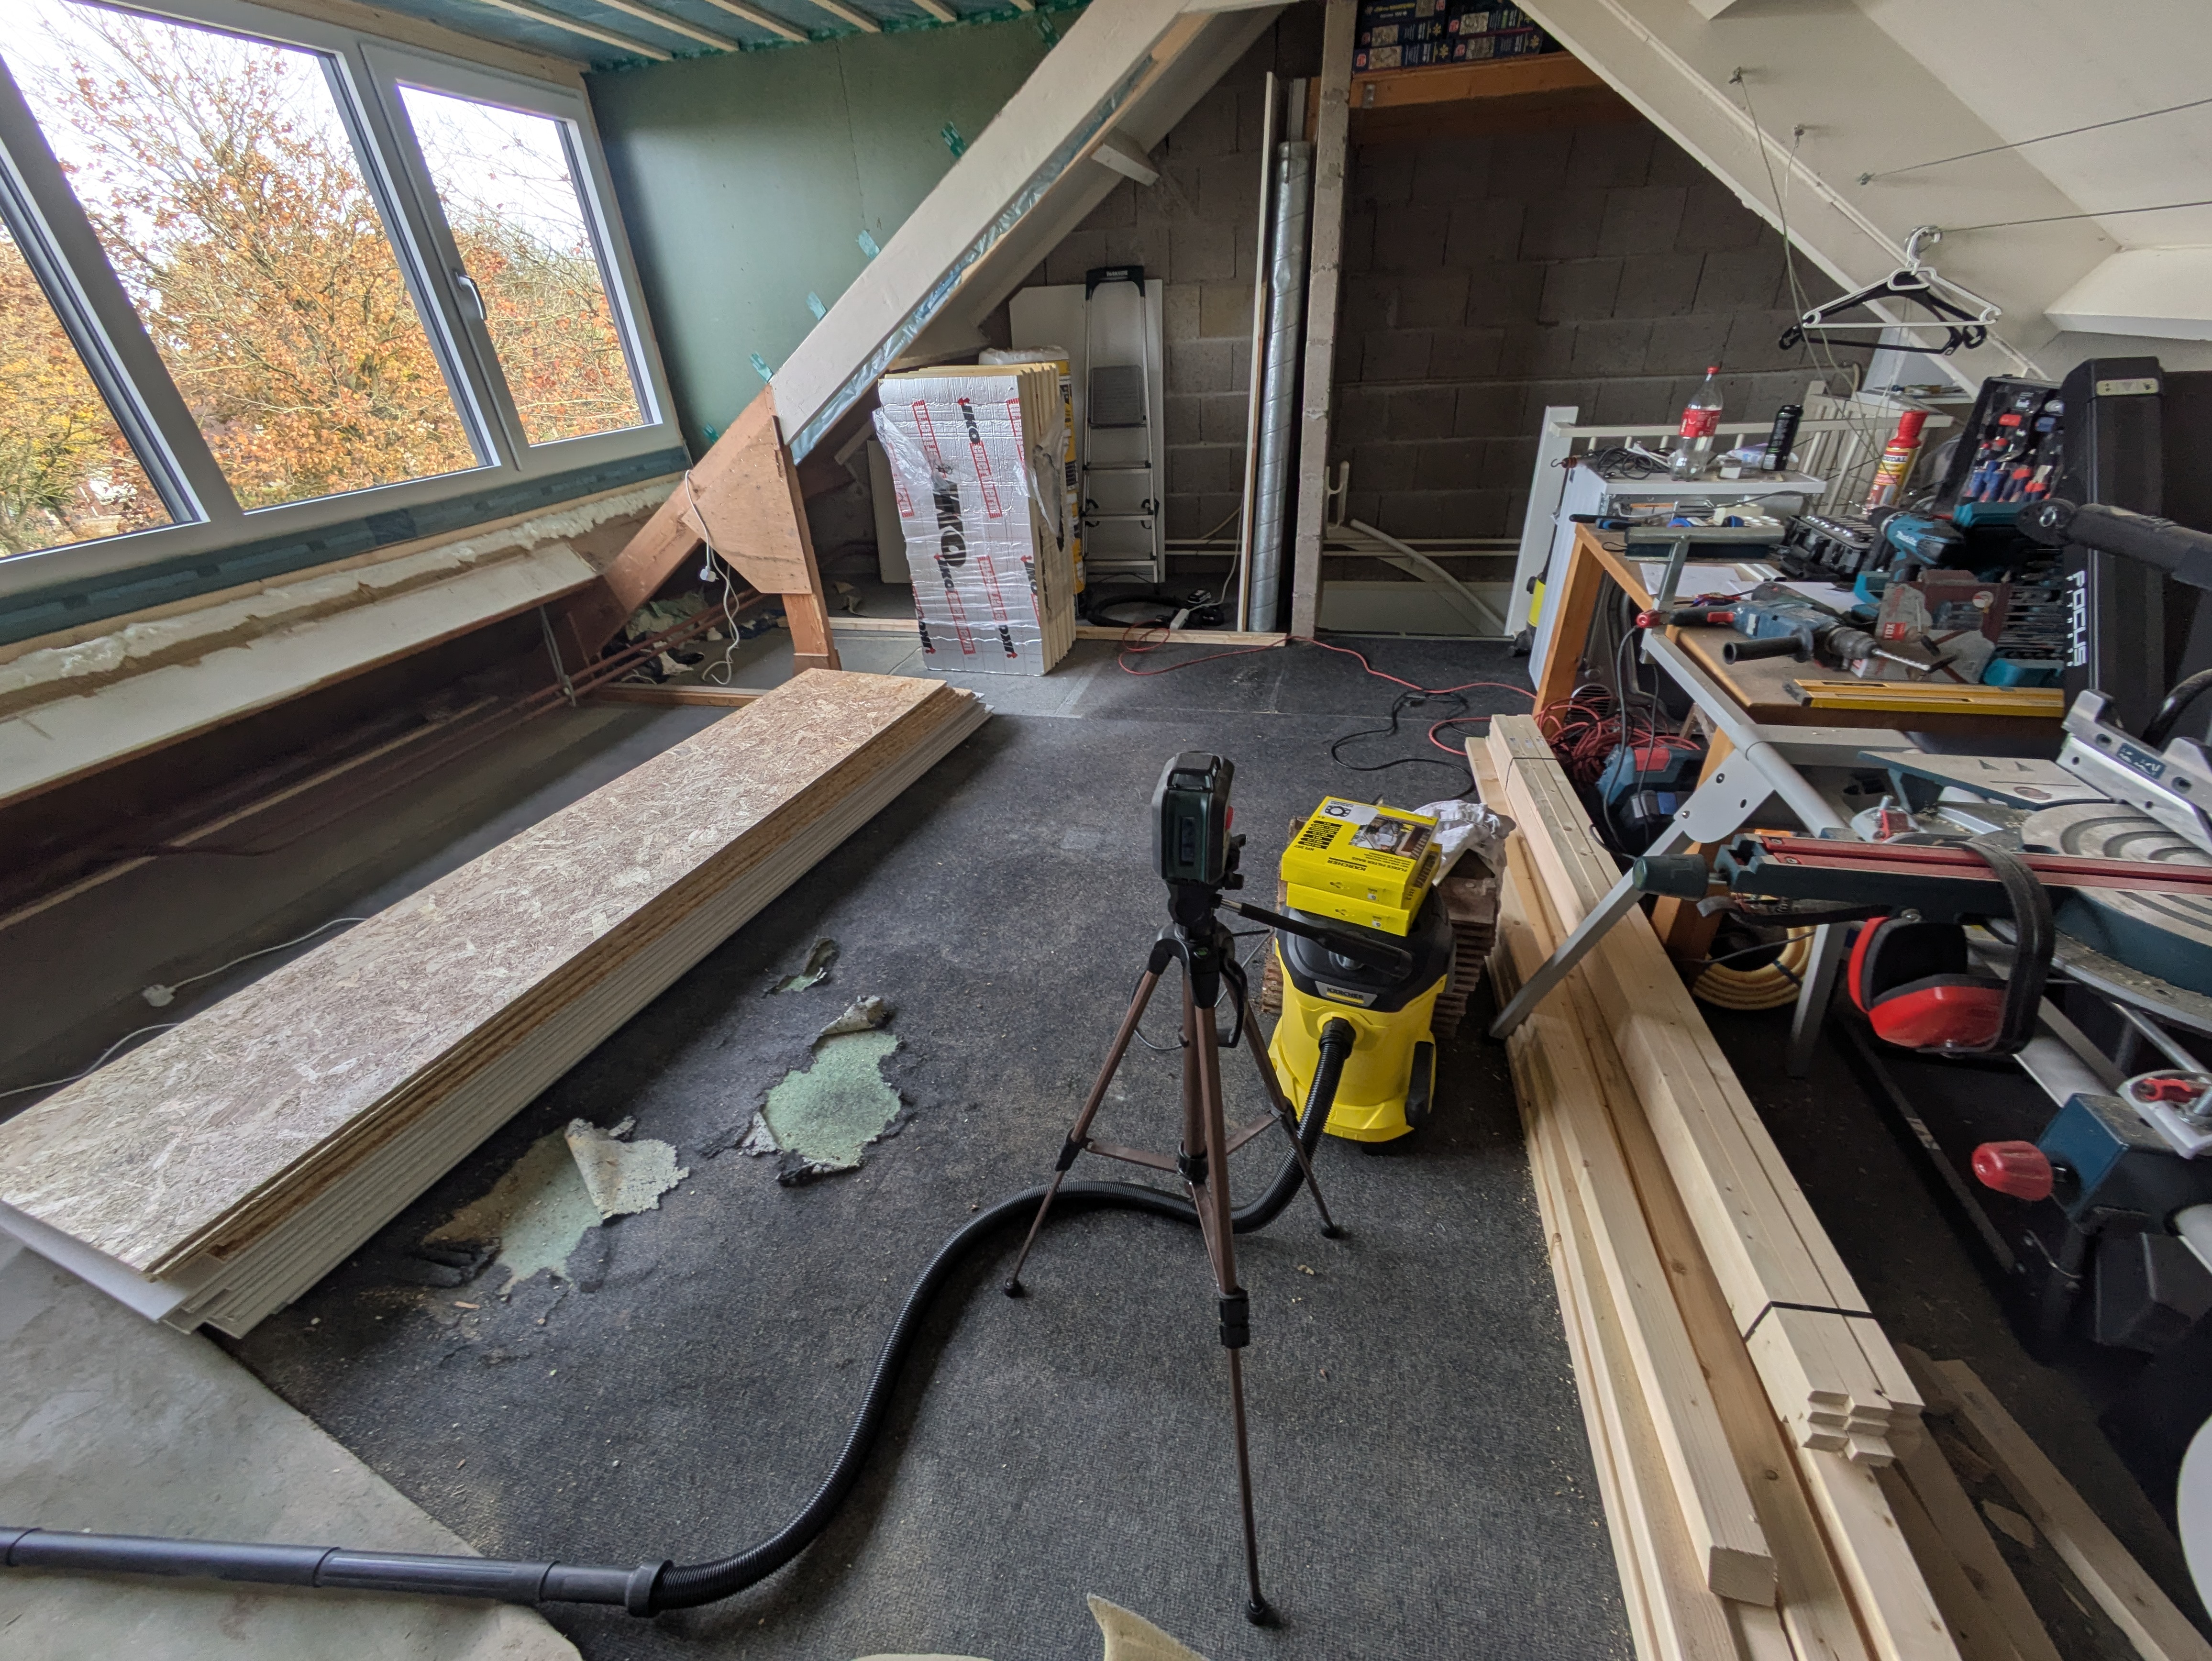
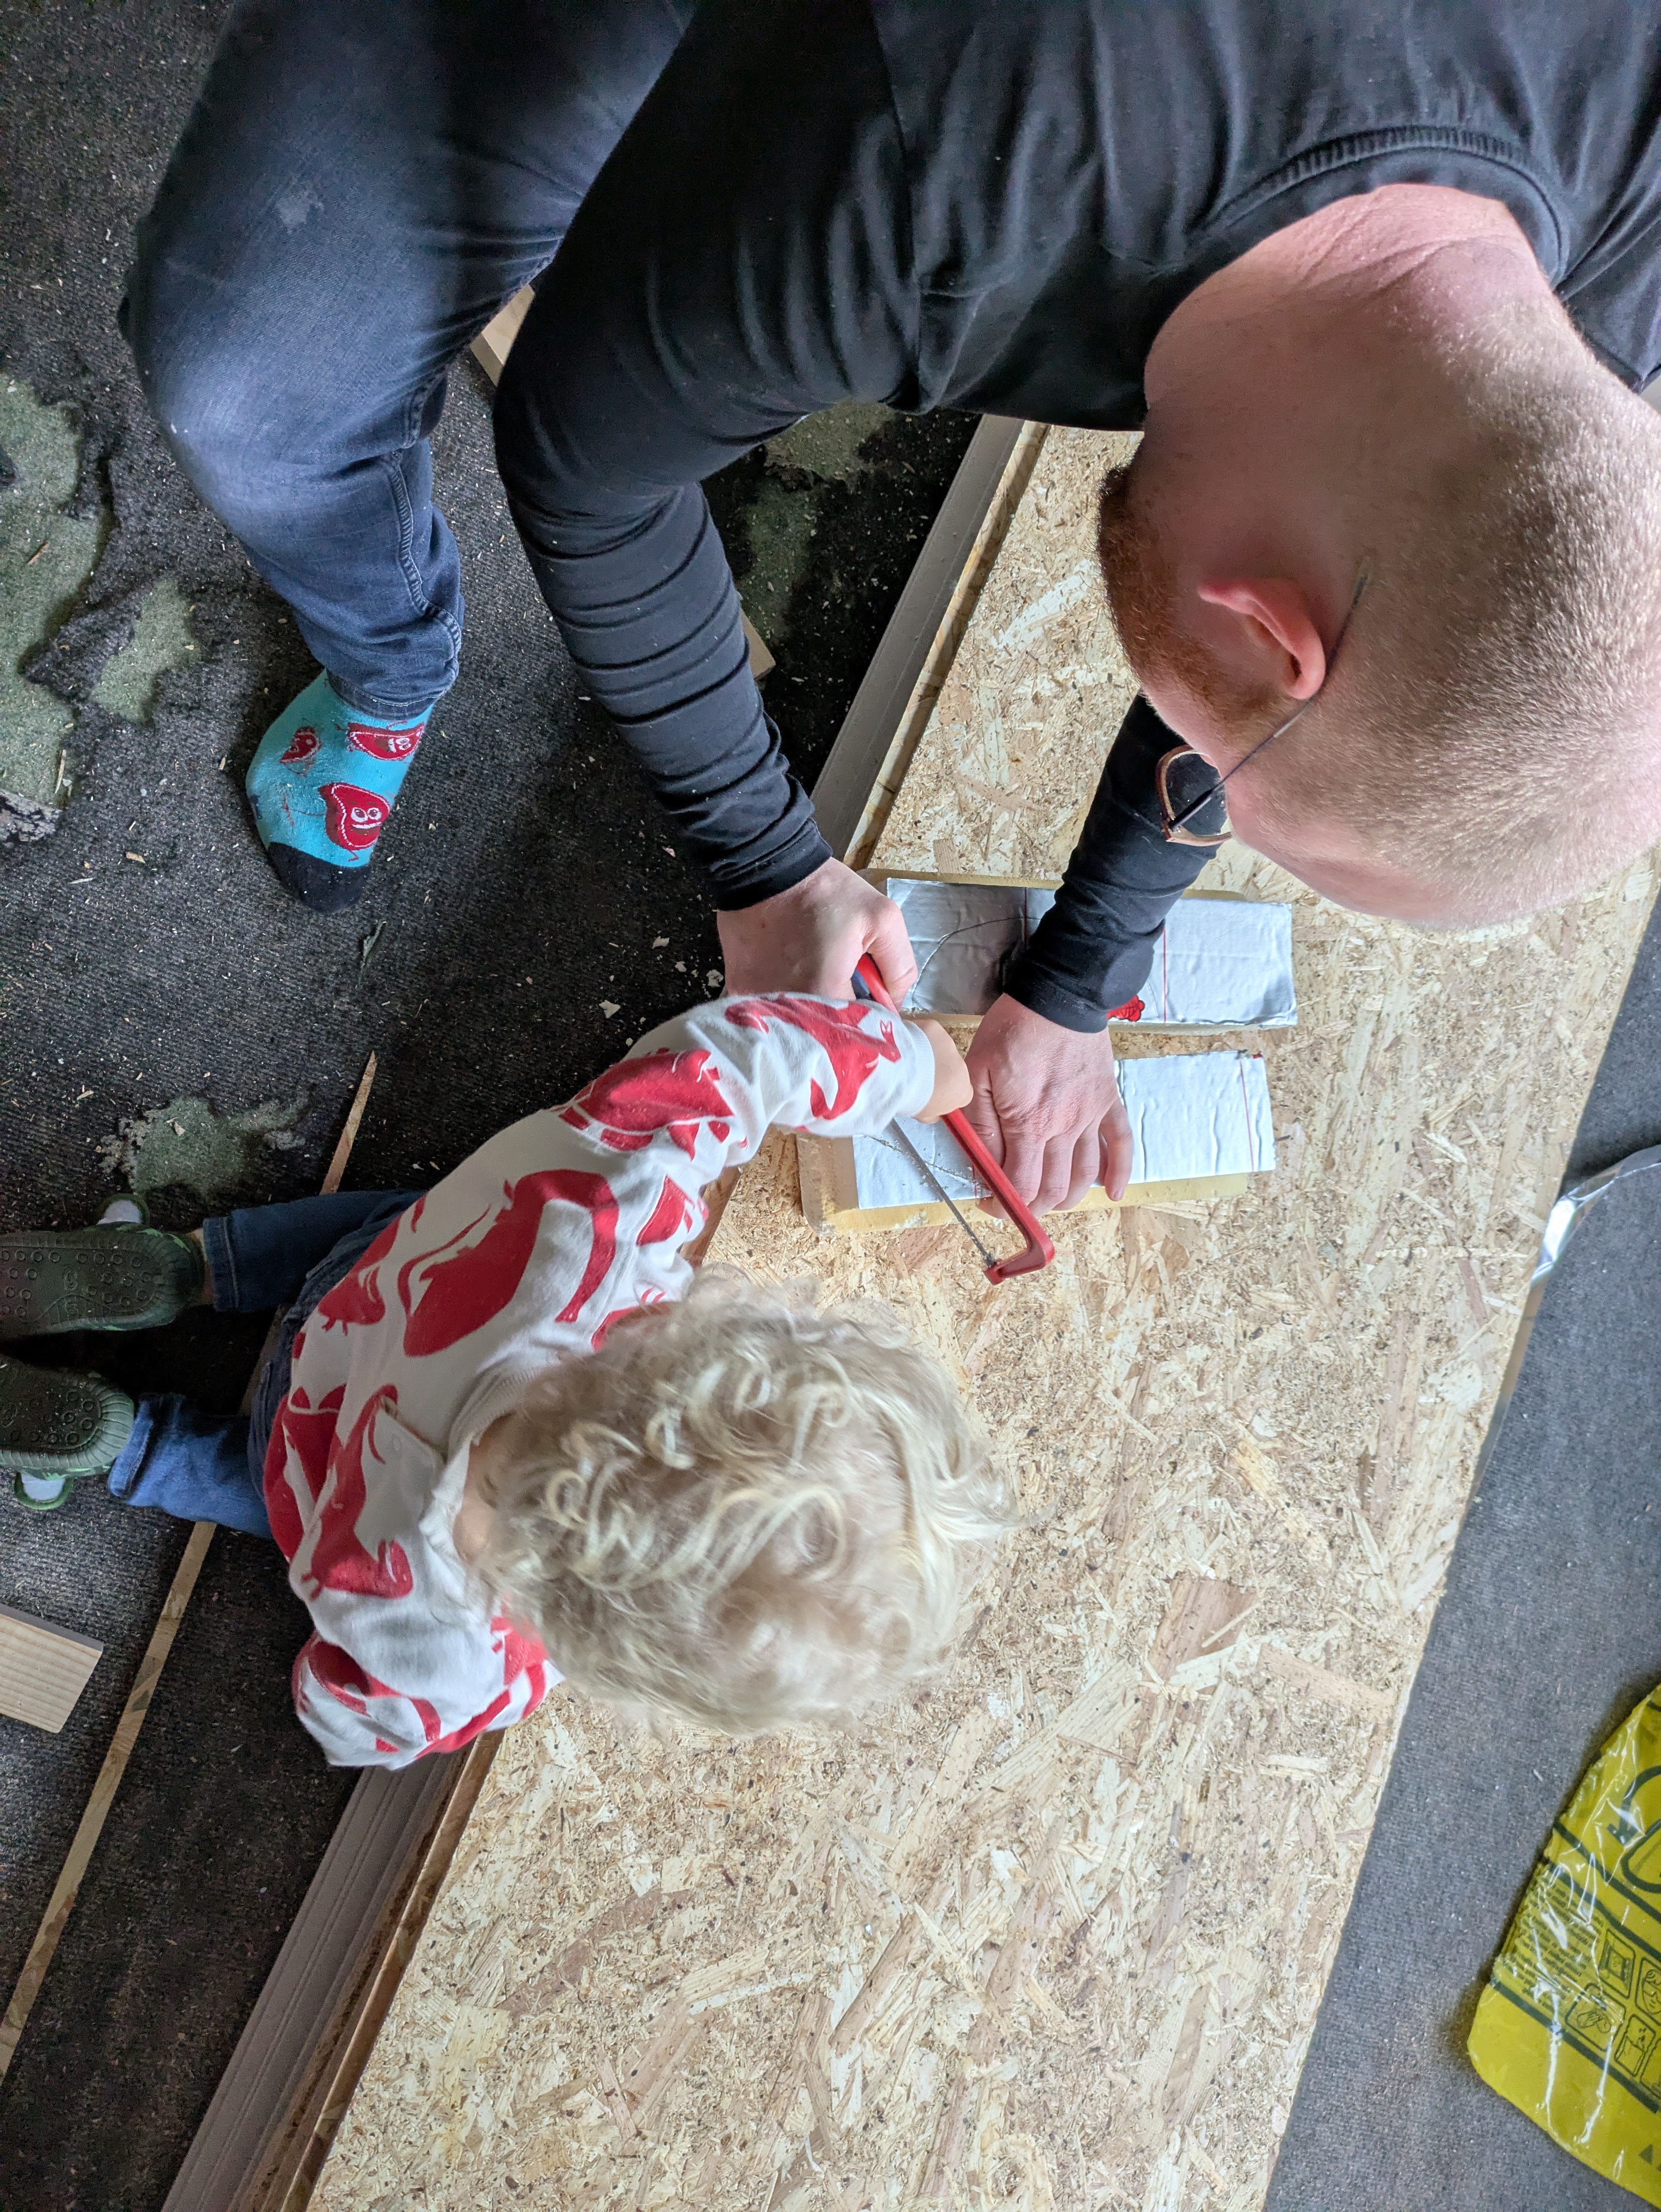
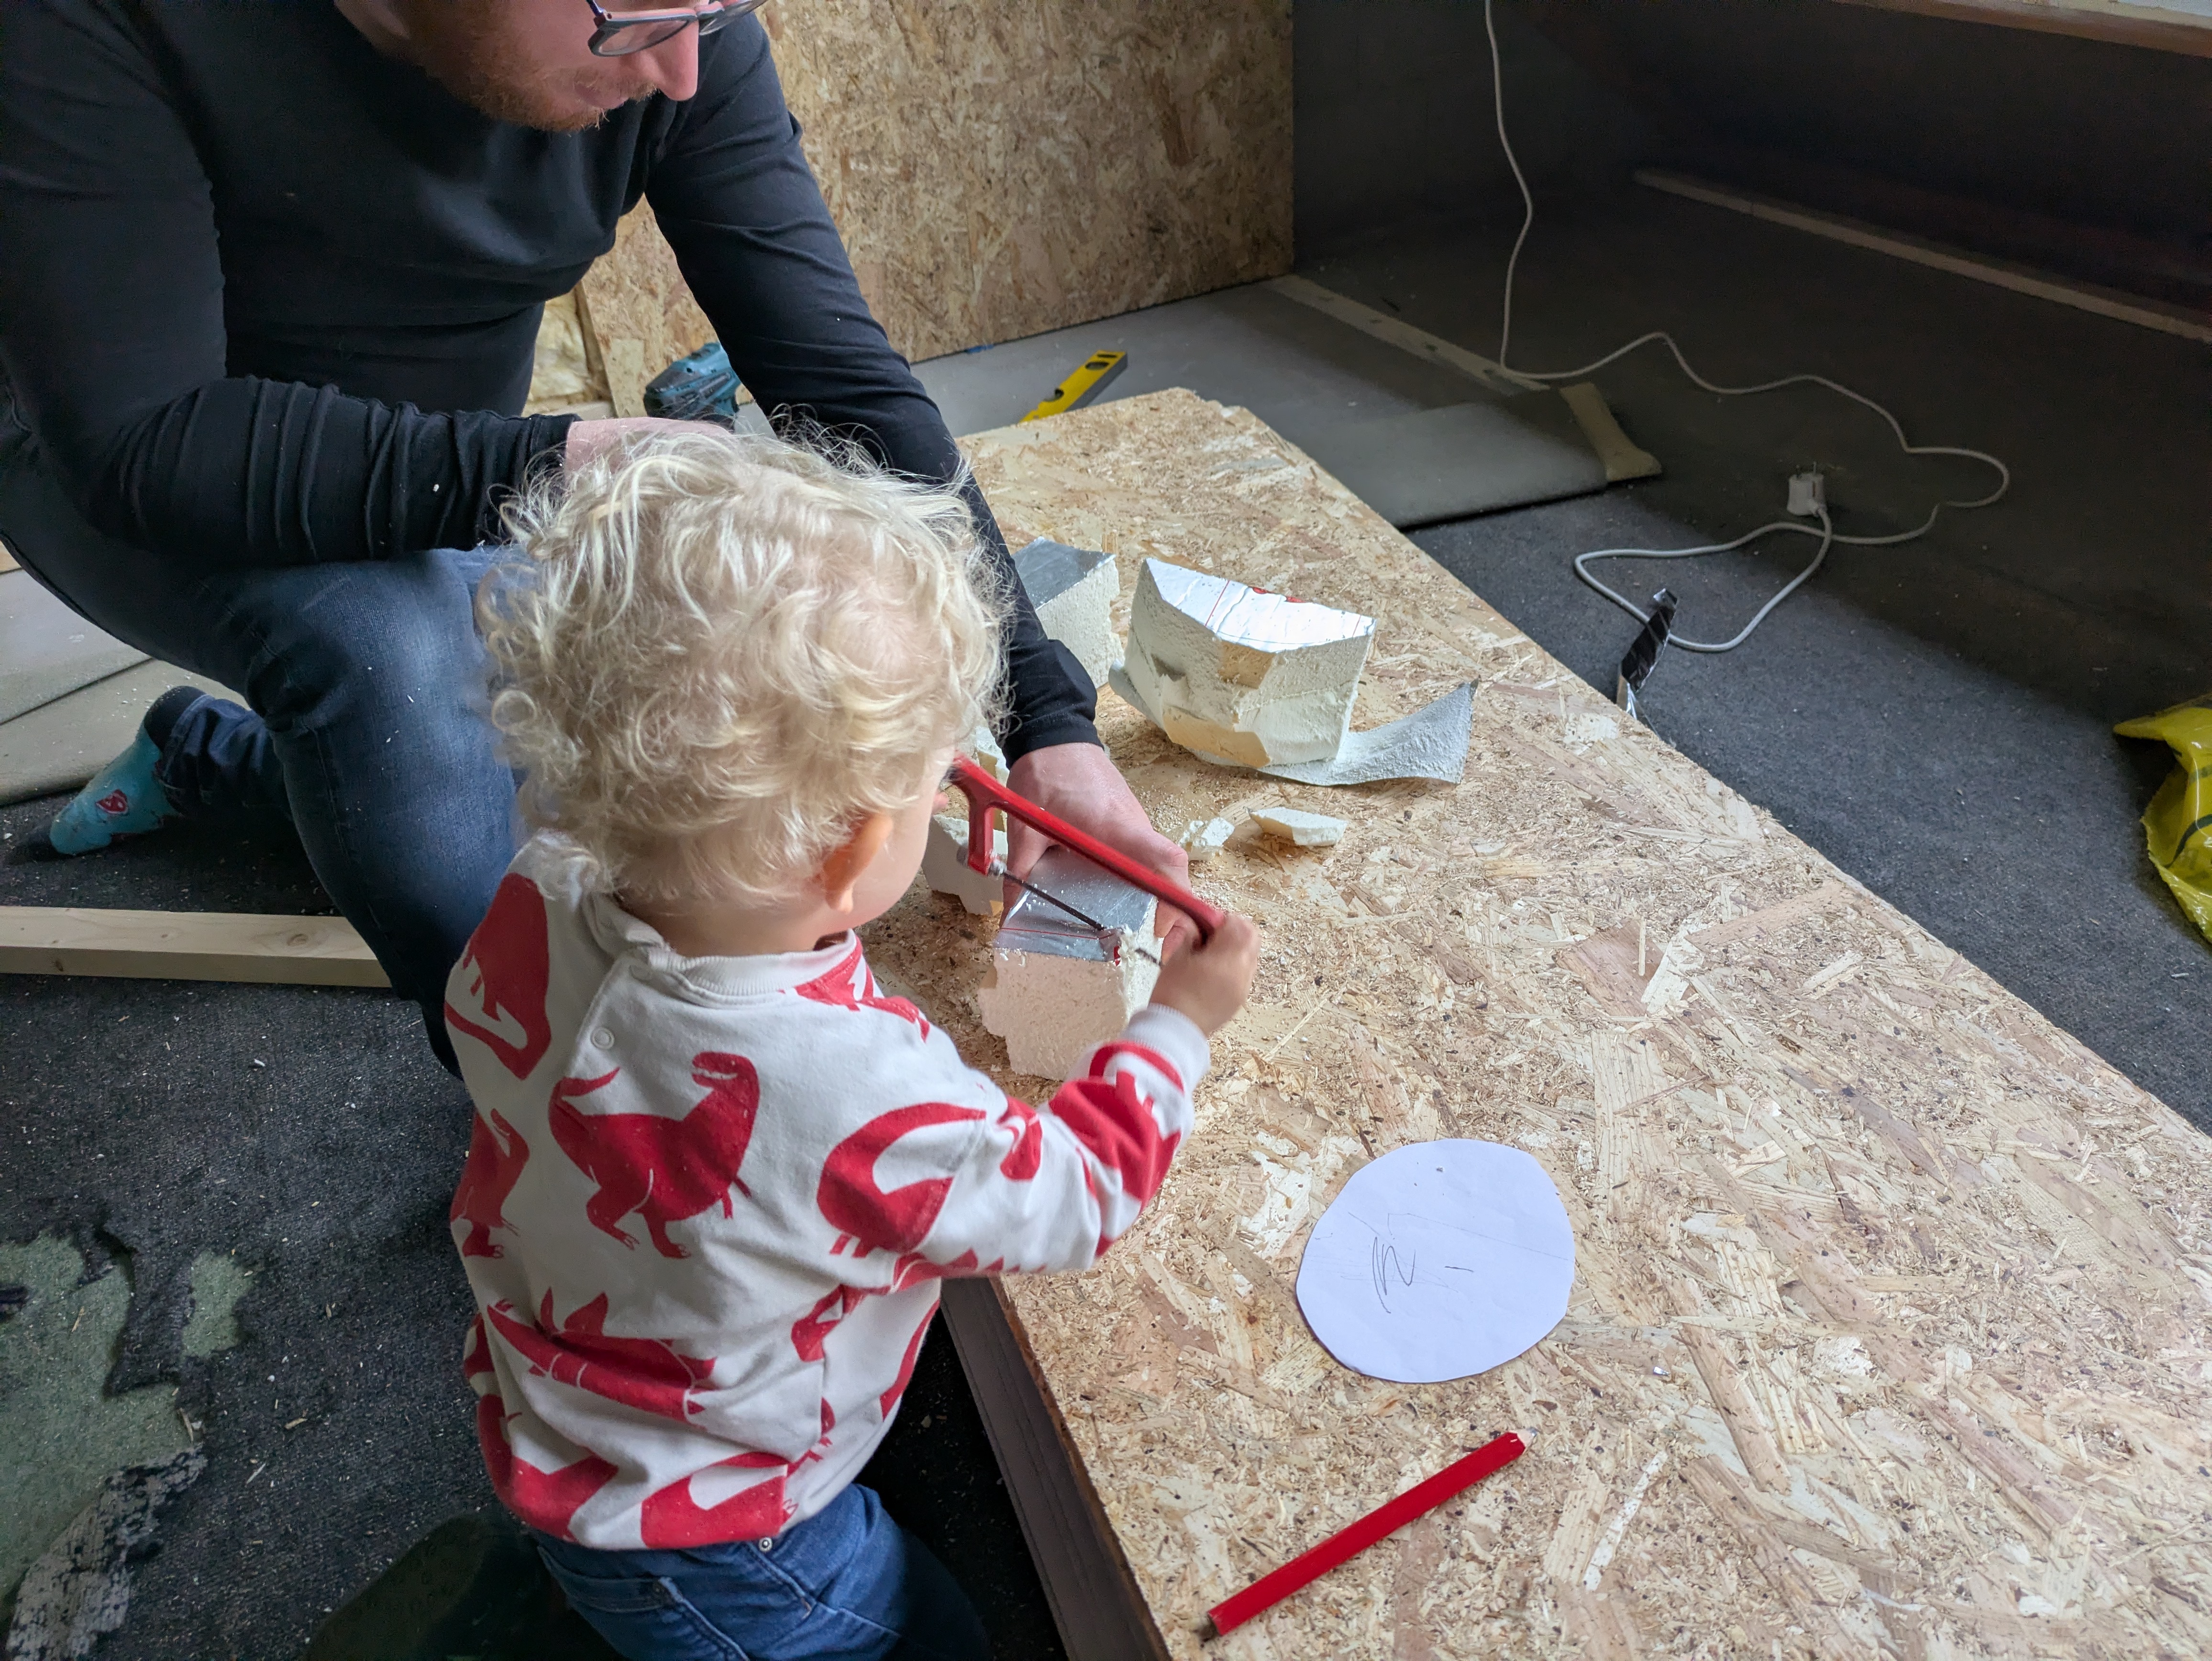
As you can imagine, insulating an attic is a lot of work. Fortunately, Gijs managed to recruit helpers to cut insulation boards to size. That way, he can also teach the next generation practical DIY skills.
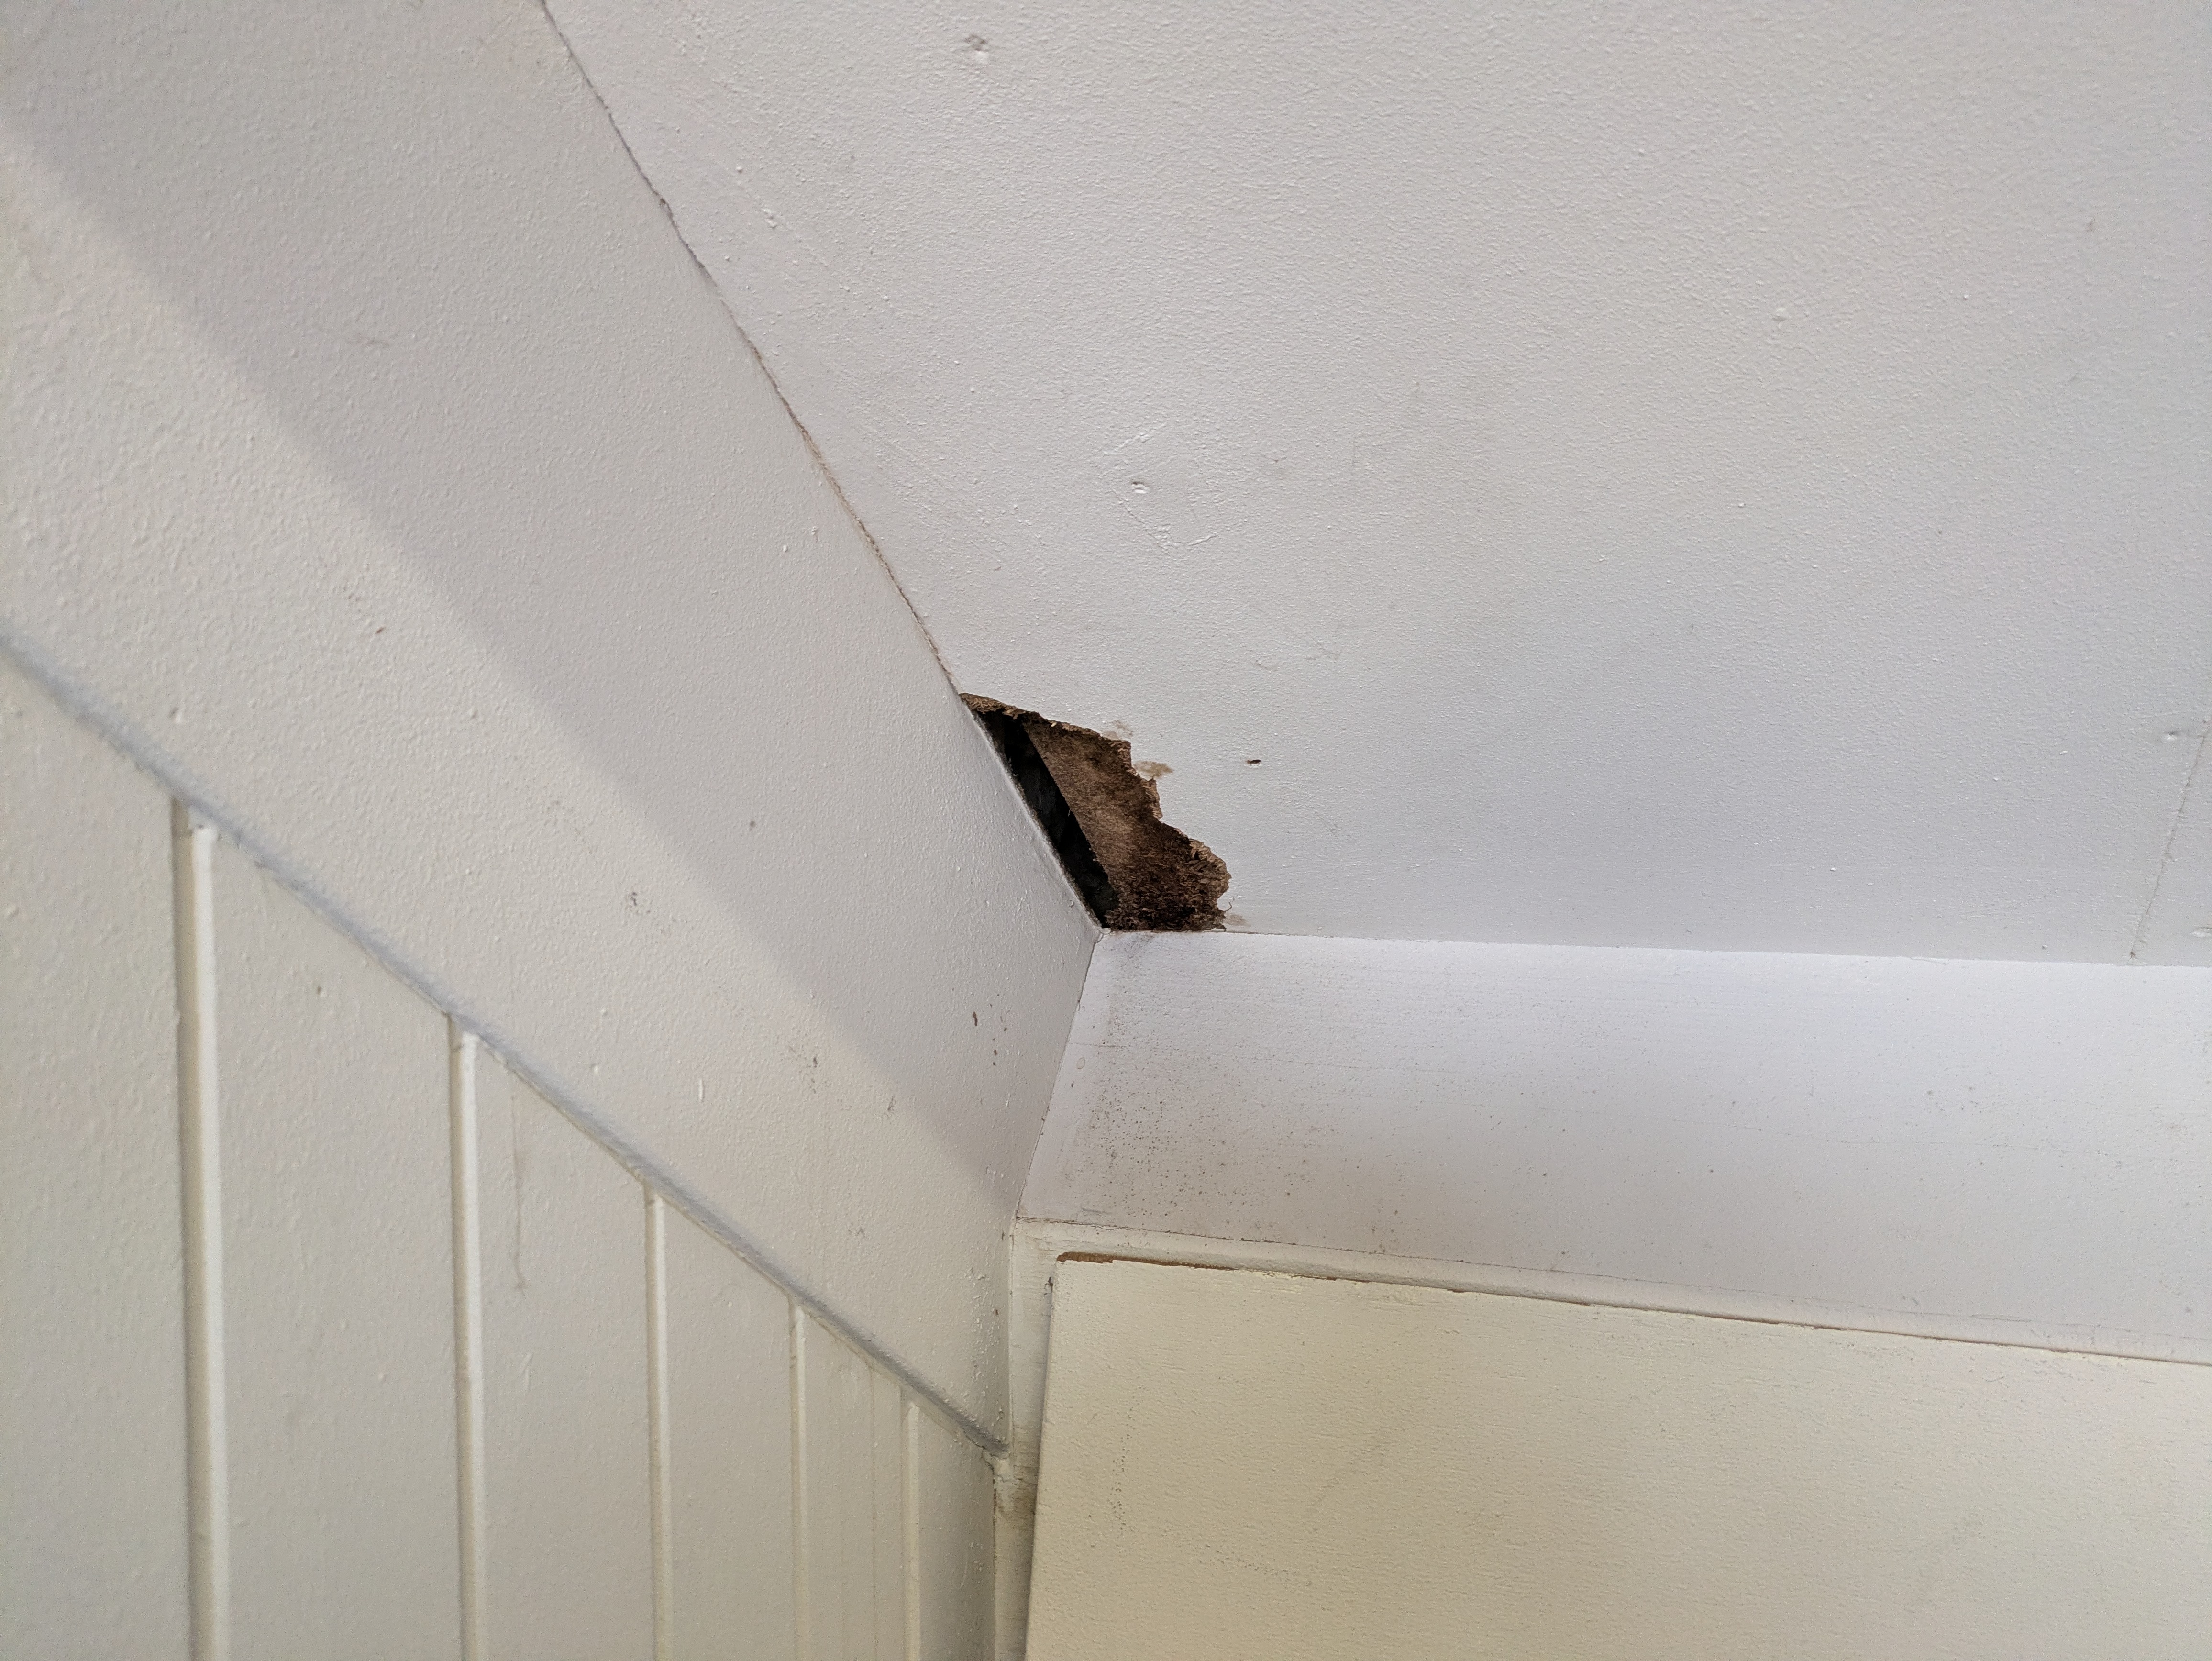
Unfortunately, while insulating, Gijs discovered signs of an old leak. This turned out to be caused by cracks in aging lead flashing and roof boarding near a level change in the house.
For the new roof boarding, Gijs chose Keralit instead of wood. These synthetic boards are nearly indistinguishable from real wood at normal viewing distance, but unlike wood they require little to no maintenance.
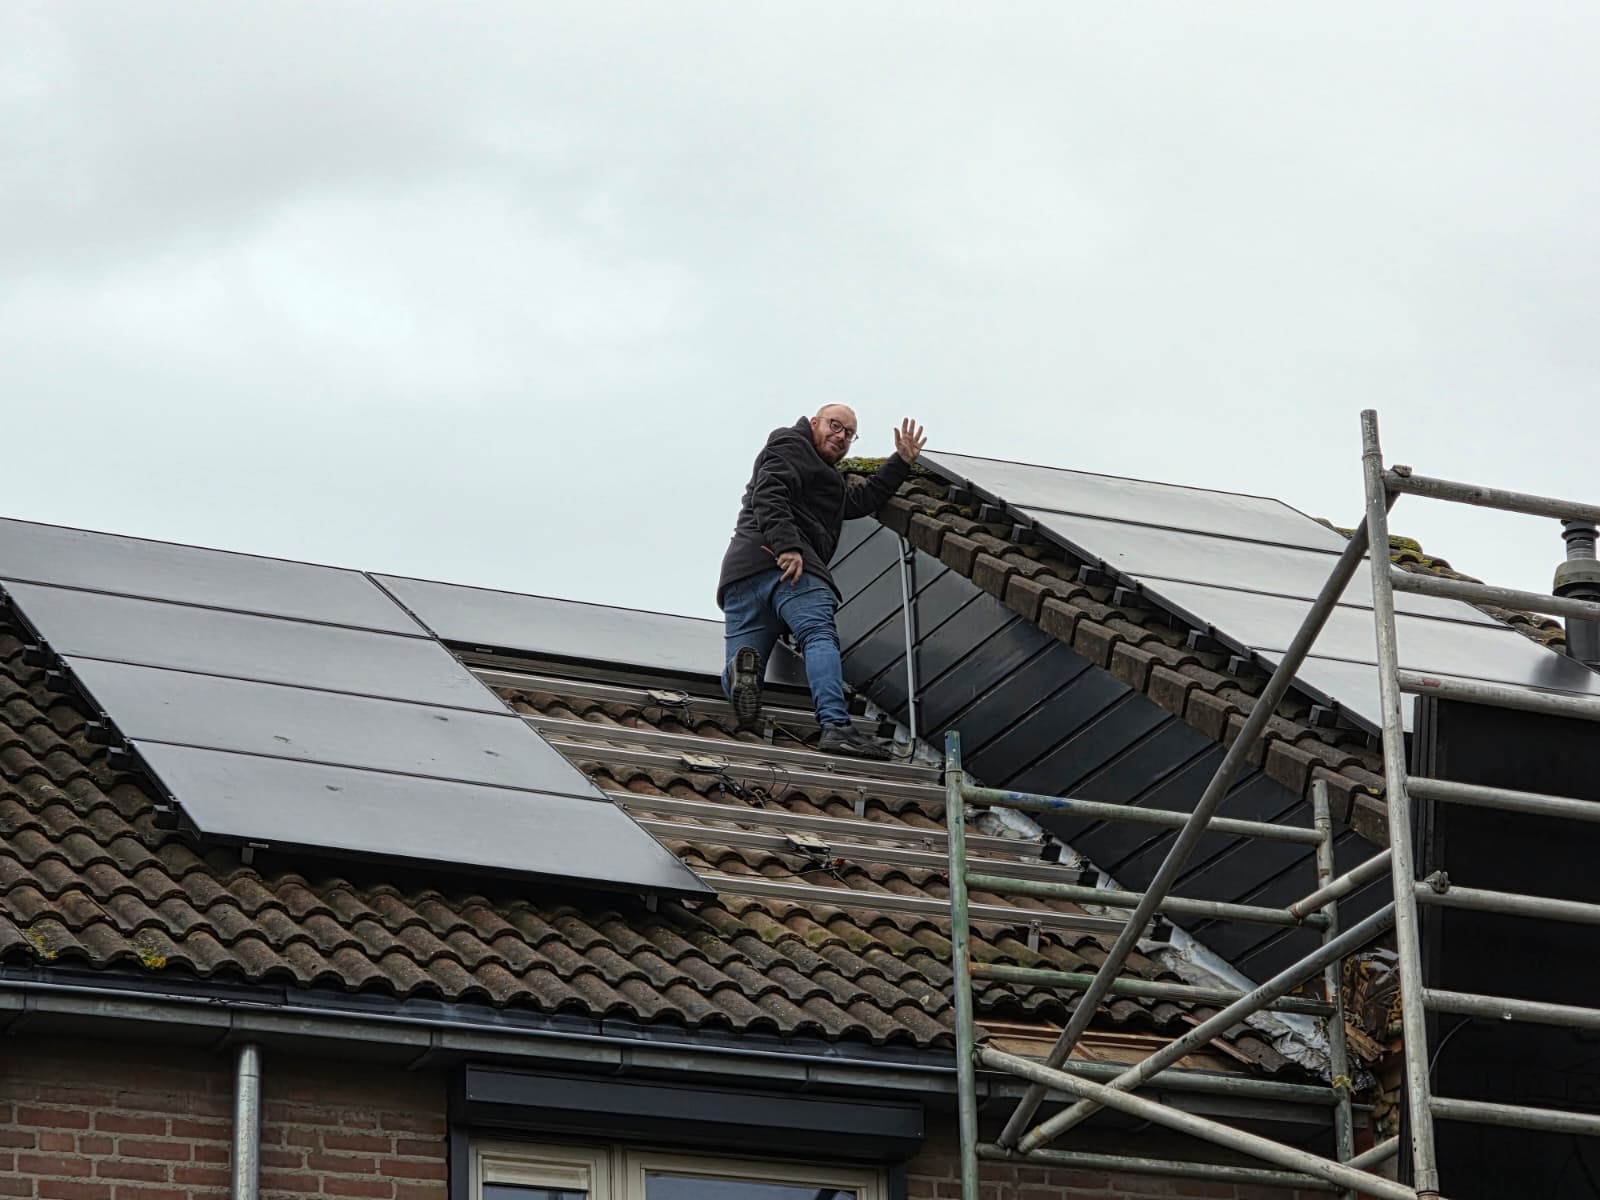
This did mean renovation work had to pause until the leak was fixed. Luckily, Gijs found skilled local tradesmen who could come quickly. He still had to remove the solar panels temporarily himself so they could do their work. That meant climbing onto the roof, which he definitely does not enjoy.
Although he could not continue in the leak corner, he could continue on the rest of the roof. So he kept working tirelessly, installing new insulation boards against the ceiling and covering them with drywall for a clean finish. These drywall boards were also fixed with construction adhesive, because screws cannot grip the insulation behind them.
After finishing the ceiling with drywall, the attic immediately started to feel much more complete. Gluing the insulation and drywall allowed Gijs to keep the construction compact, so the original beams remain visible, which was an important wish from his wife.
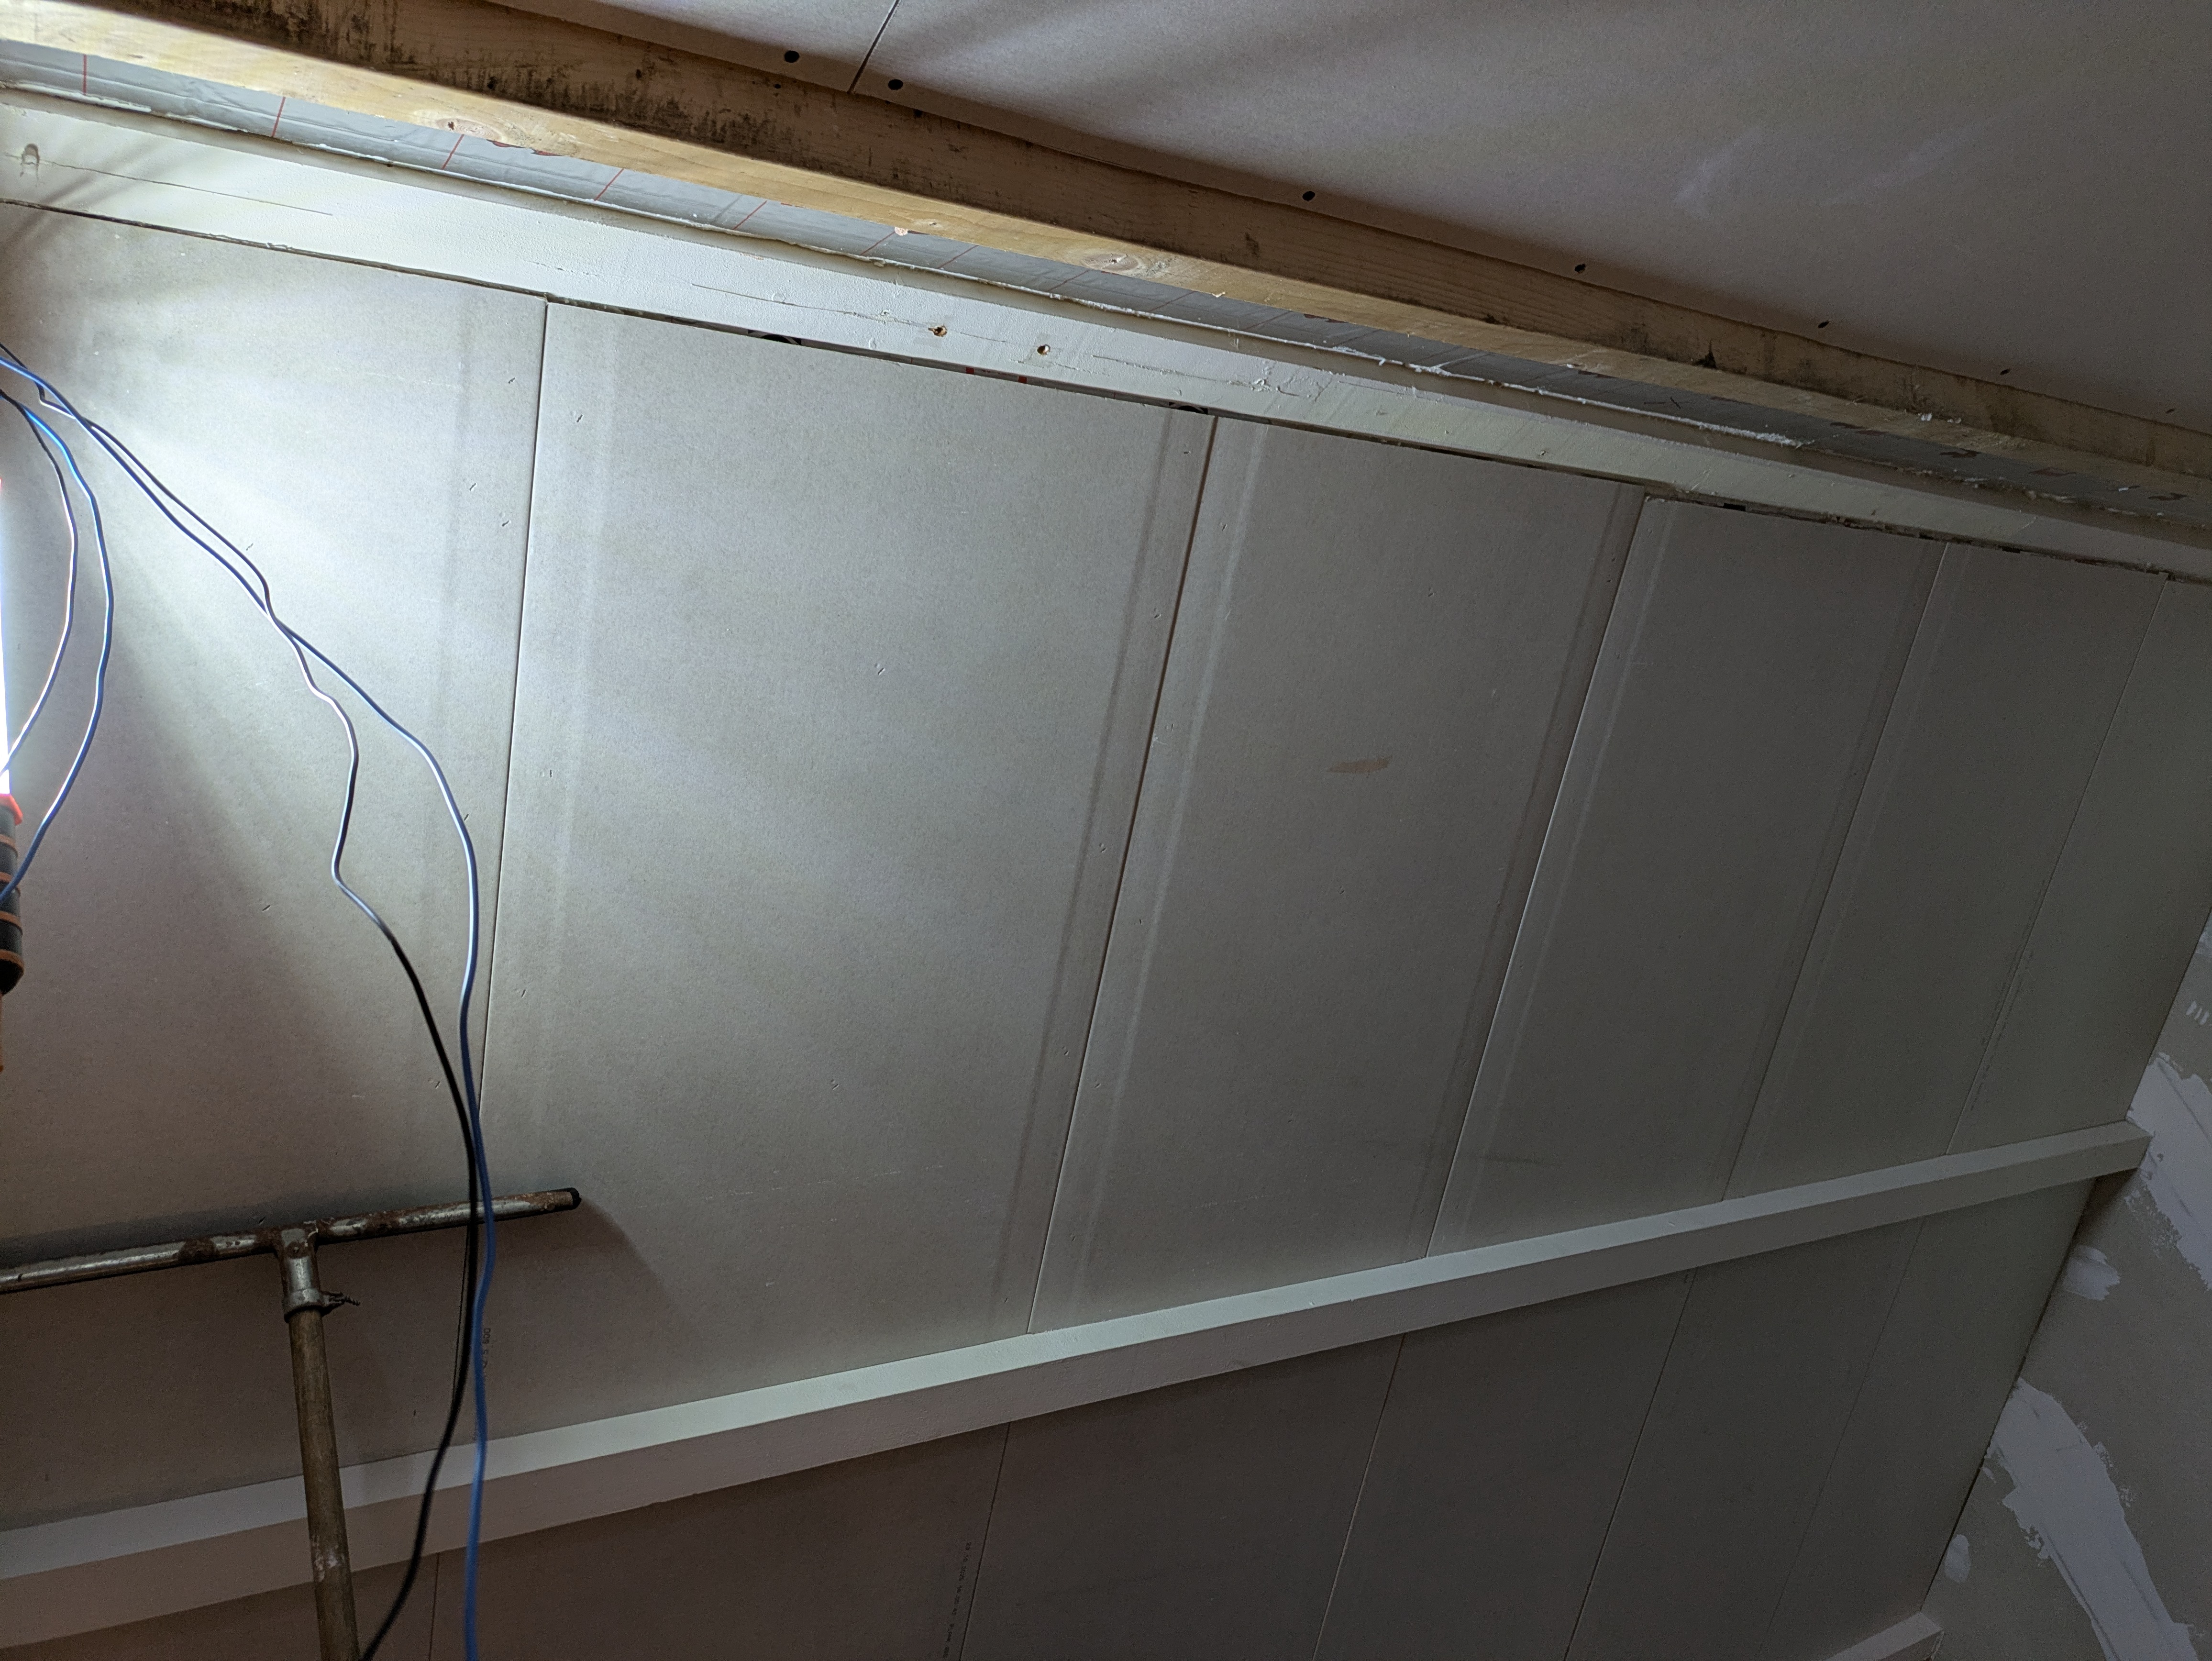
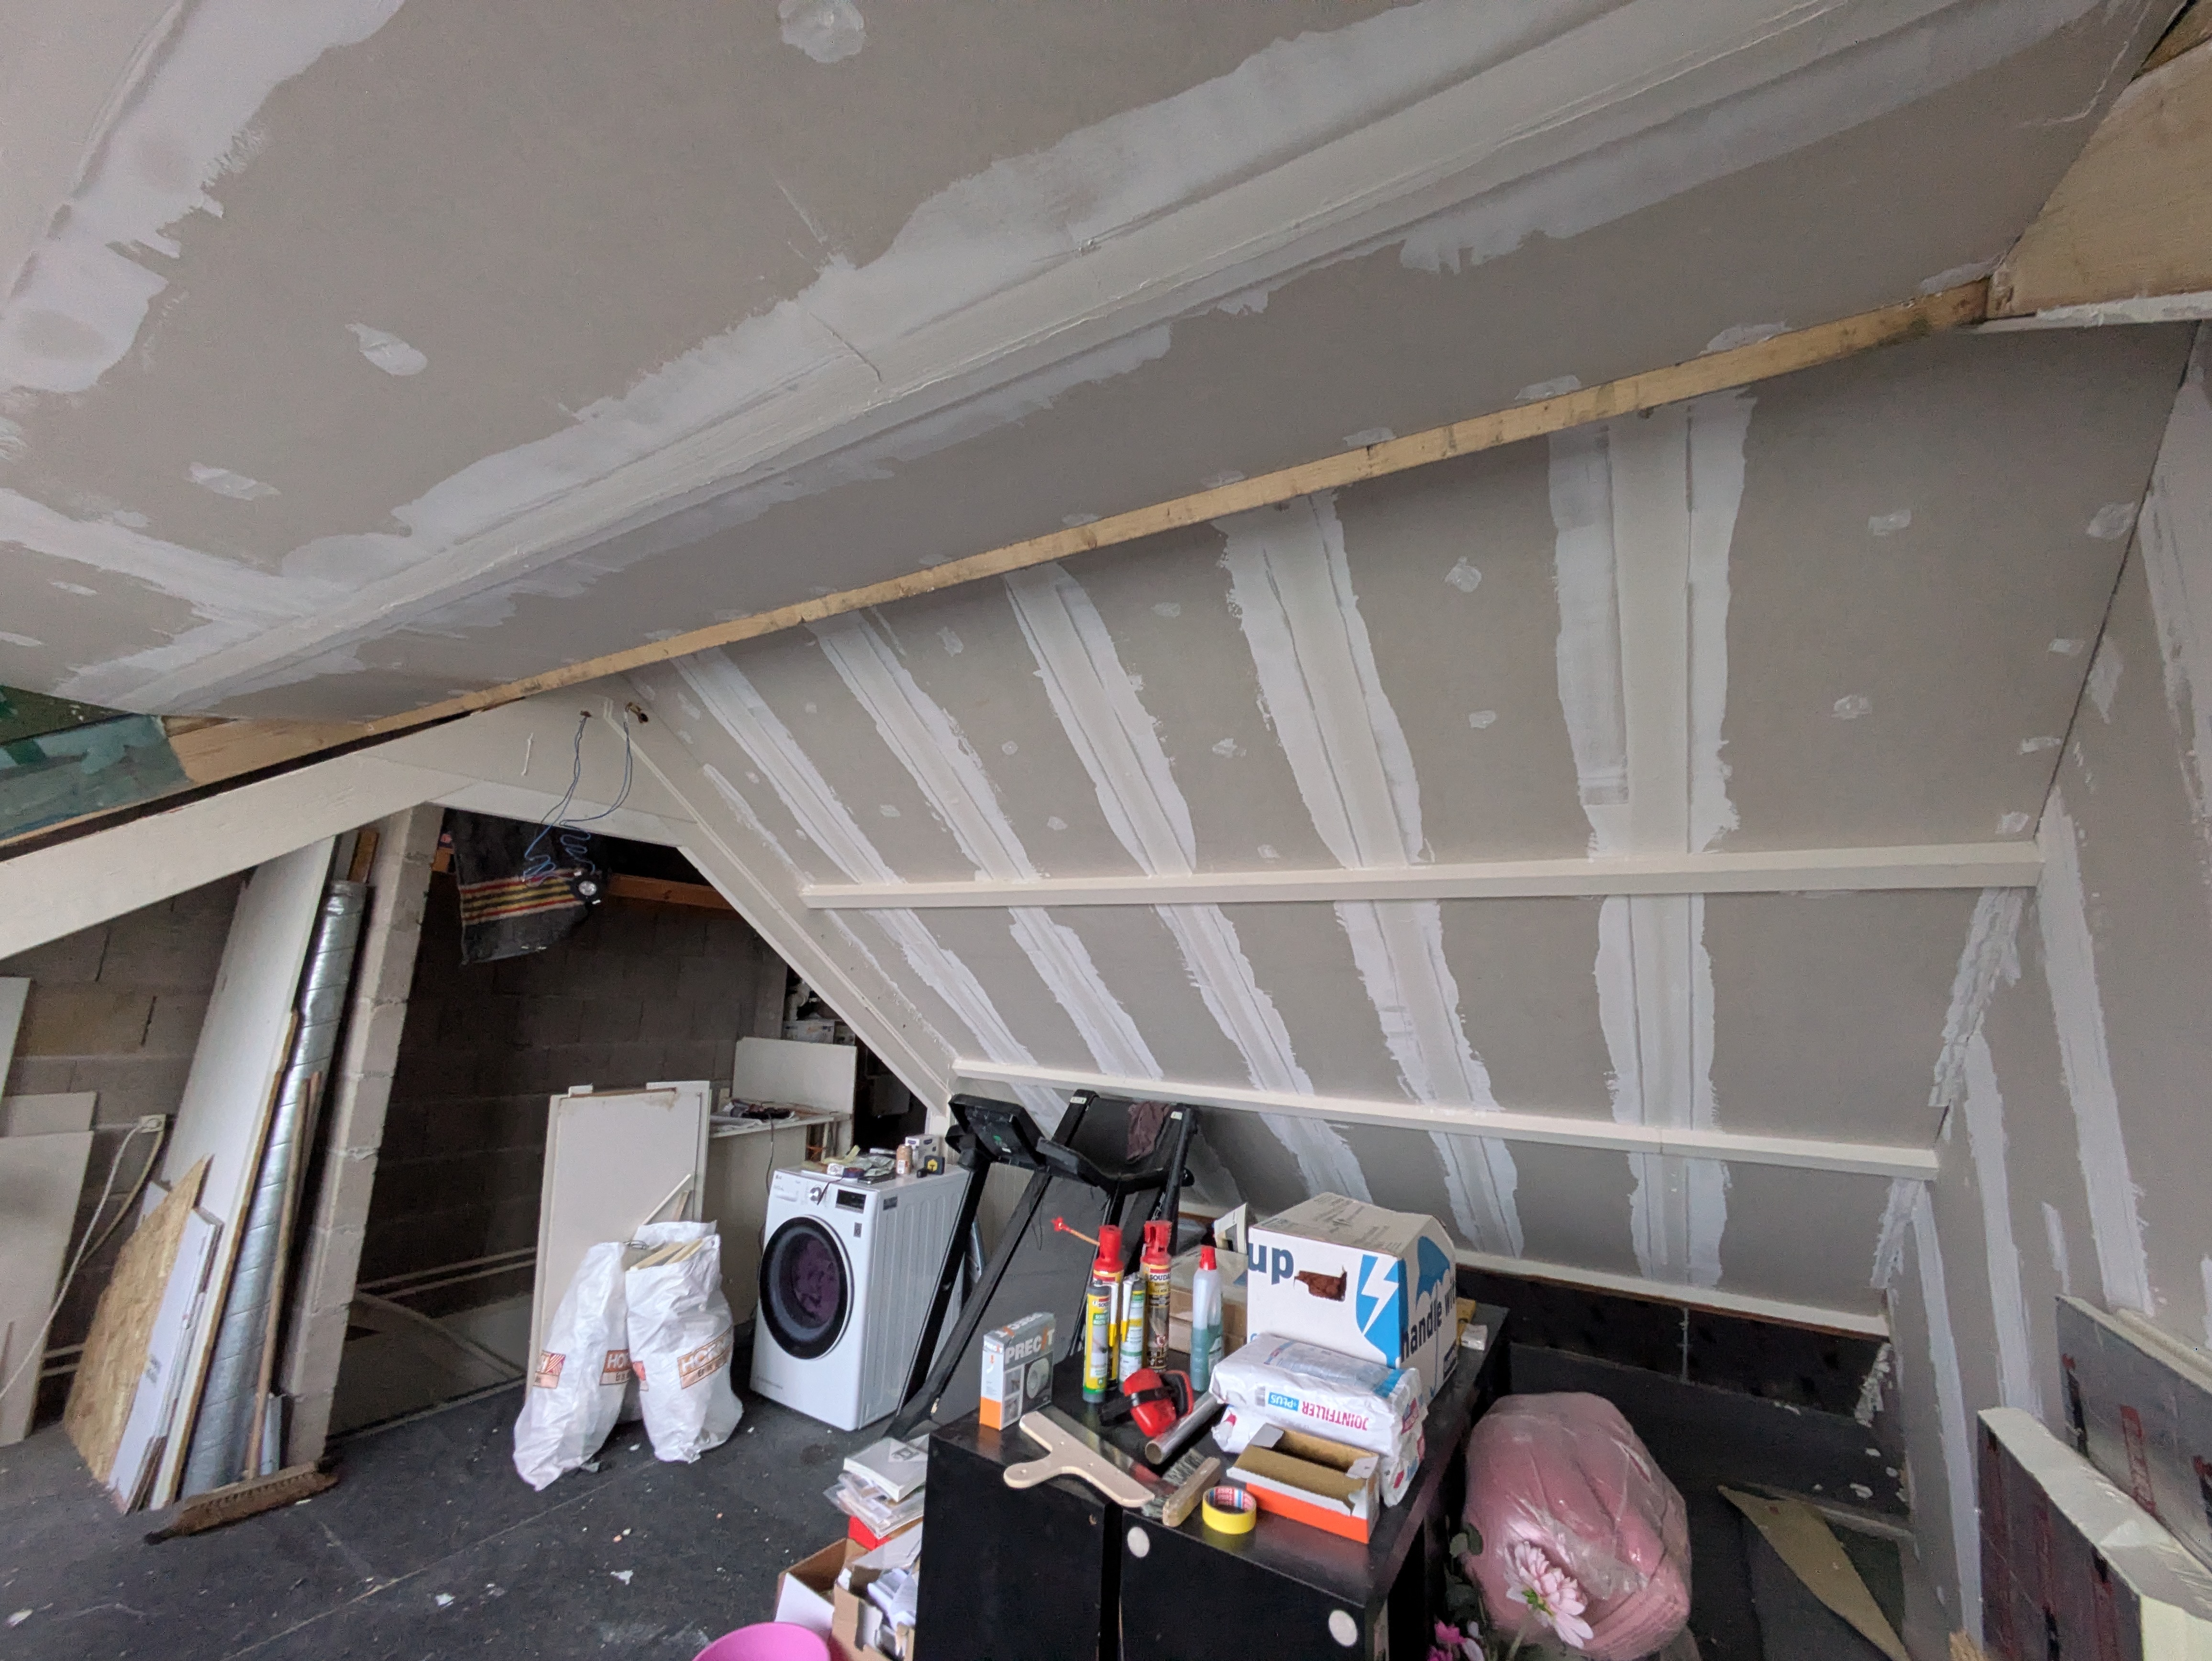
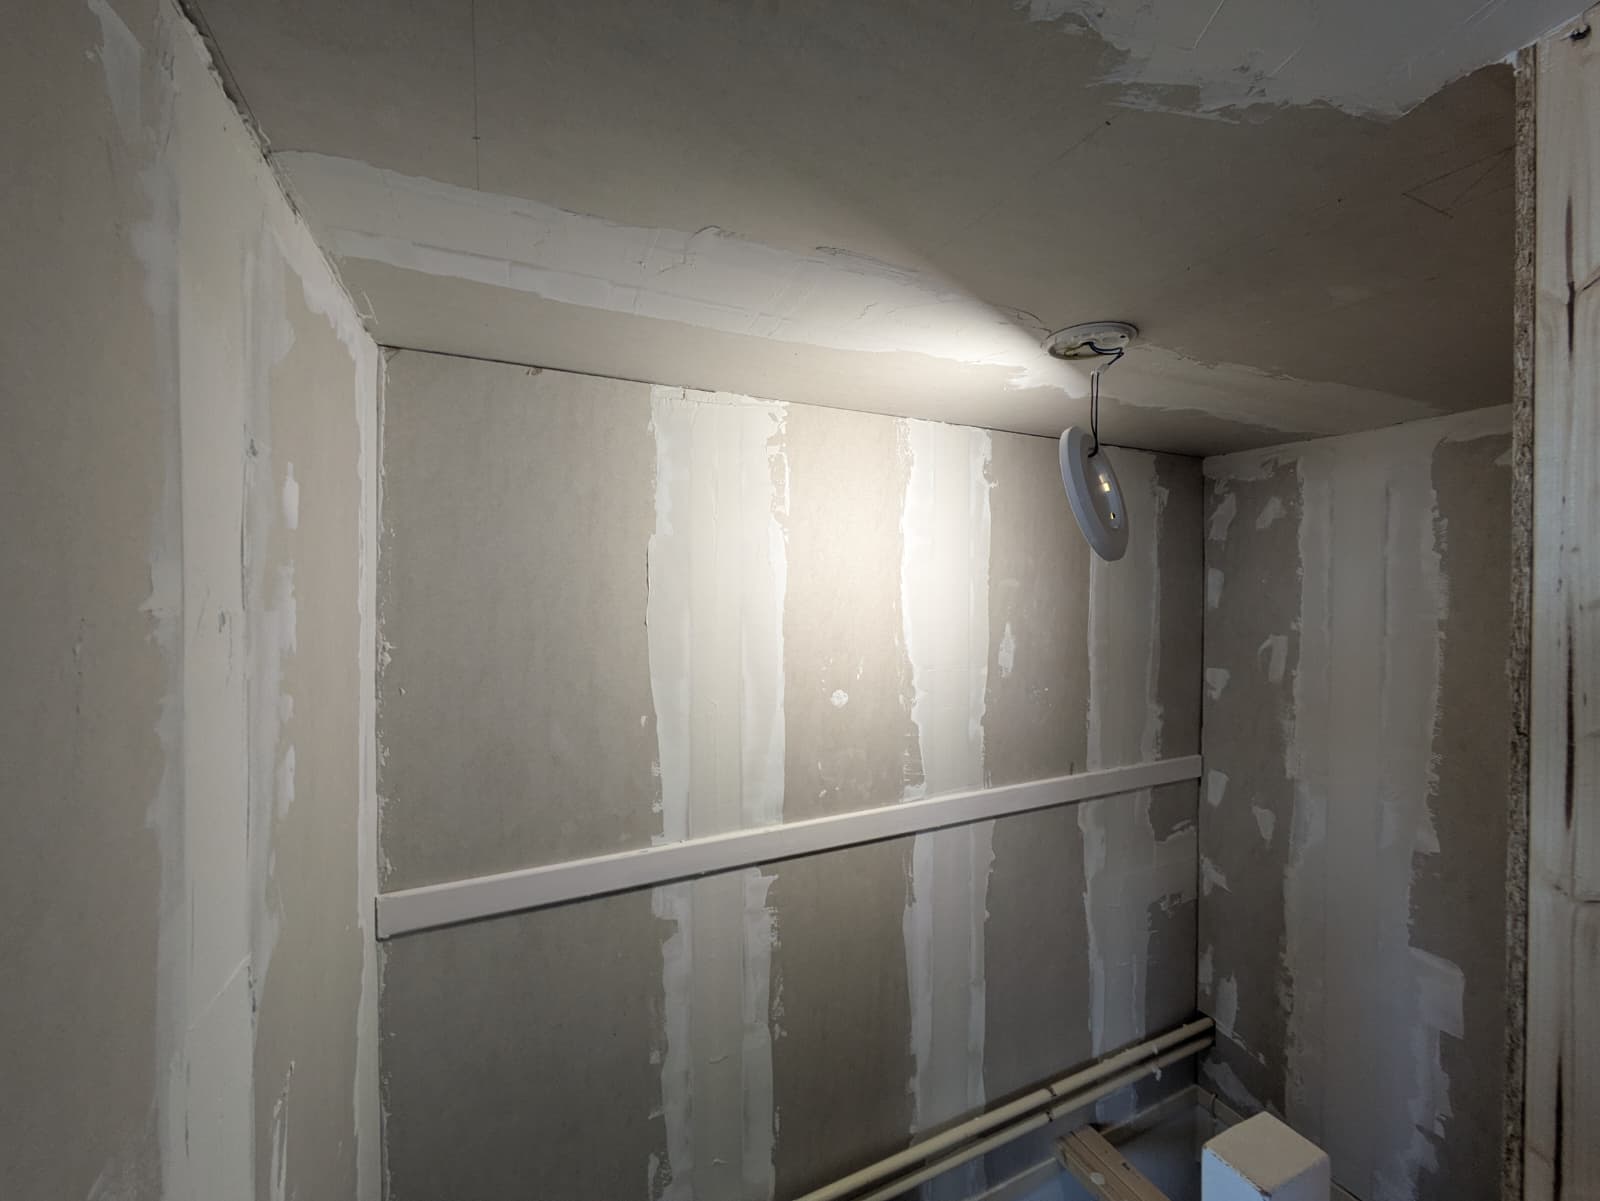
To turn the individual drywall boards into one clean whole, Gijs filled all seams with joint compound. Just like the boards on his stud wall, these board edges are slightly recessed so they can be merged into one smooth surface. It looks messy at first, but once sanded and painted, the separate boards are barely distinguishable.
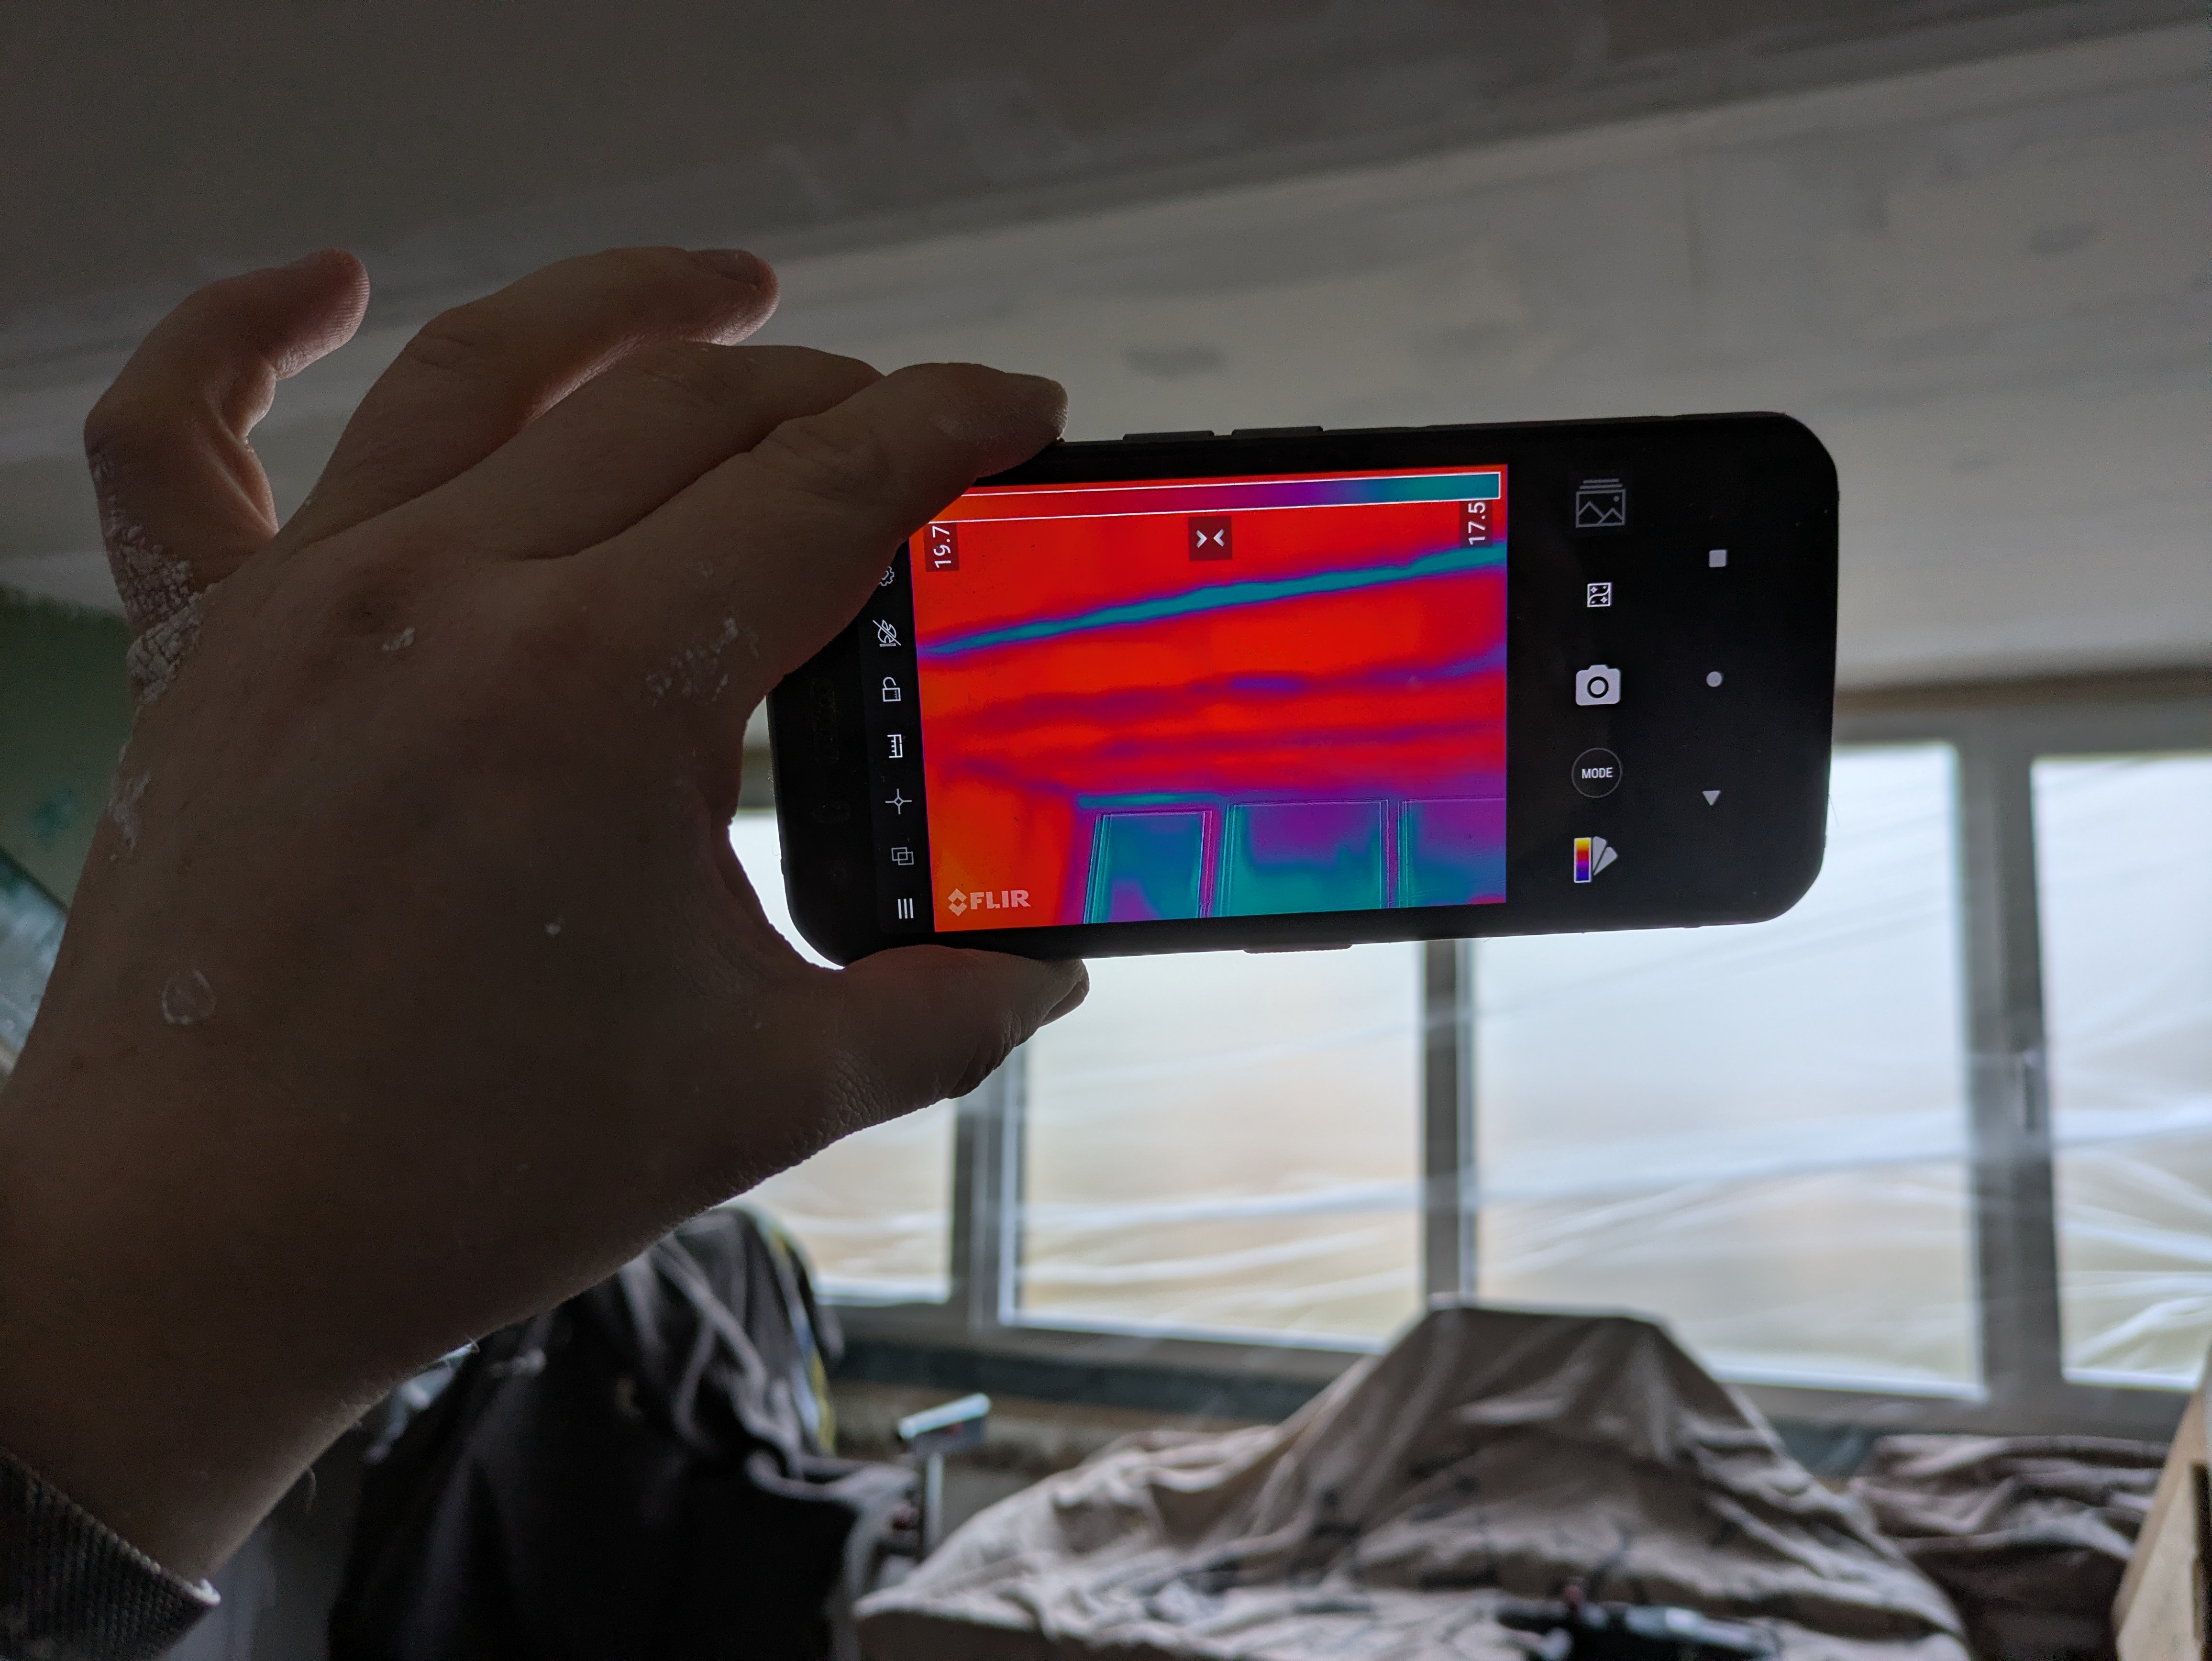
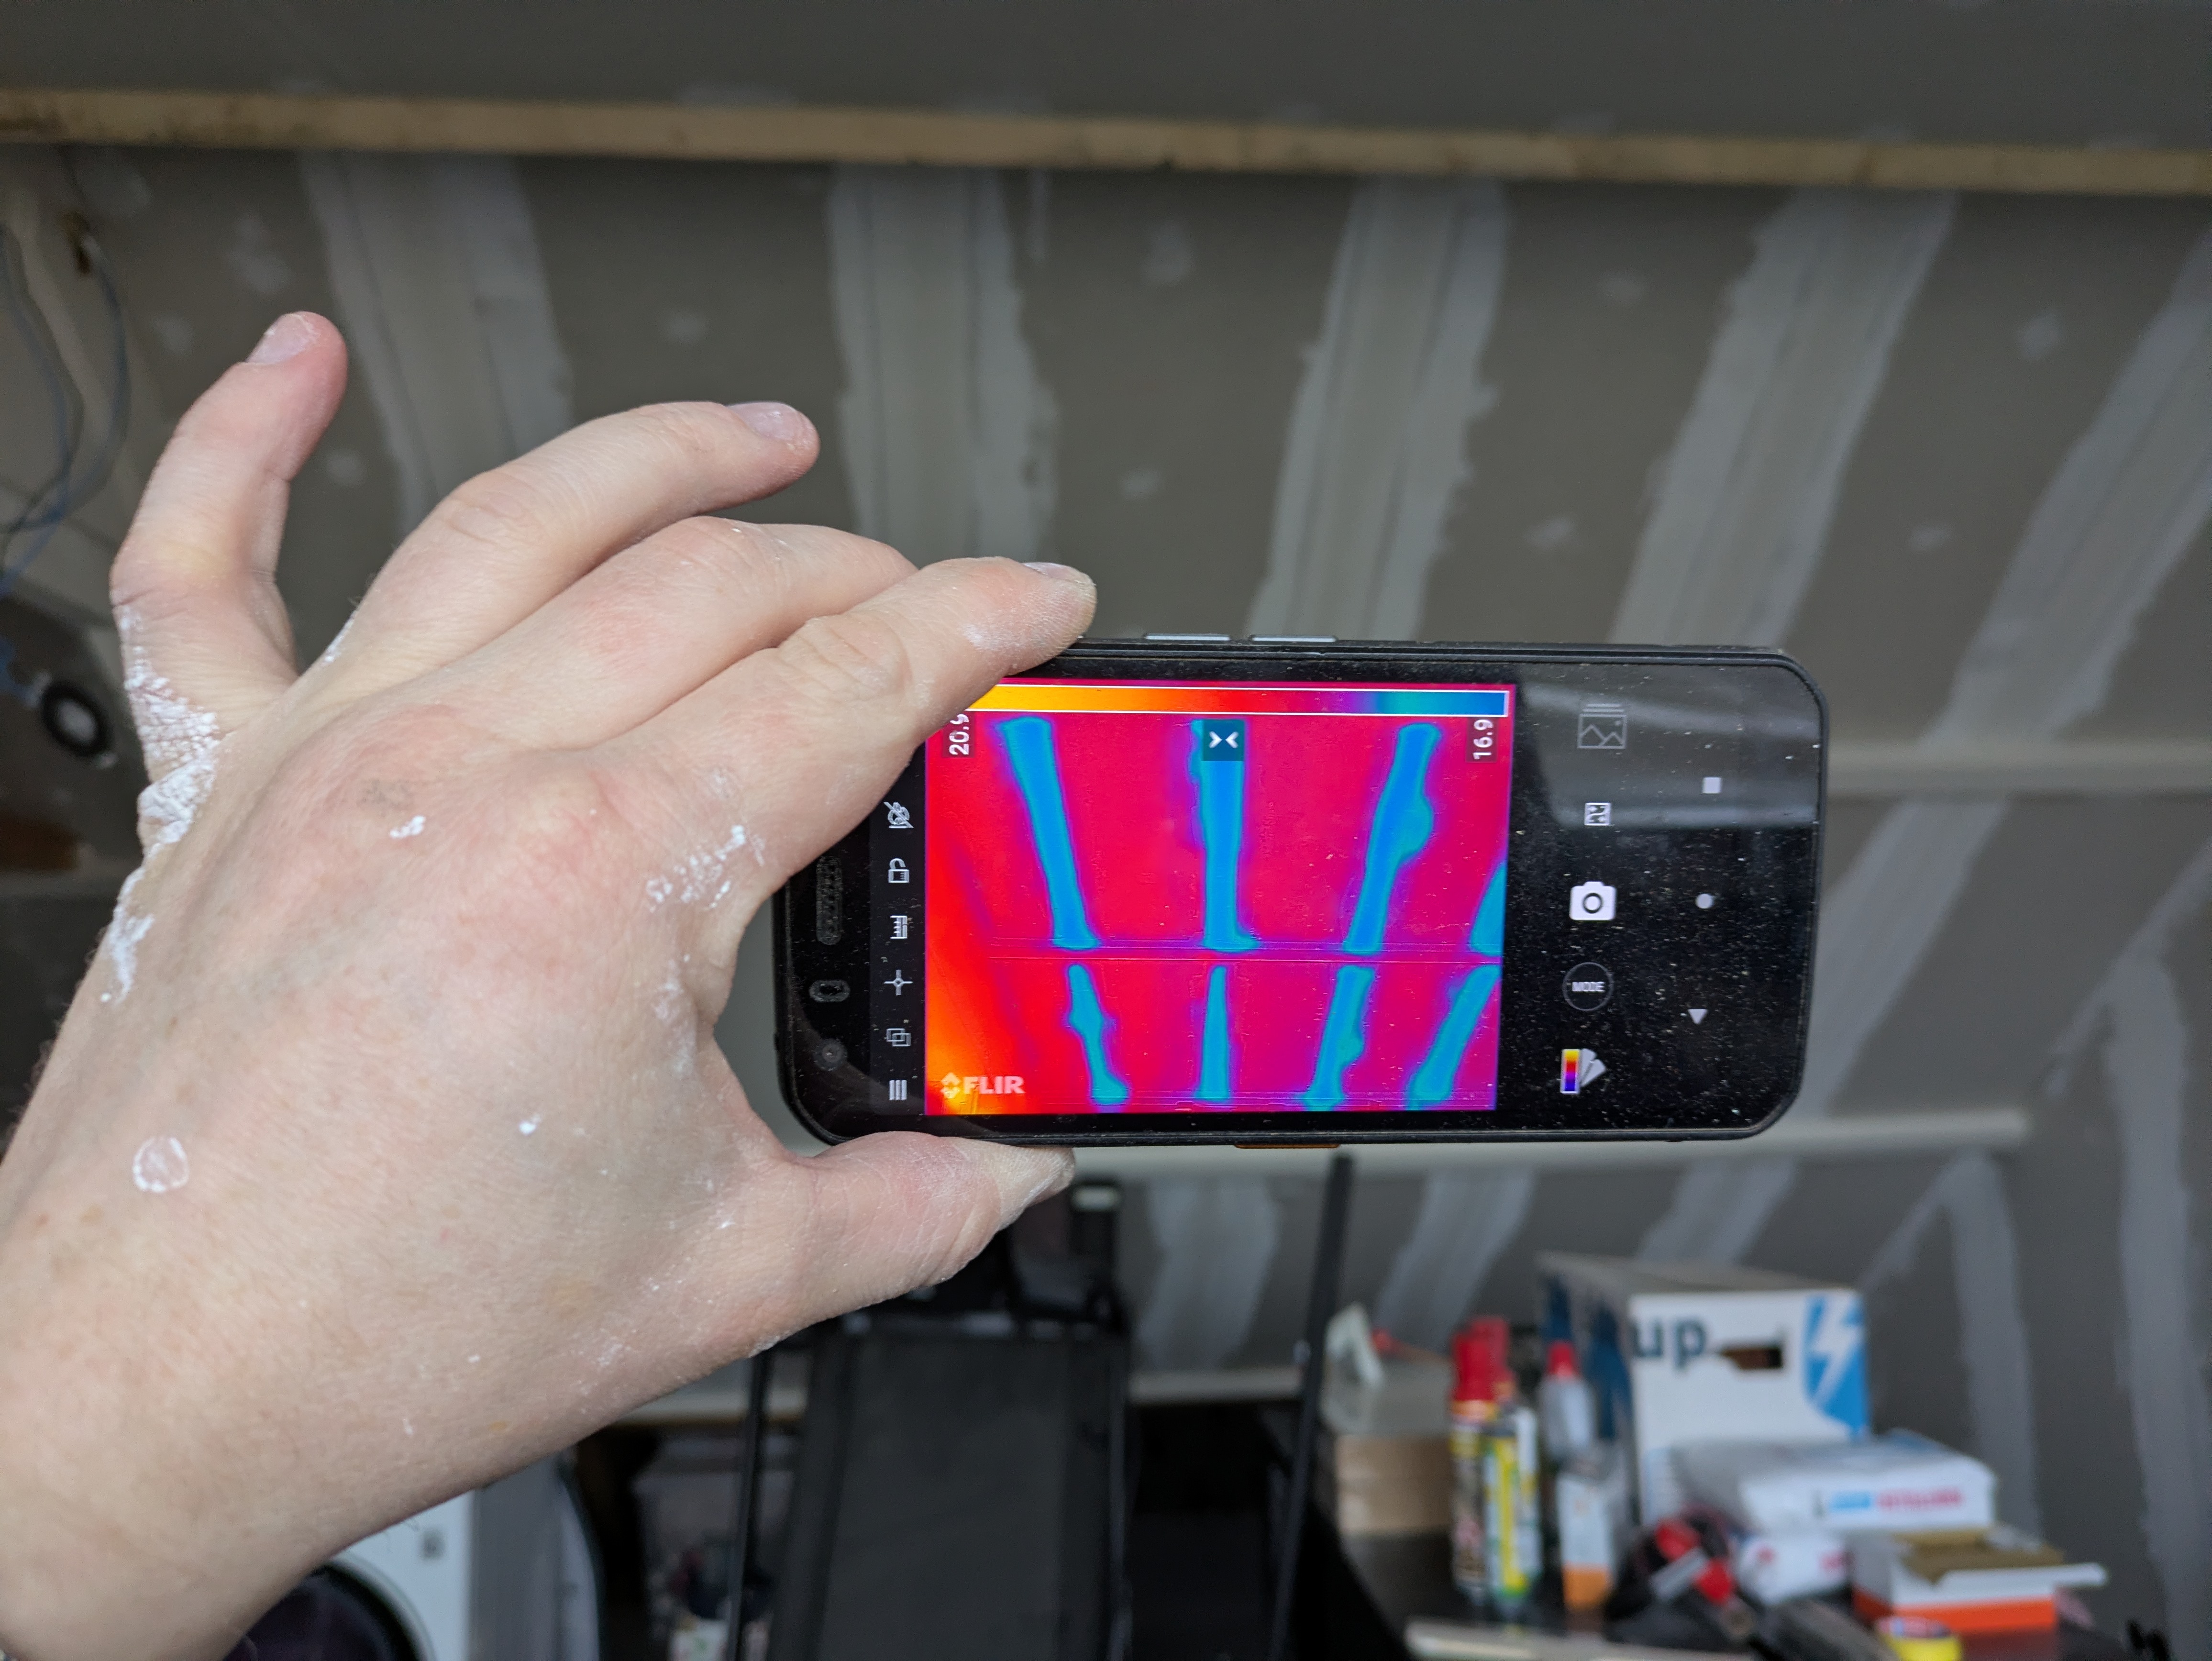
Using a thermal camera, Gijs can check whether the Knauf compound has dried well and whether any spots are still poorly insulated. Until everything is neatly caulked, a visible gap remains around the boards.
After filling and sanding, it was time for a first coat of primer. This prevents the vulnerable gypsum surface from being damaged during further work. Gypsum itself is very delicate; even a soft brush can leave grooves. Primer binds by penetrating deep into the material and provides a first protective layer.
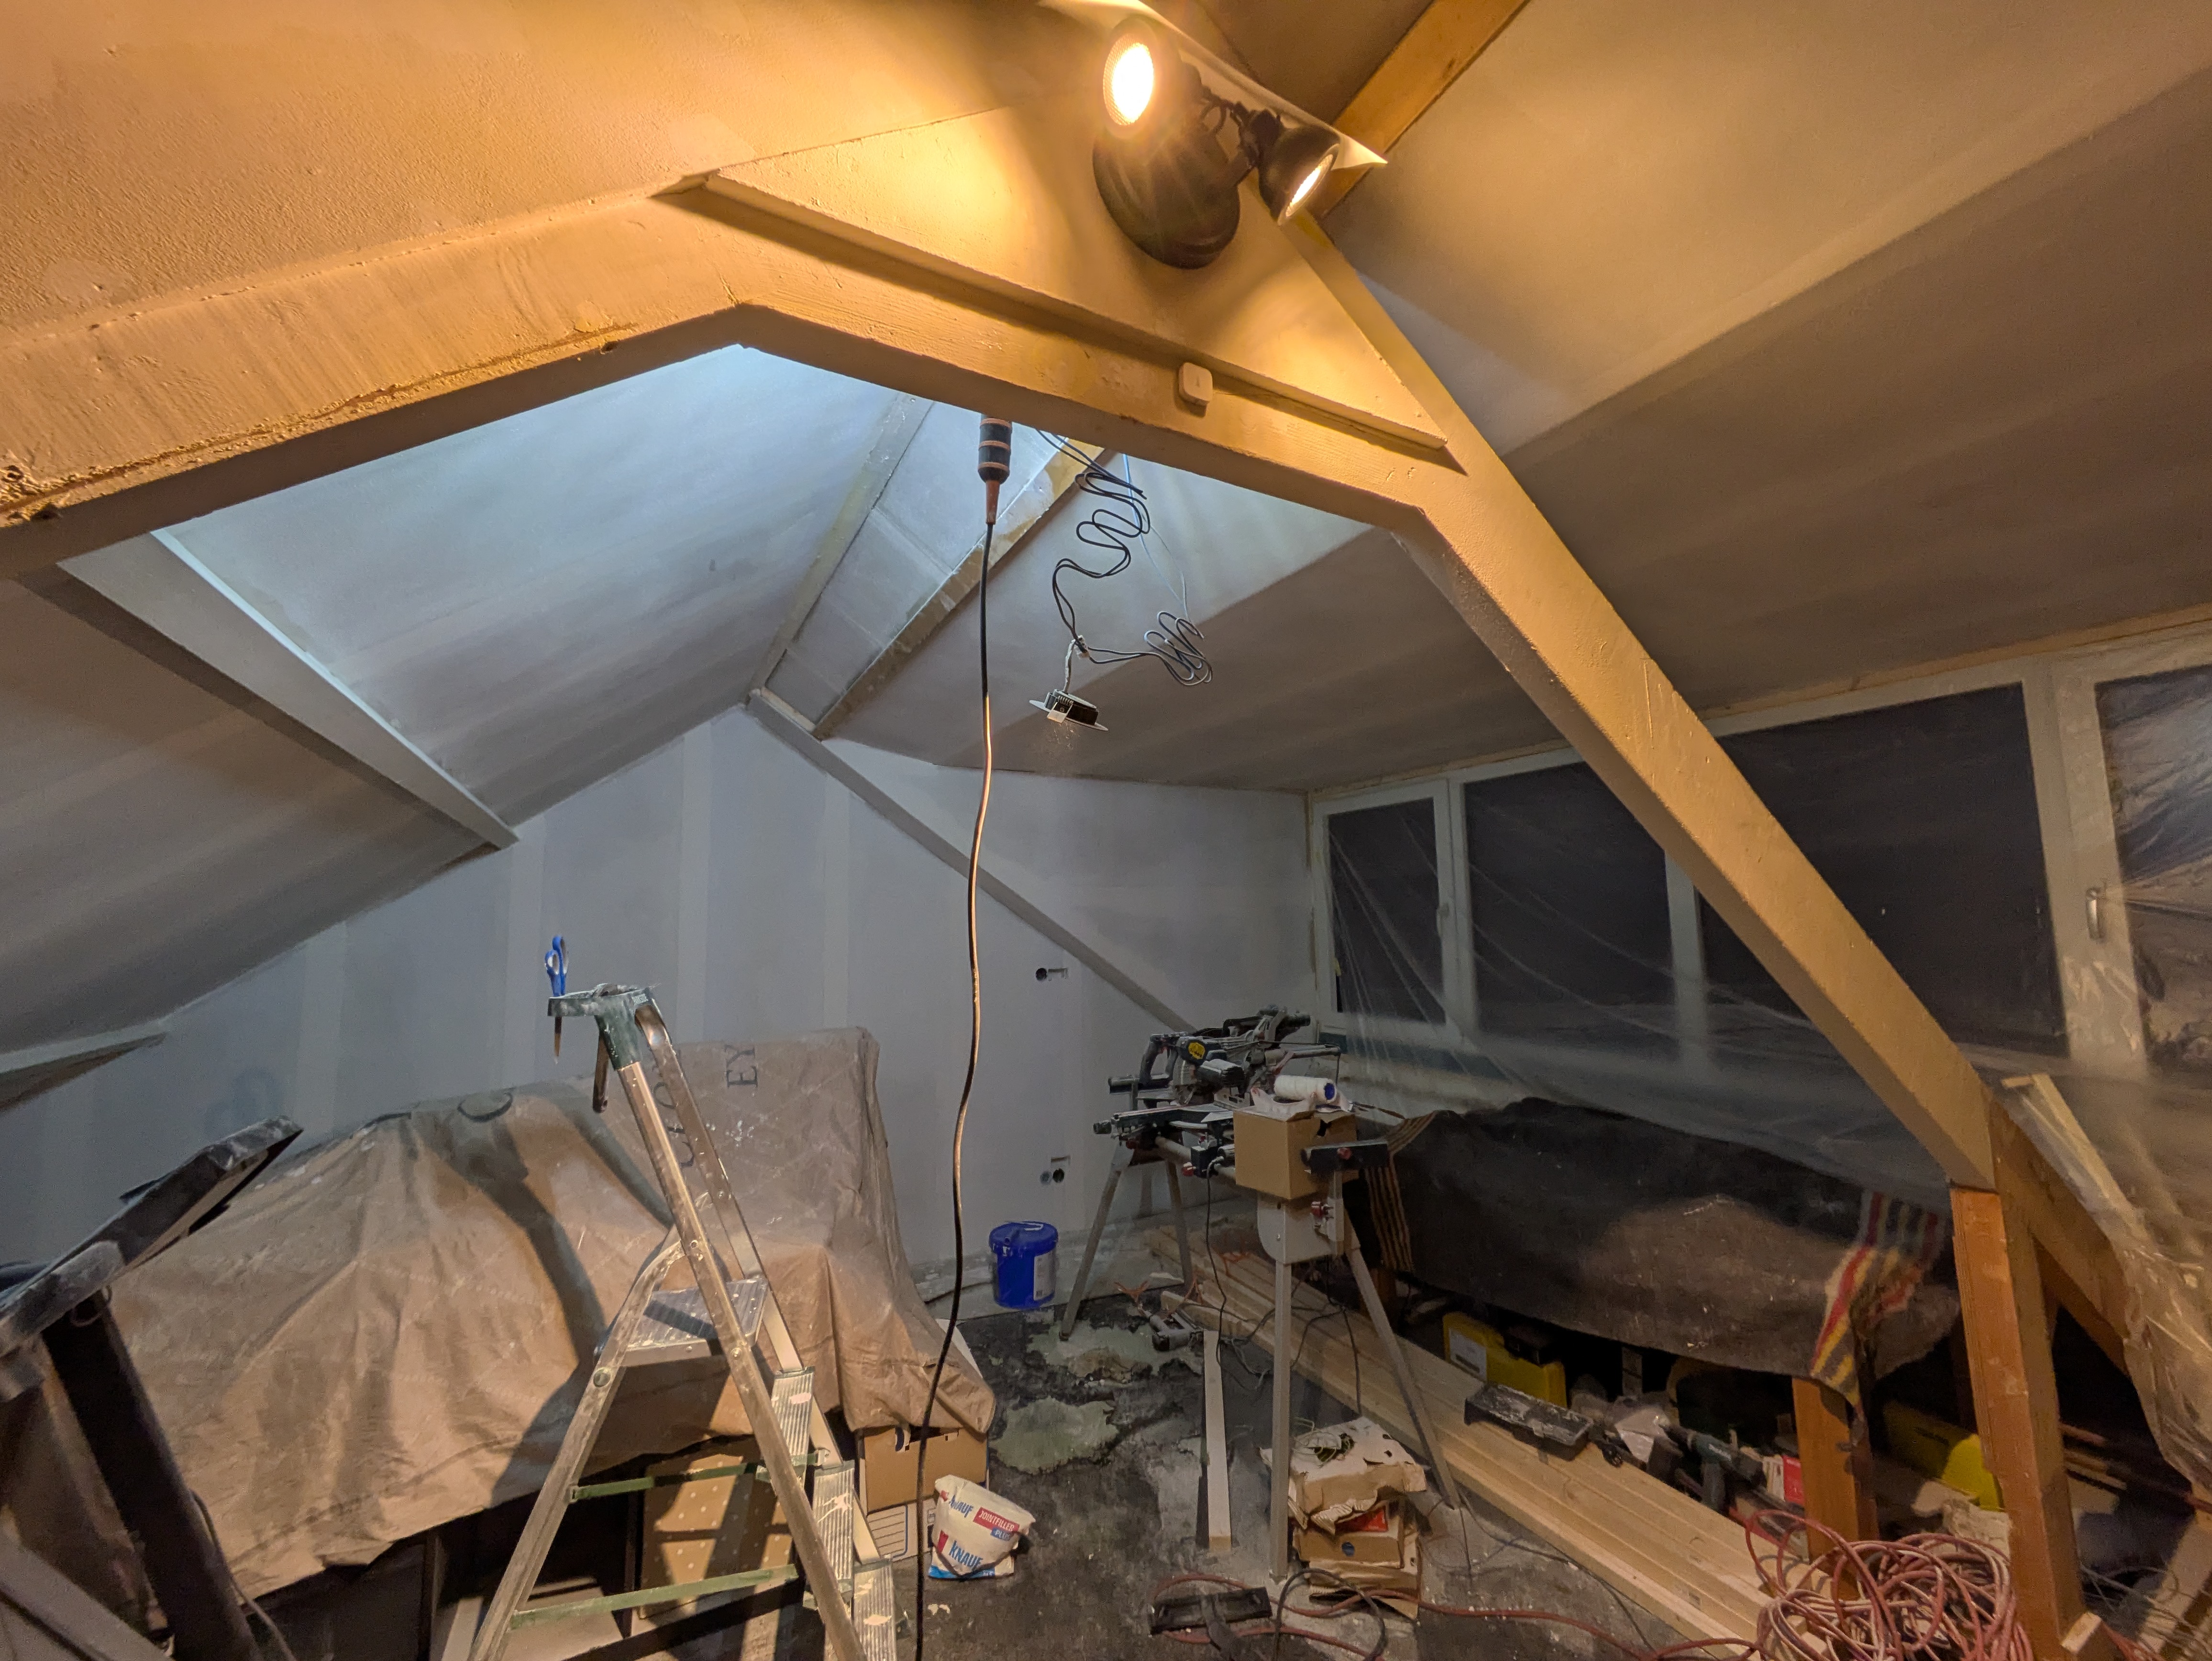
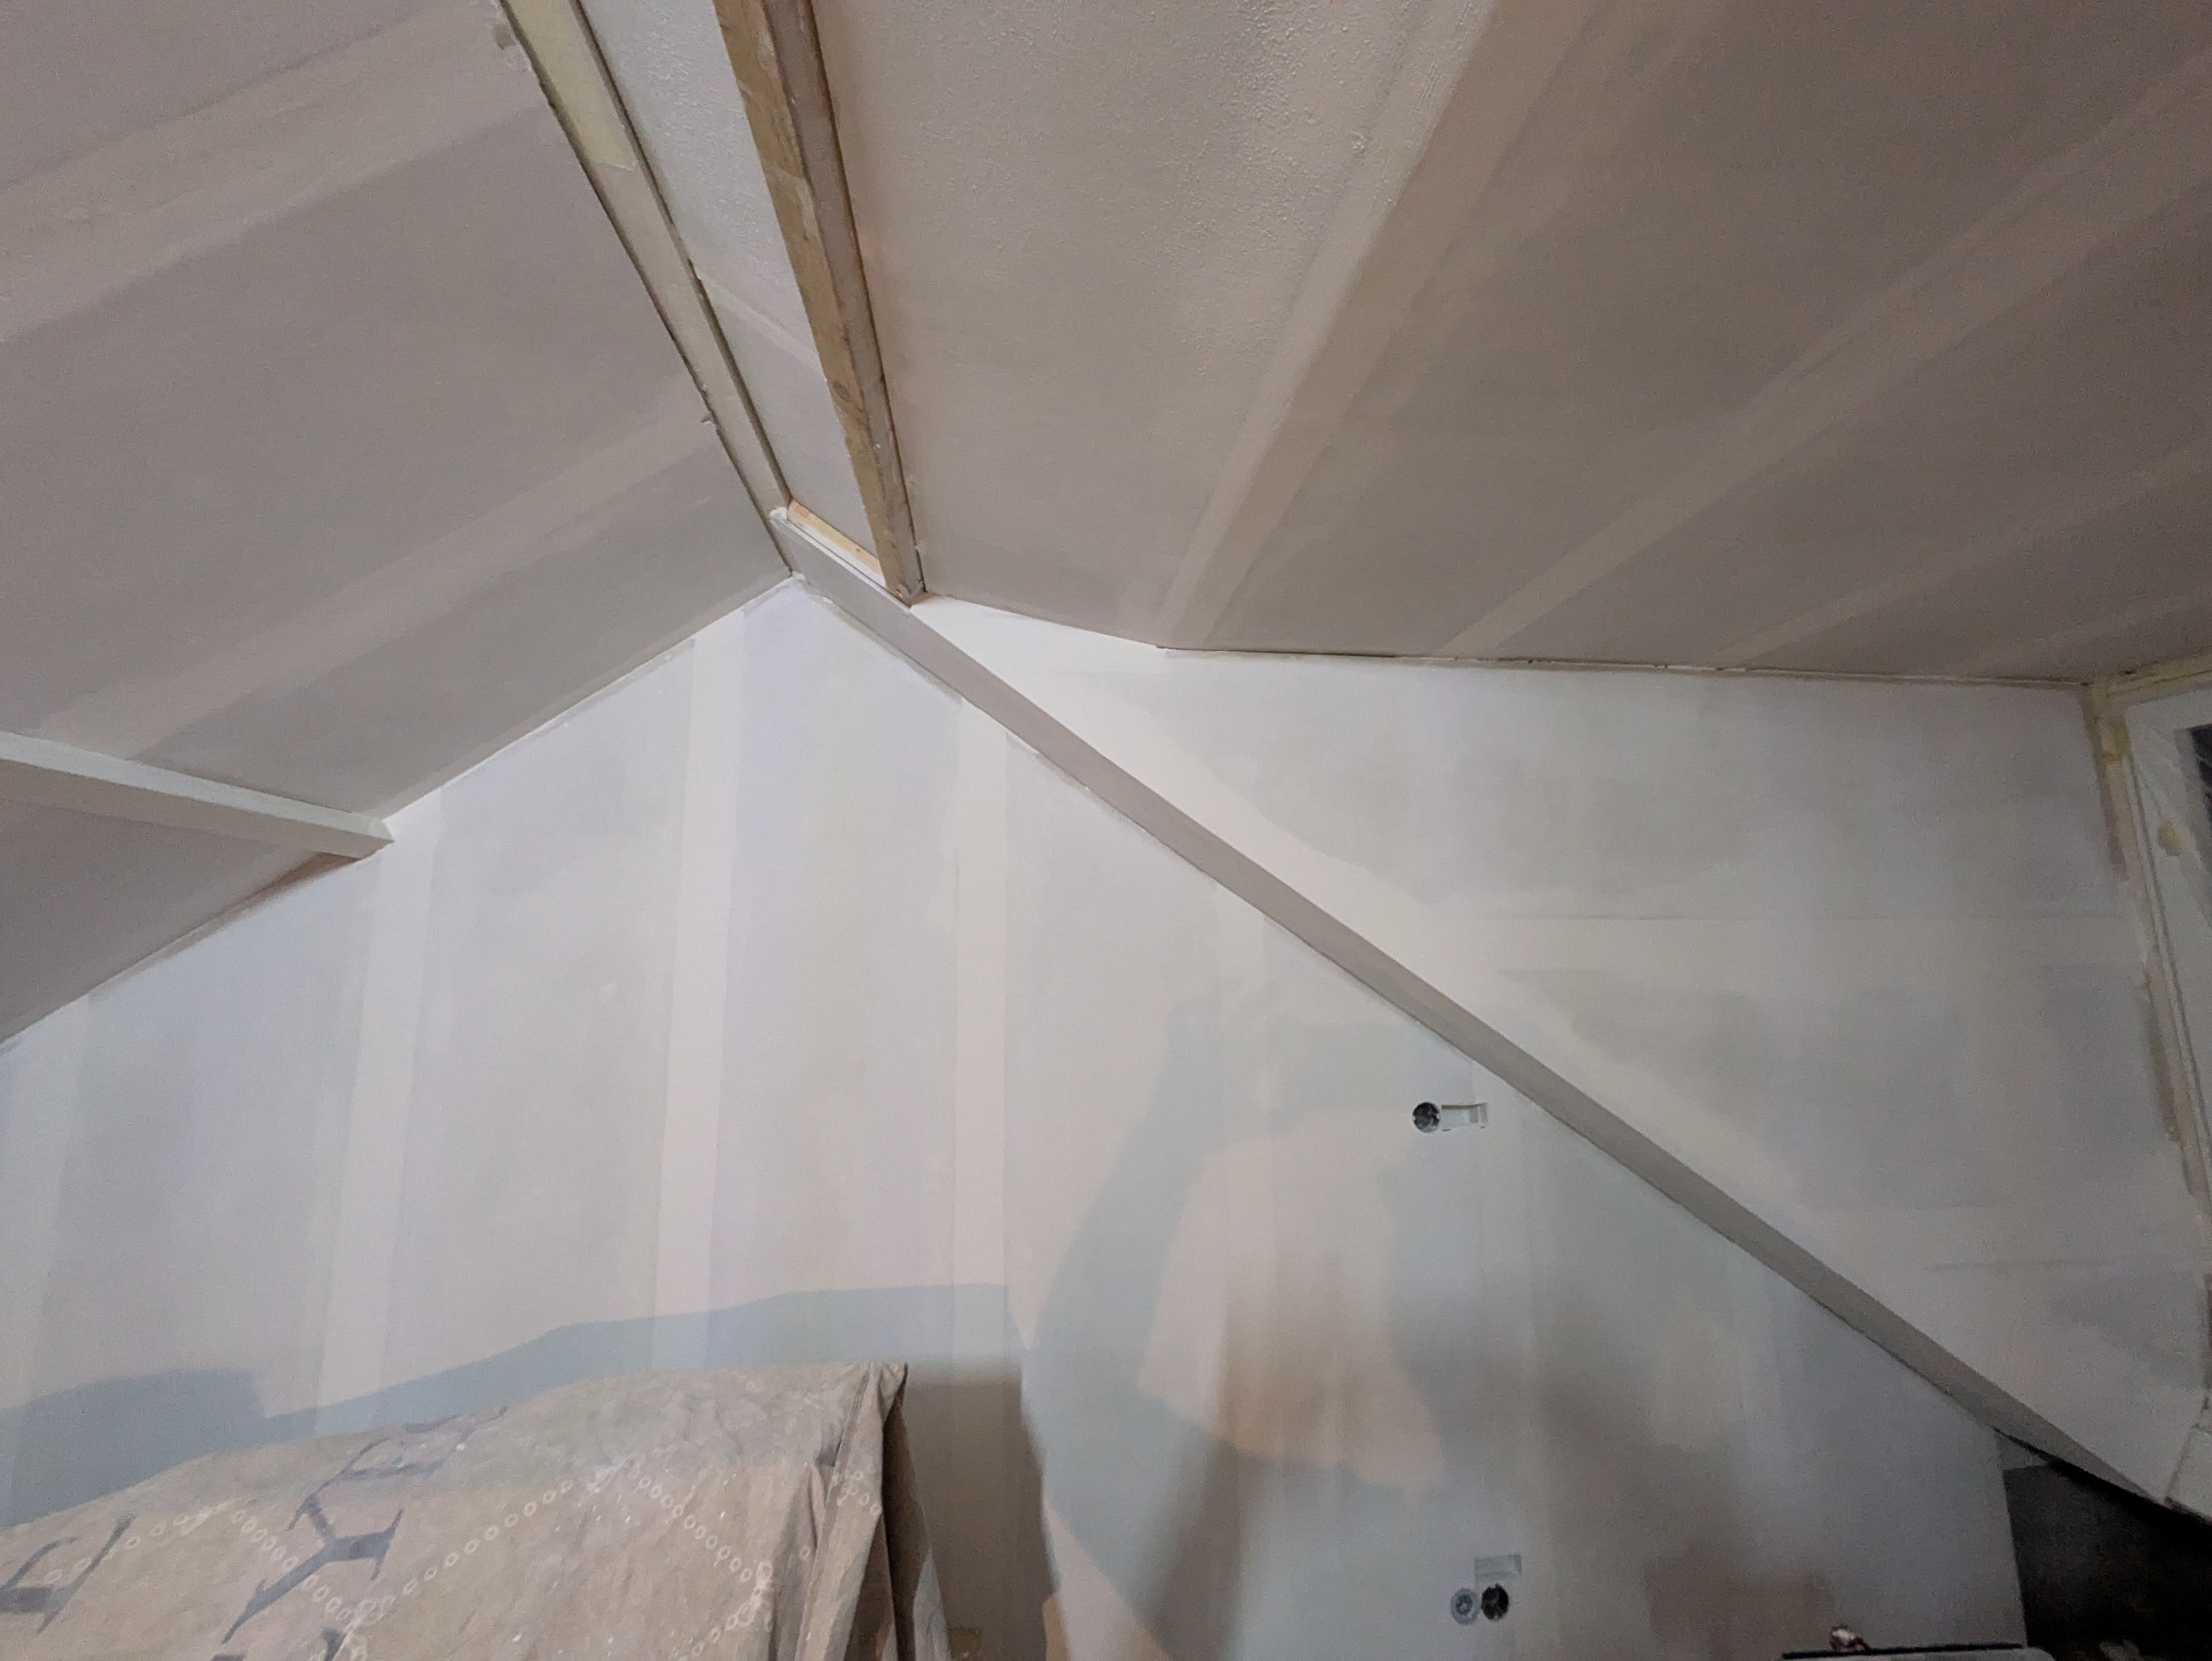
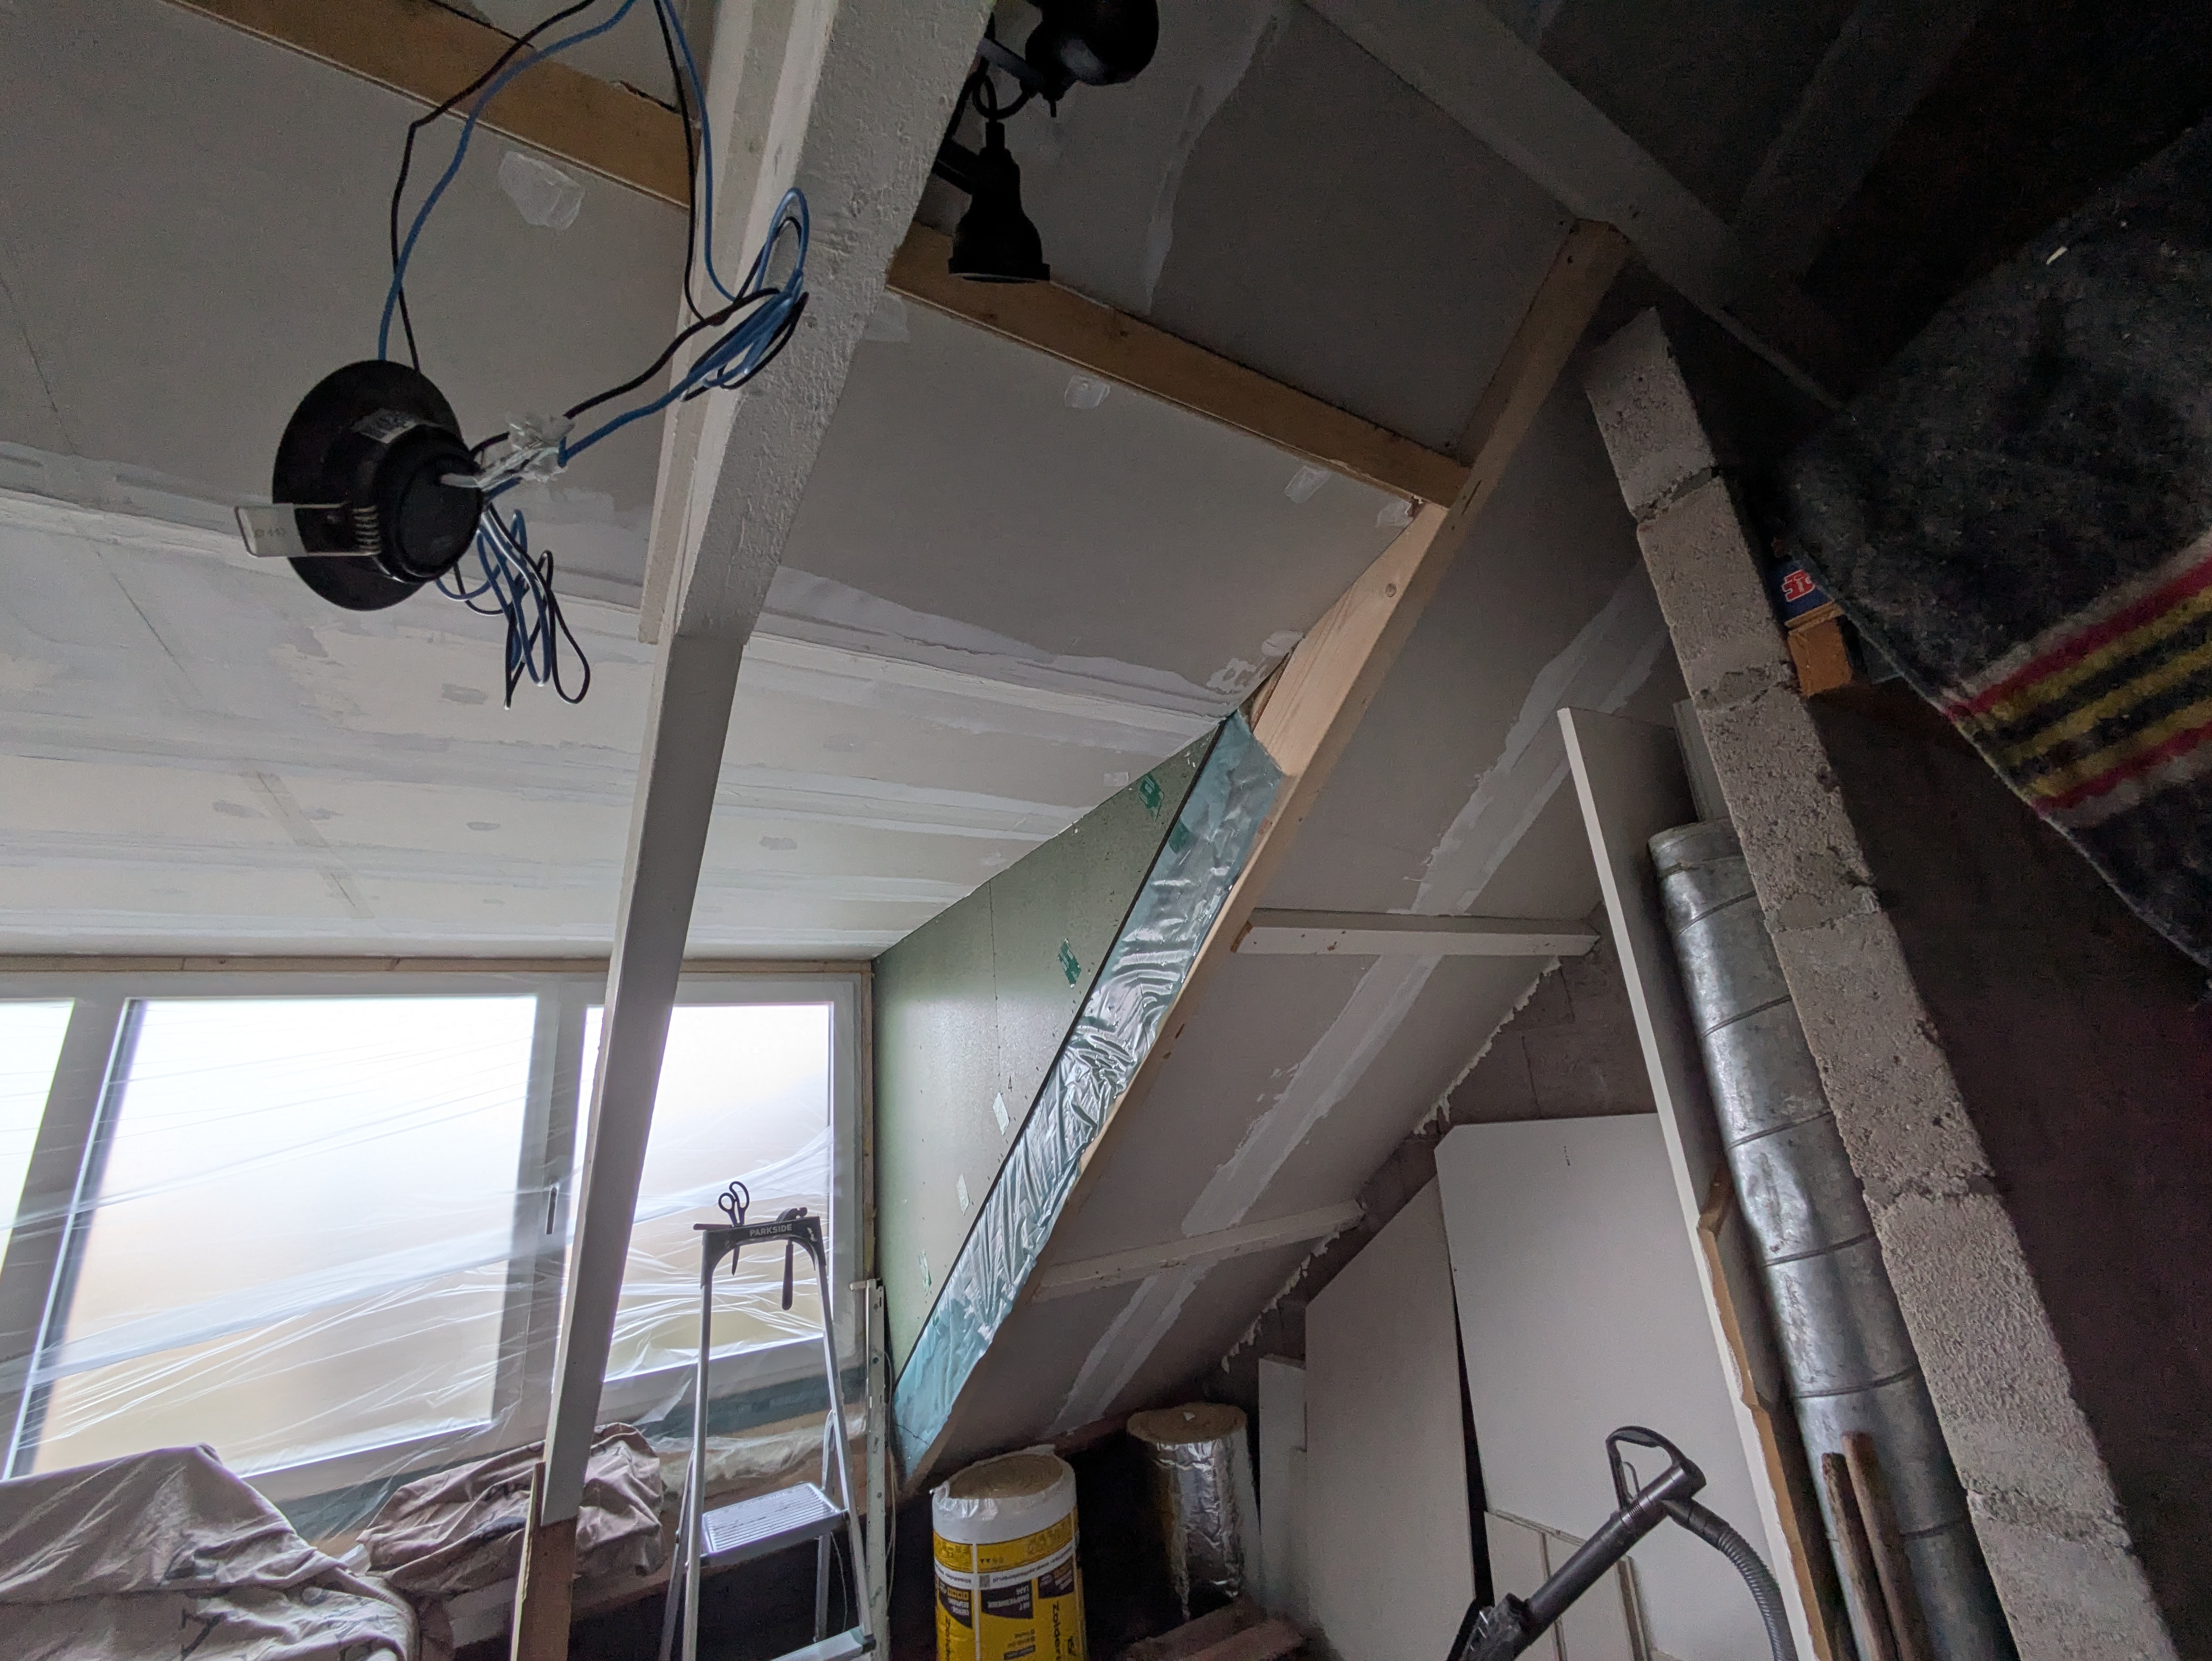
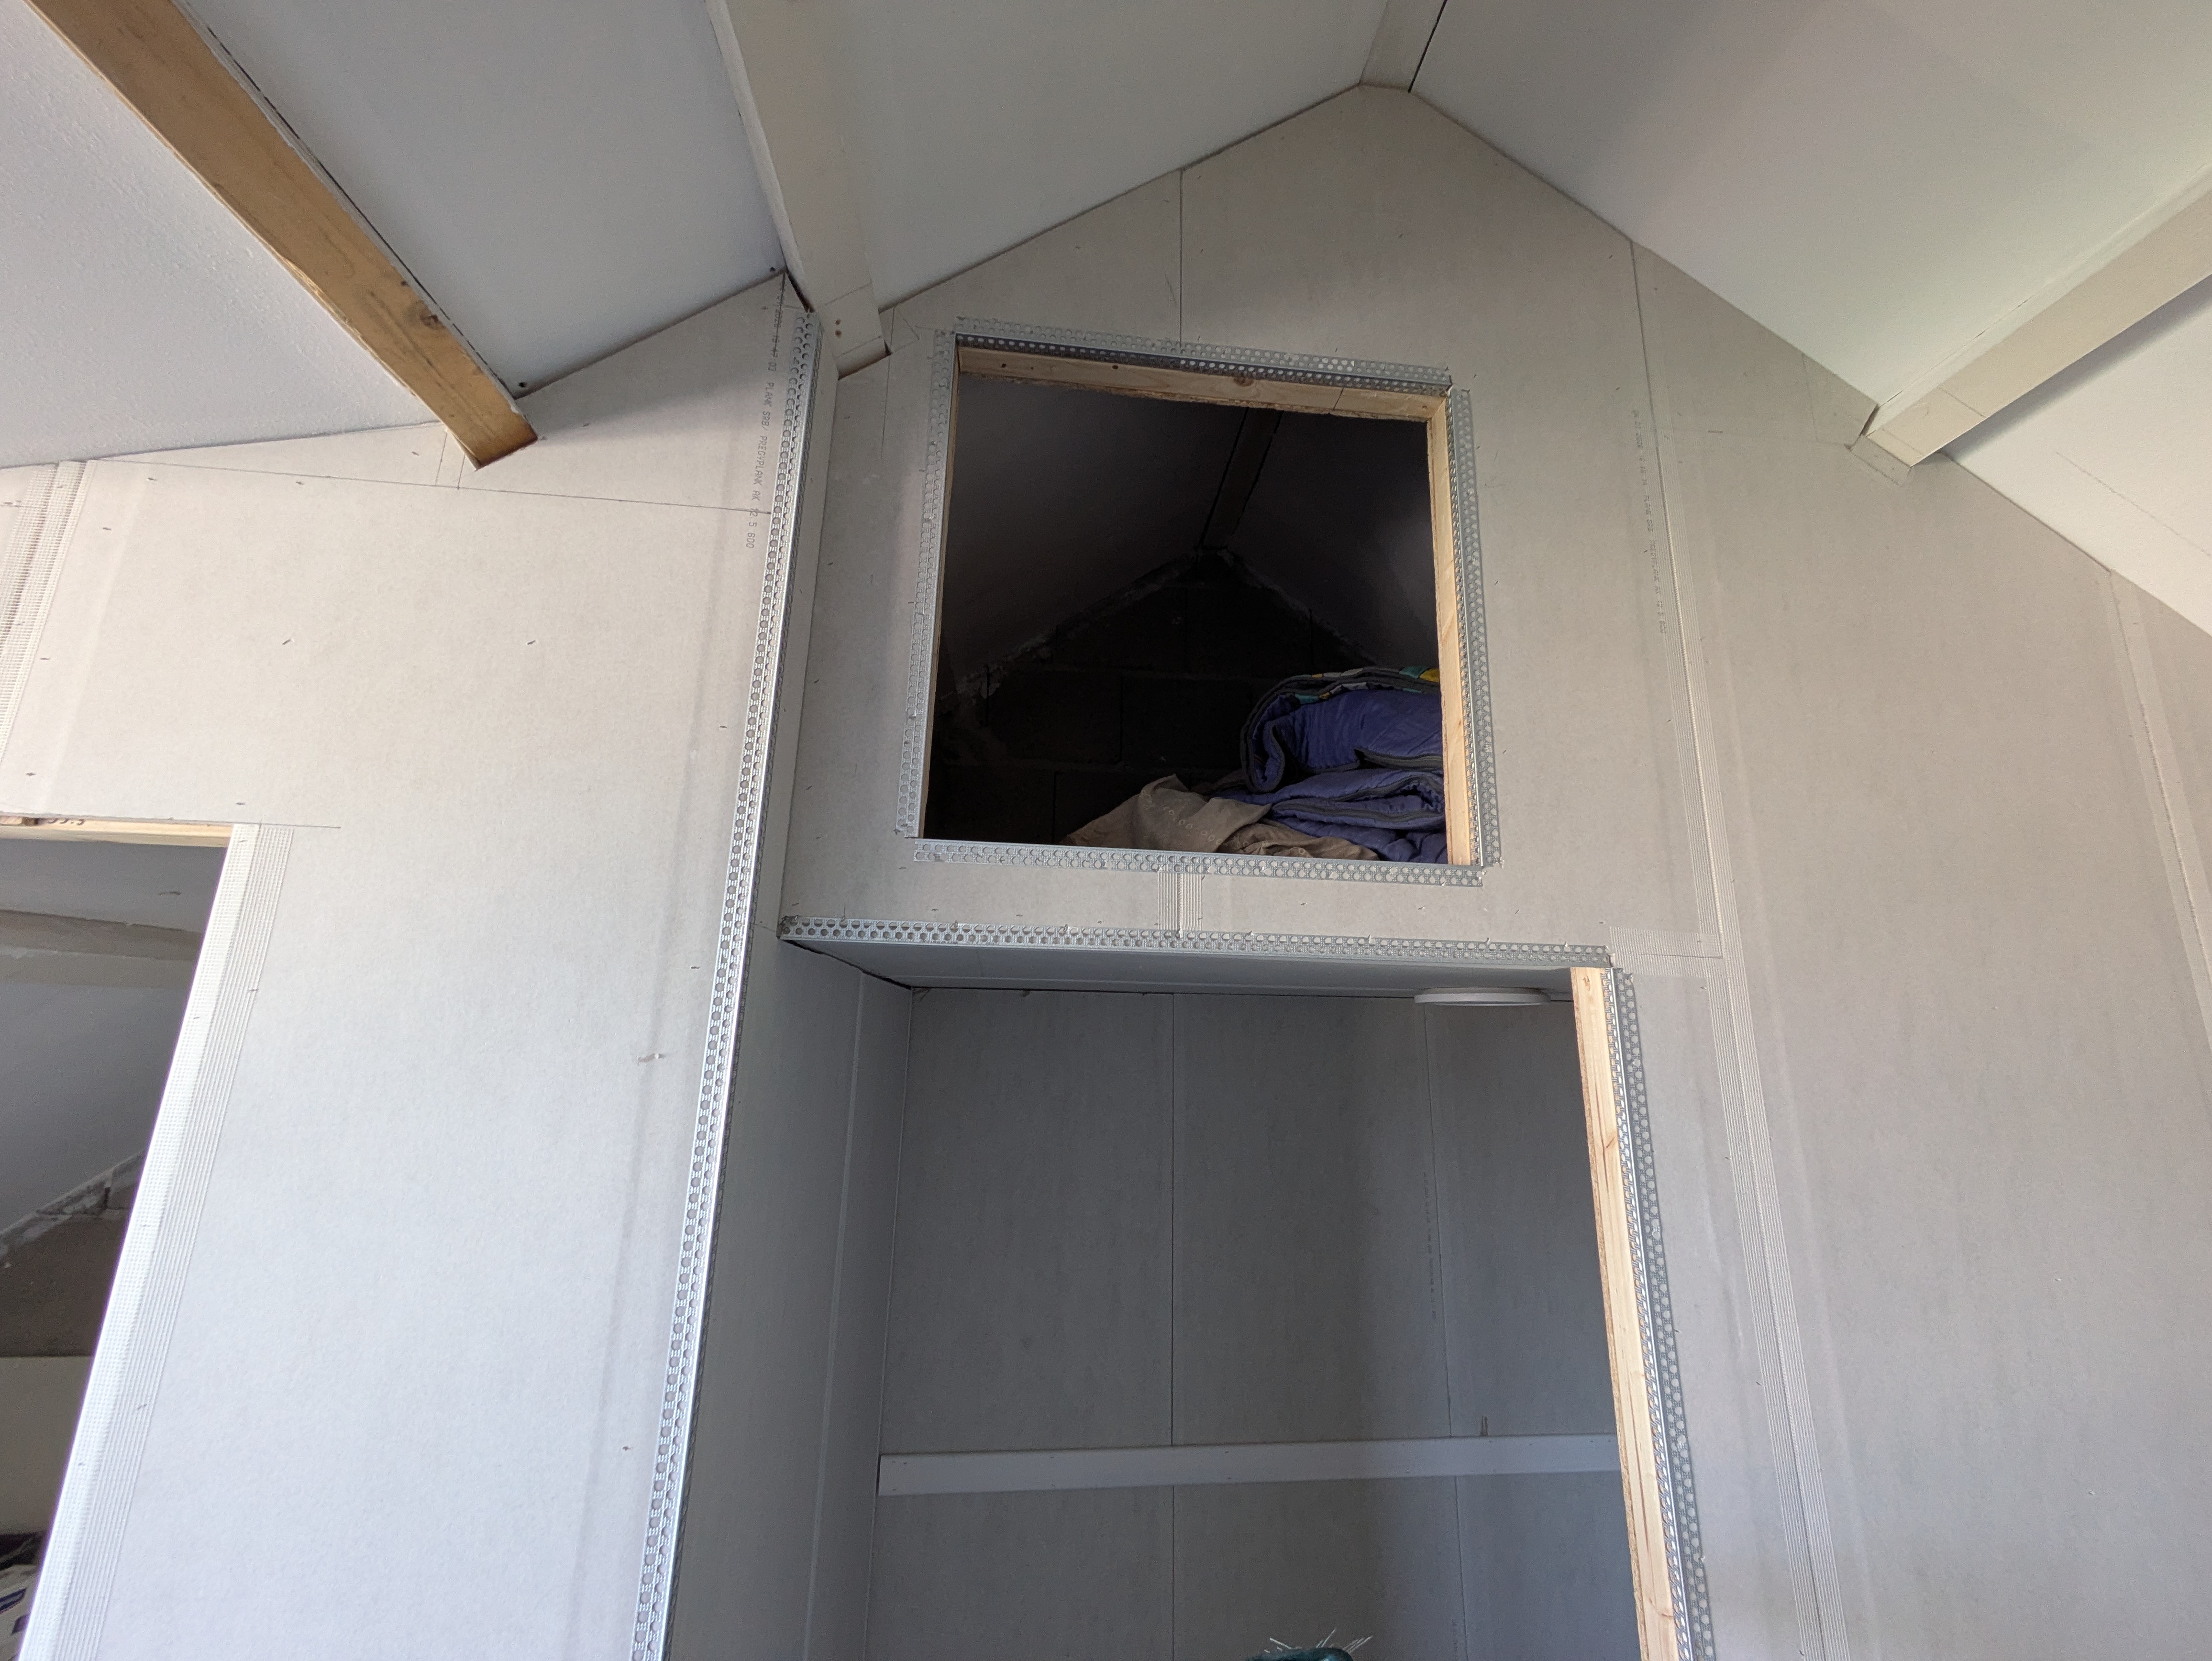
For a clean finish at the roof ridge, it was decided to lower it slightly. Because this is an older house, walls and beams are not perfectly straight. The lowered ceiling helps conceal that.
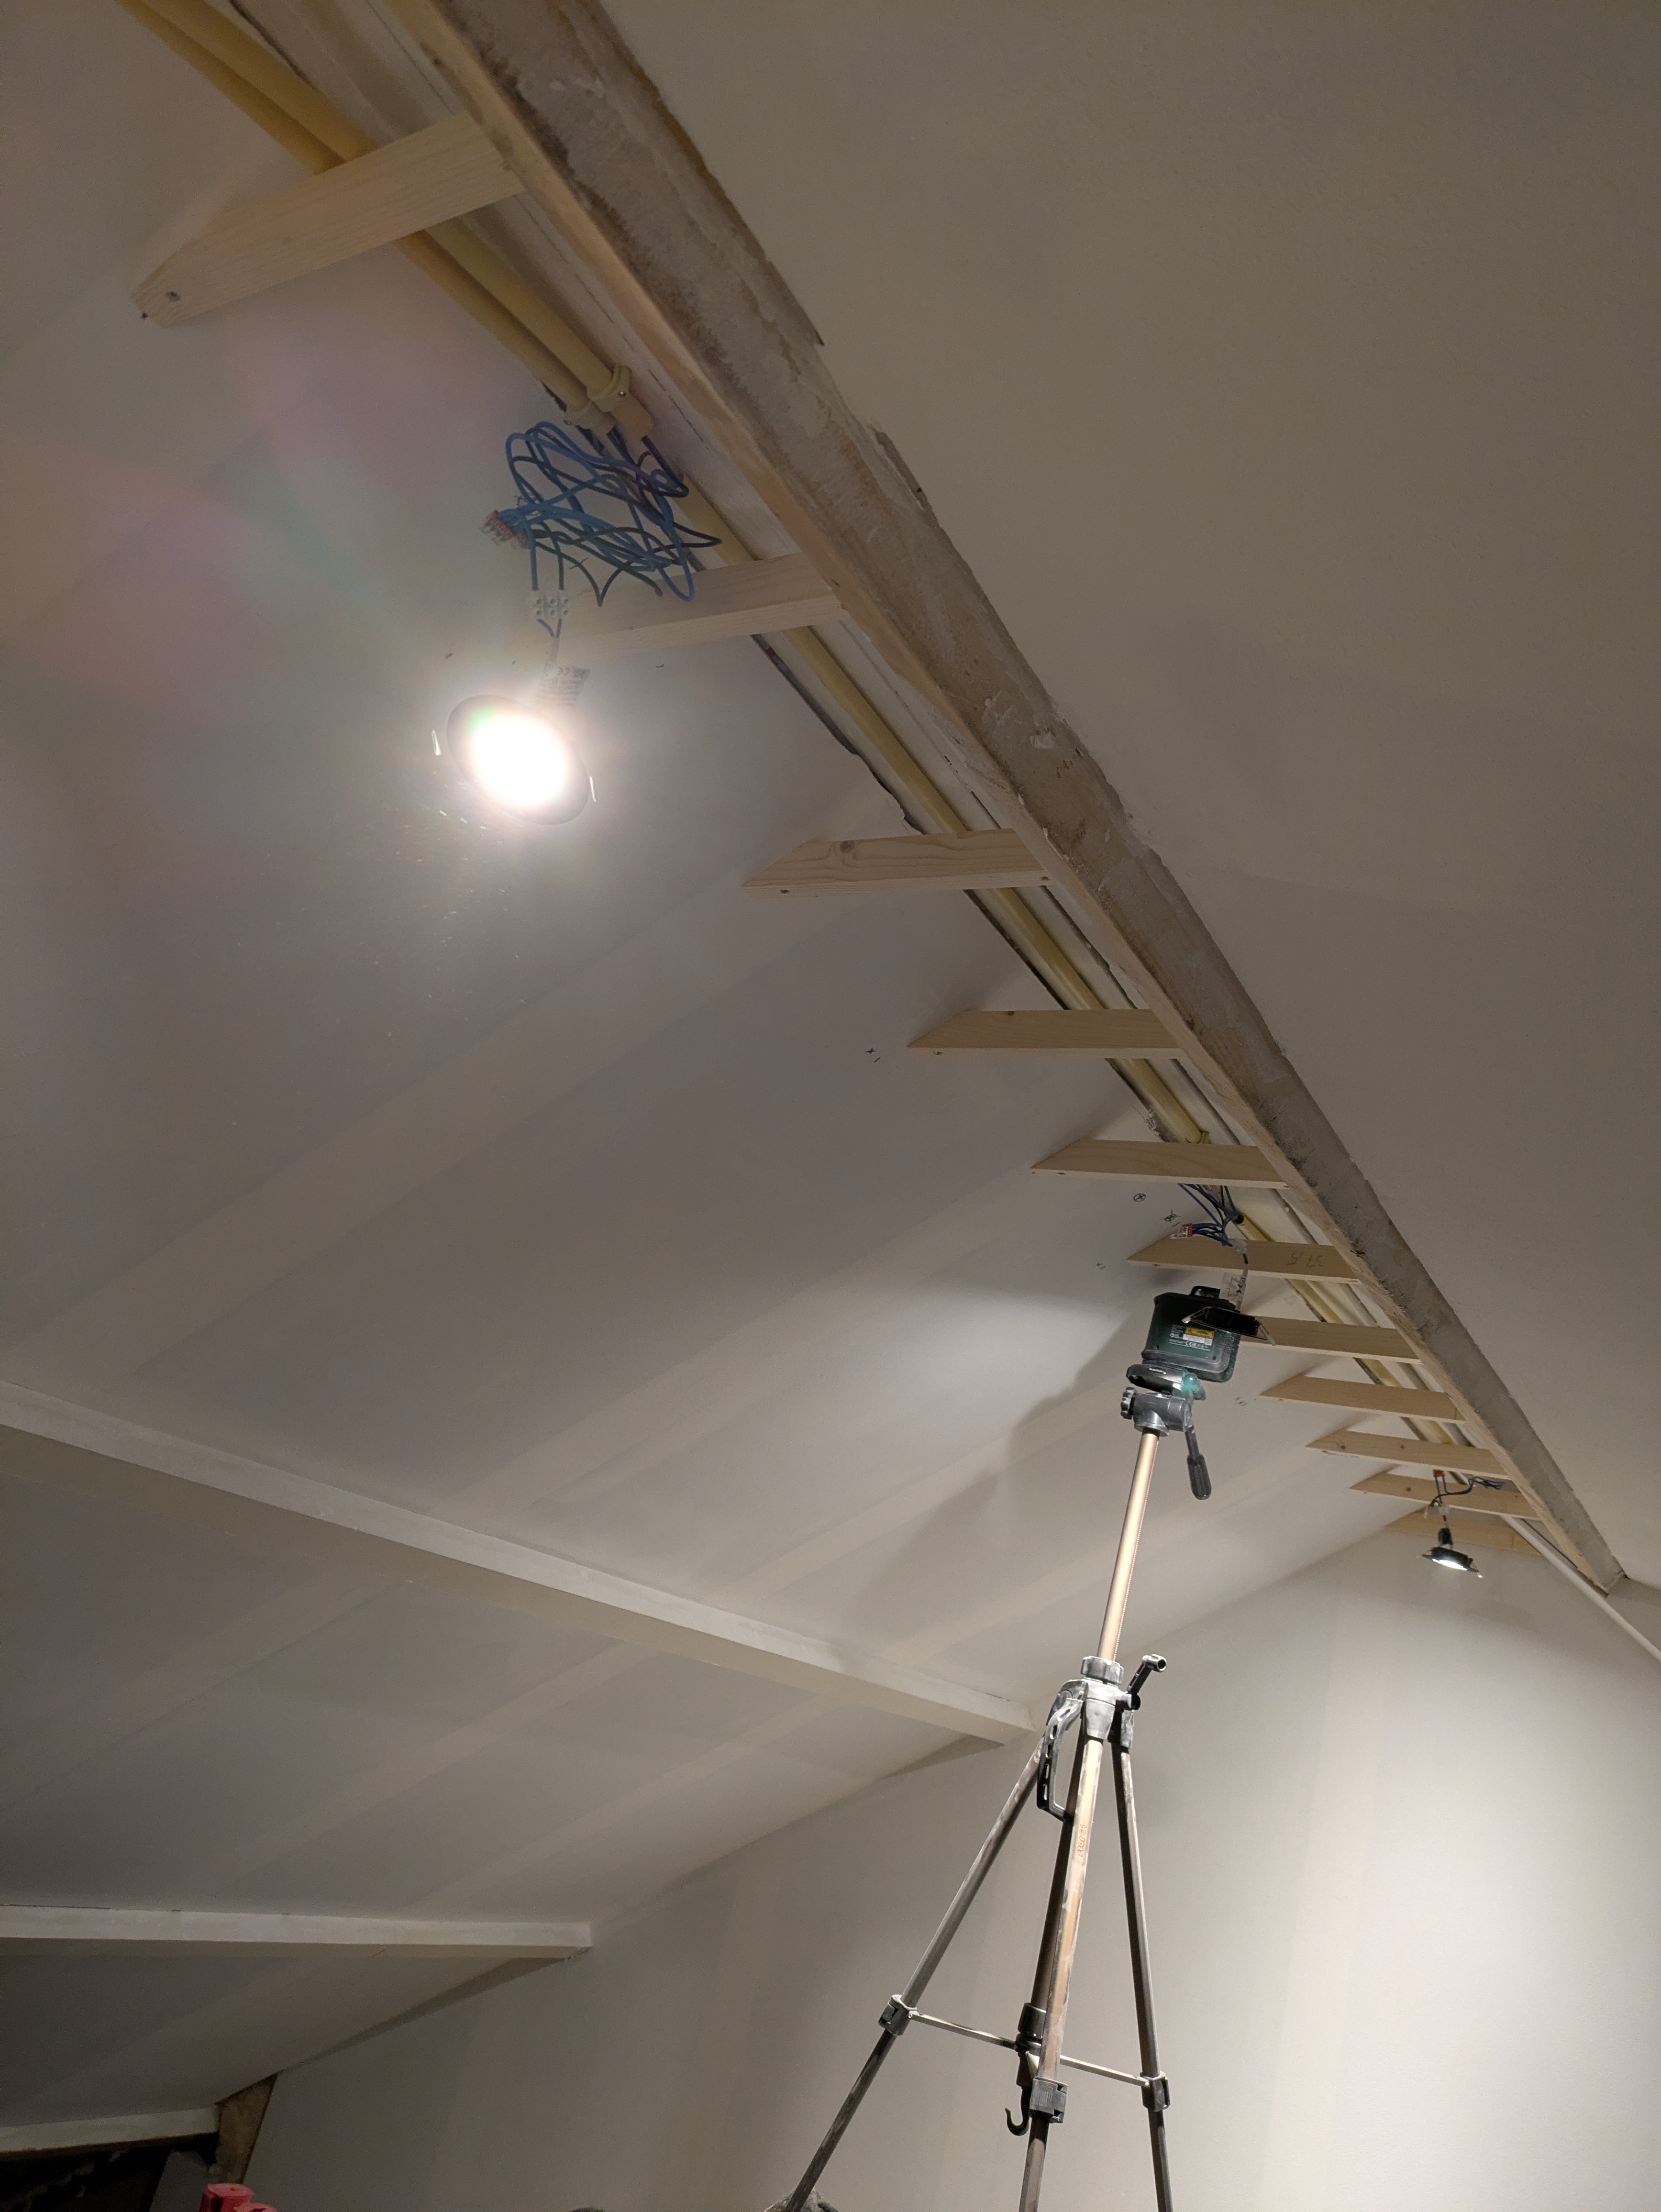
As an additional benefit, Gijs can install recessed spotlights for evening lighting. Because the final room layout was still unknown, a traditional hanging lamp could limit options. Spotlights are a great flexible solution.

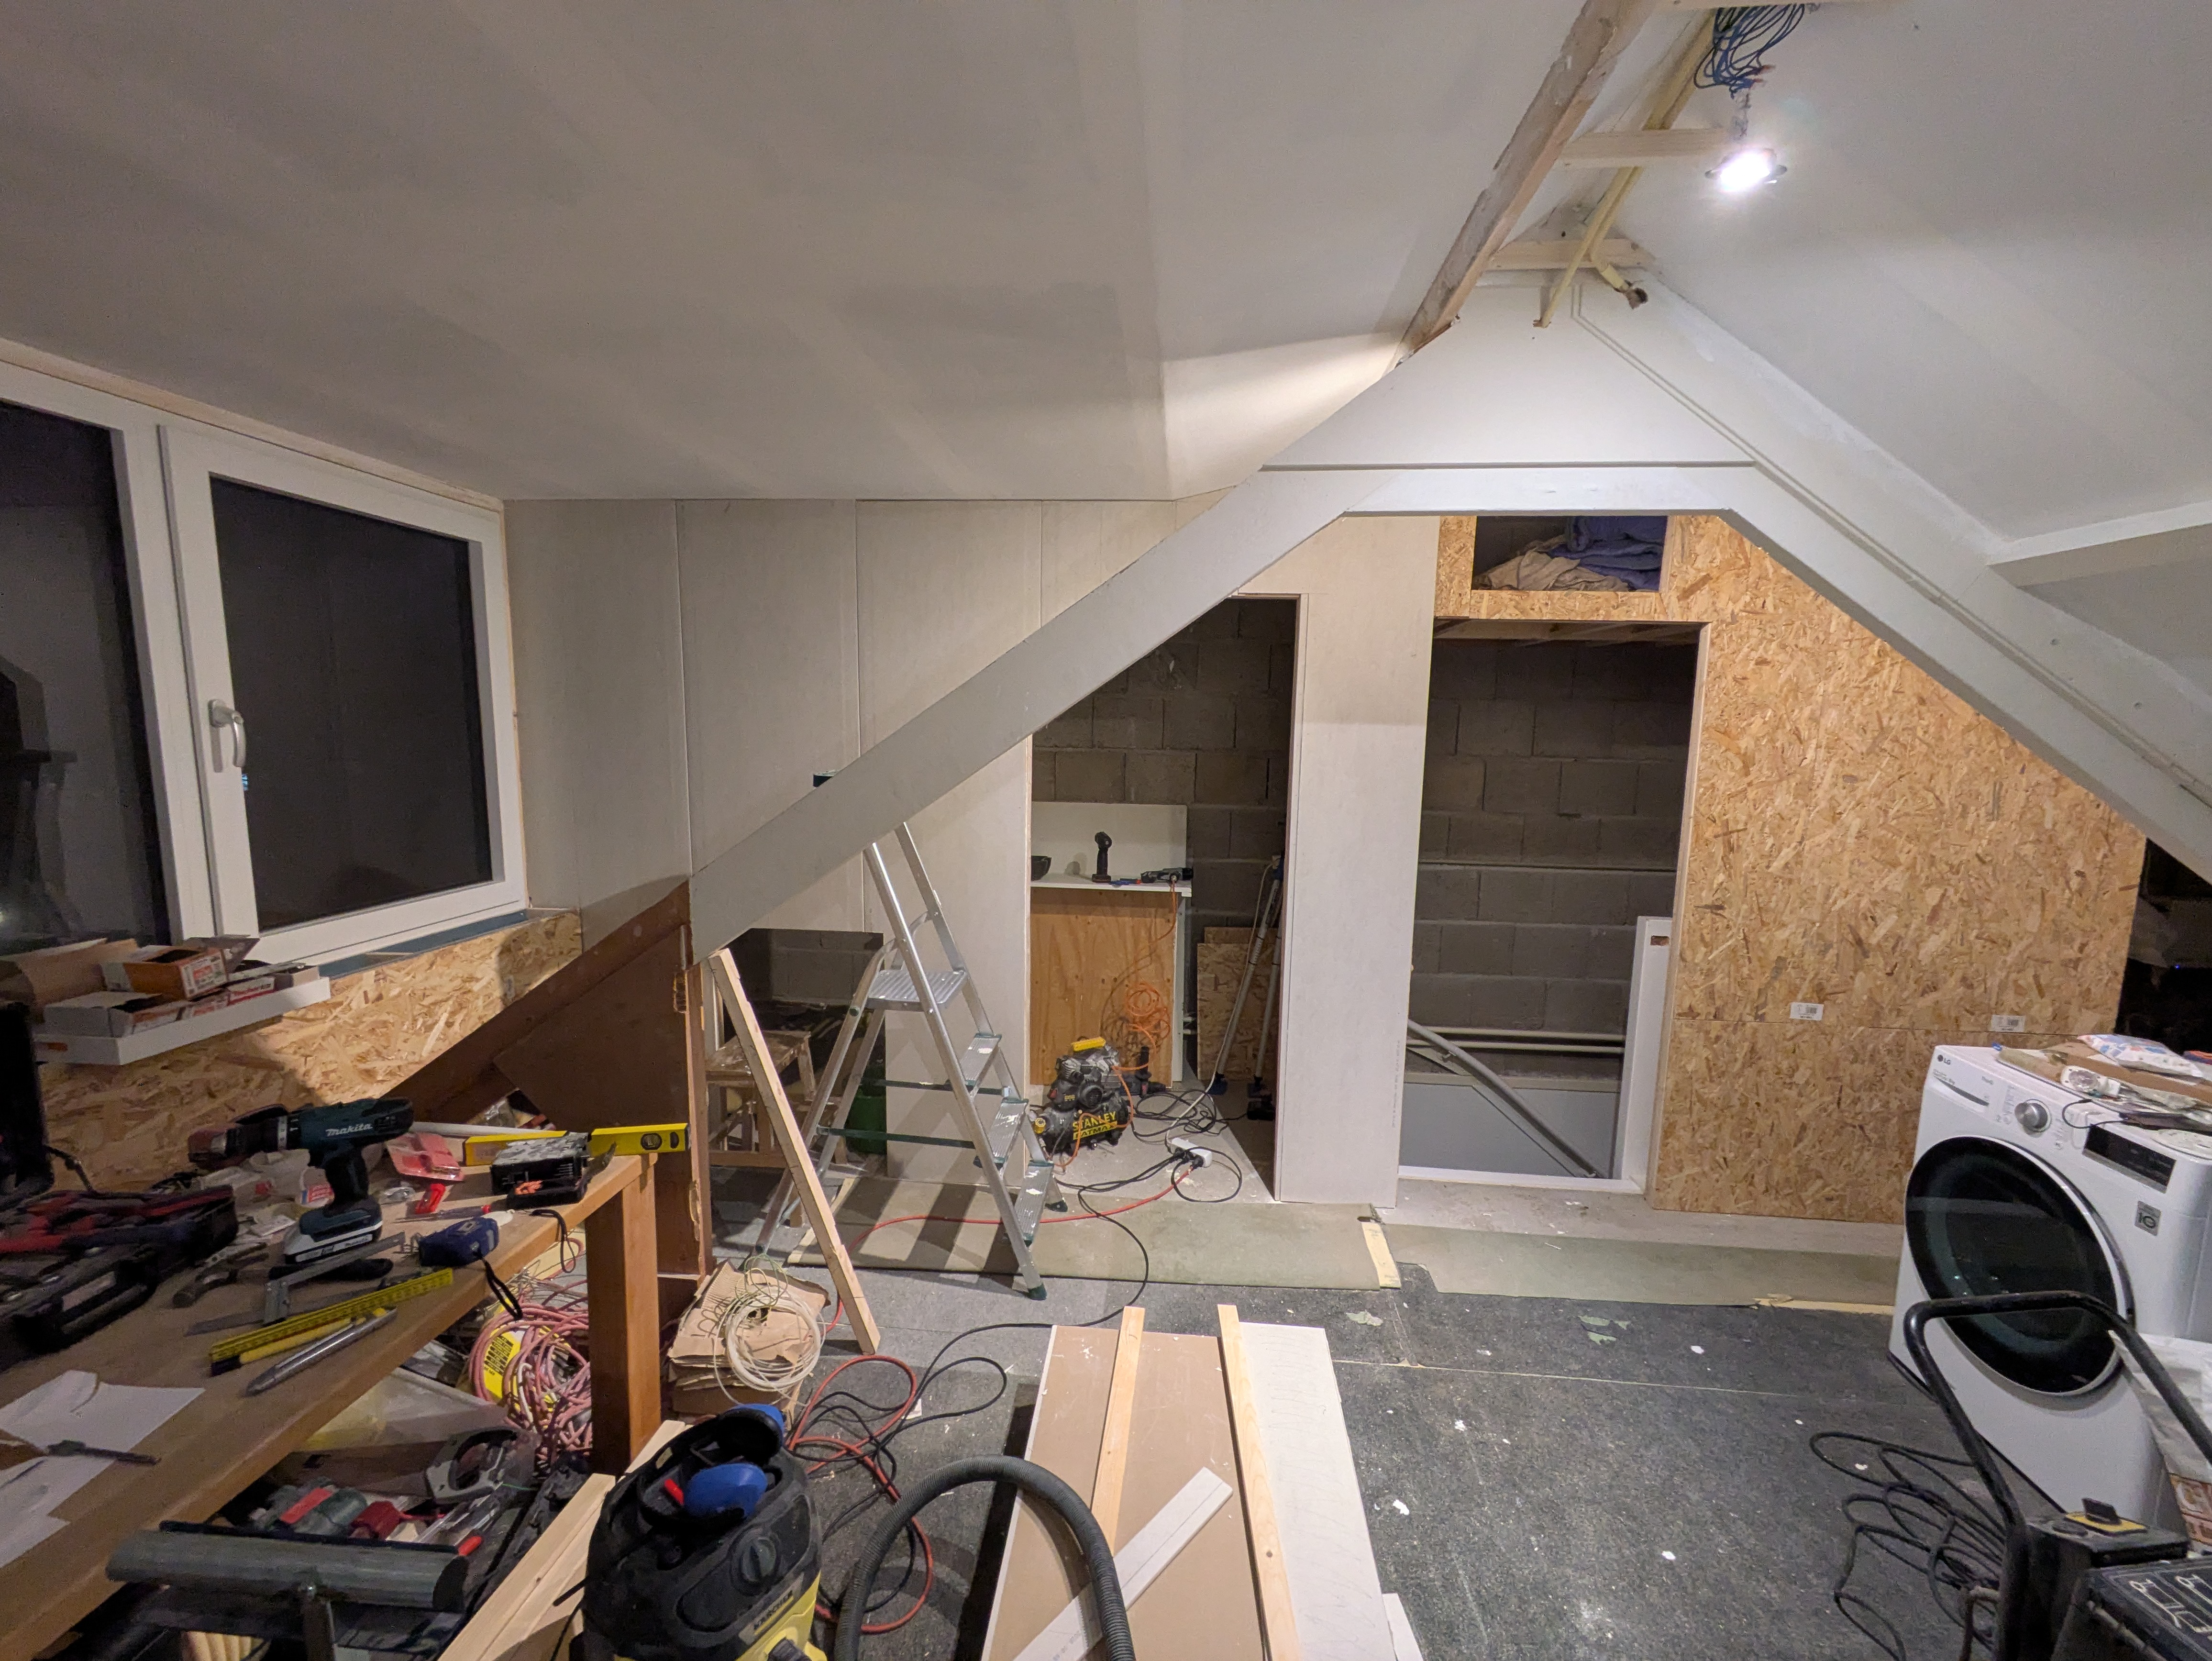
Then it was time for the other side of the attic.
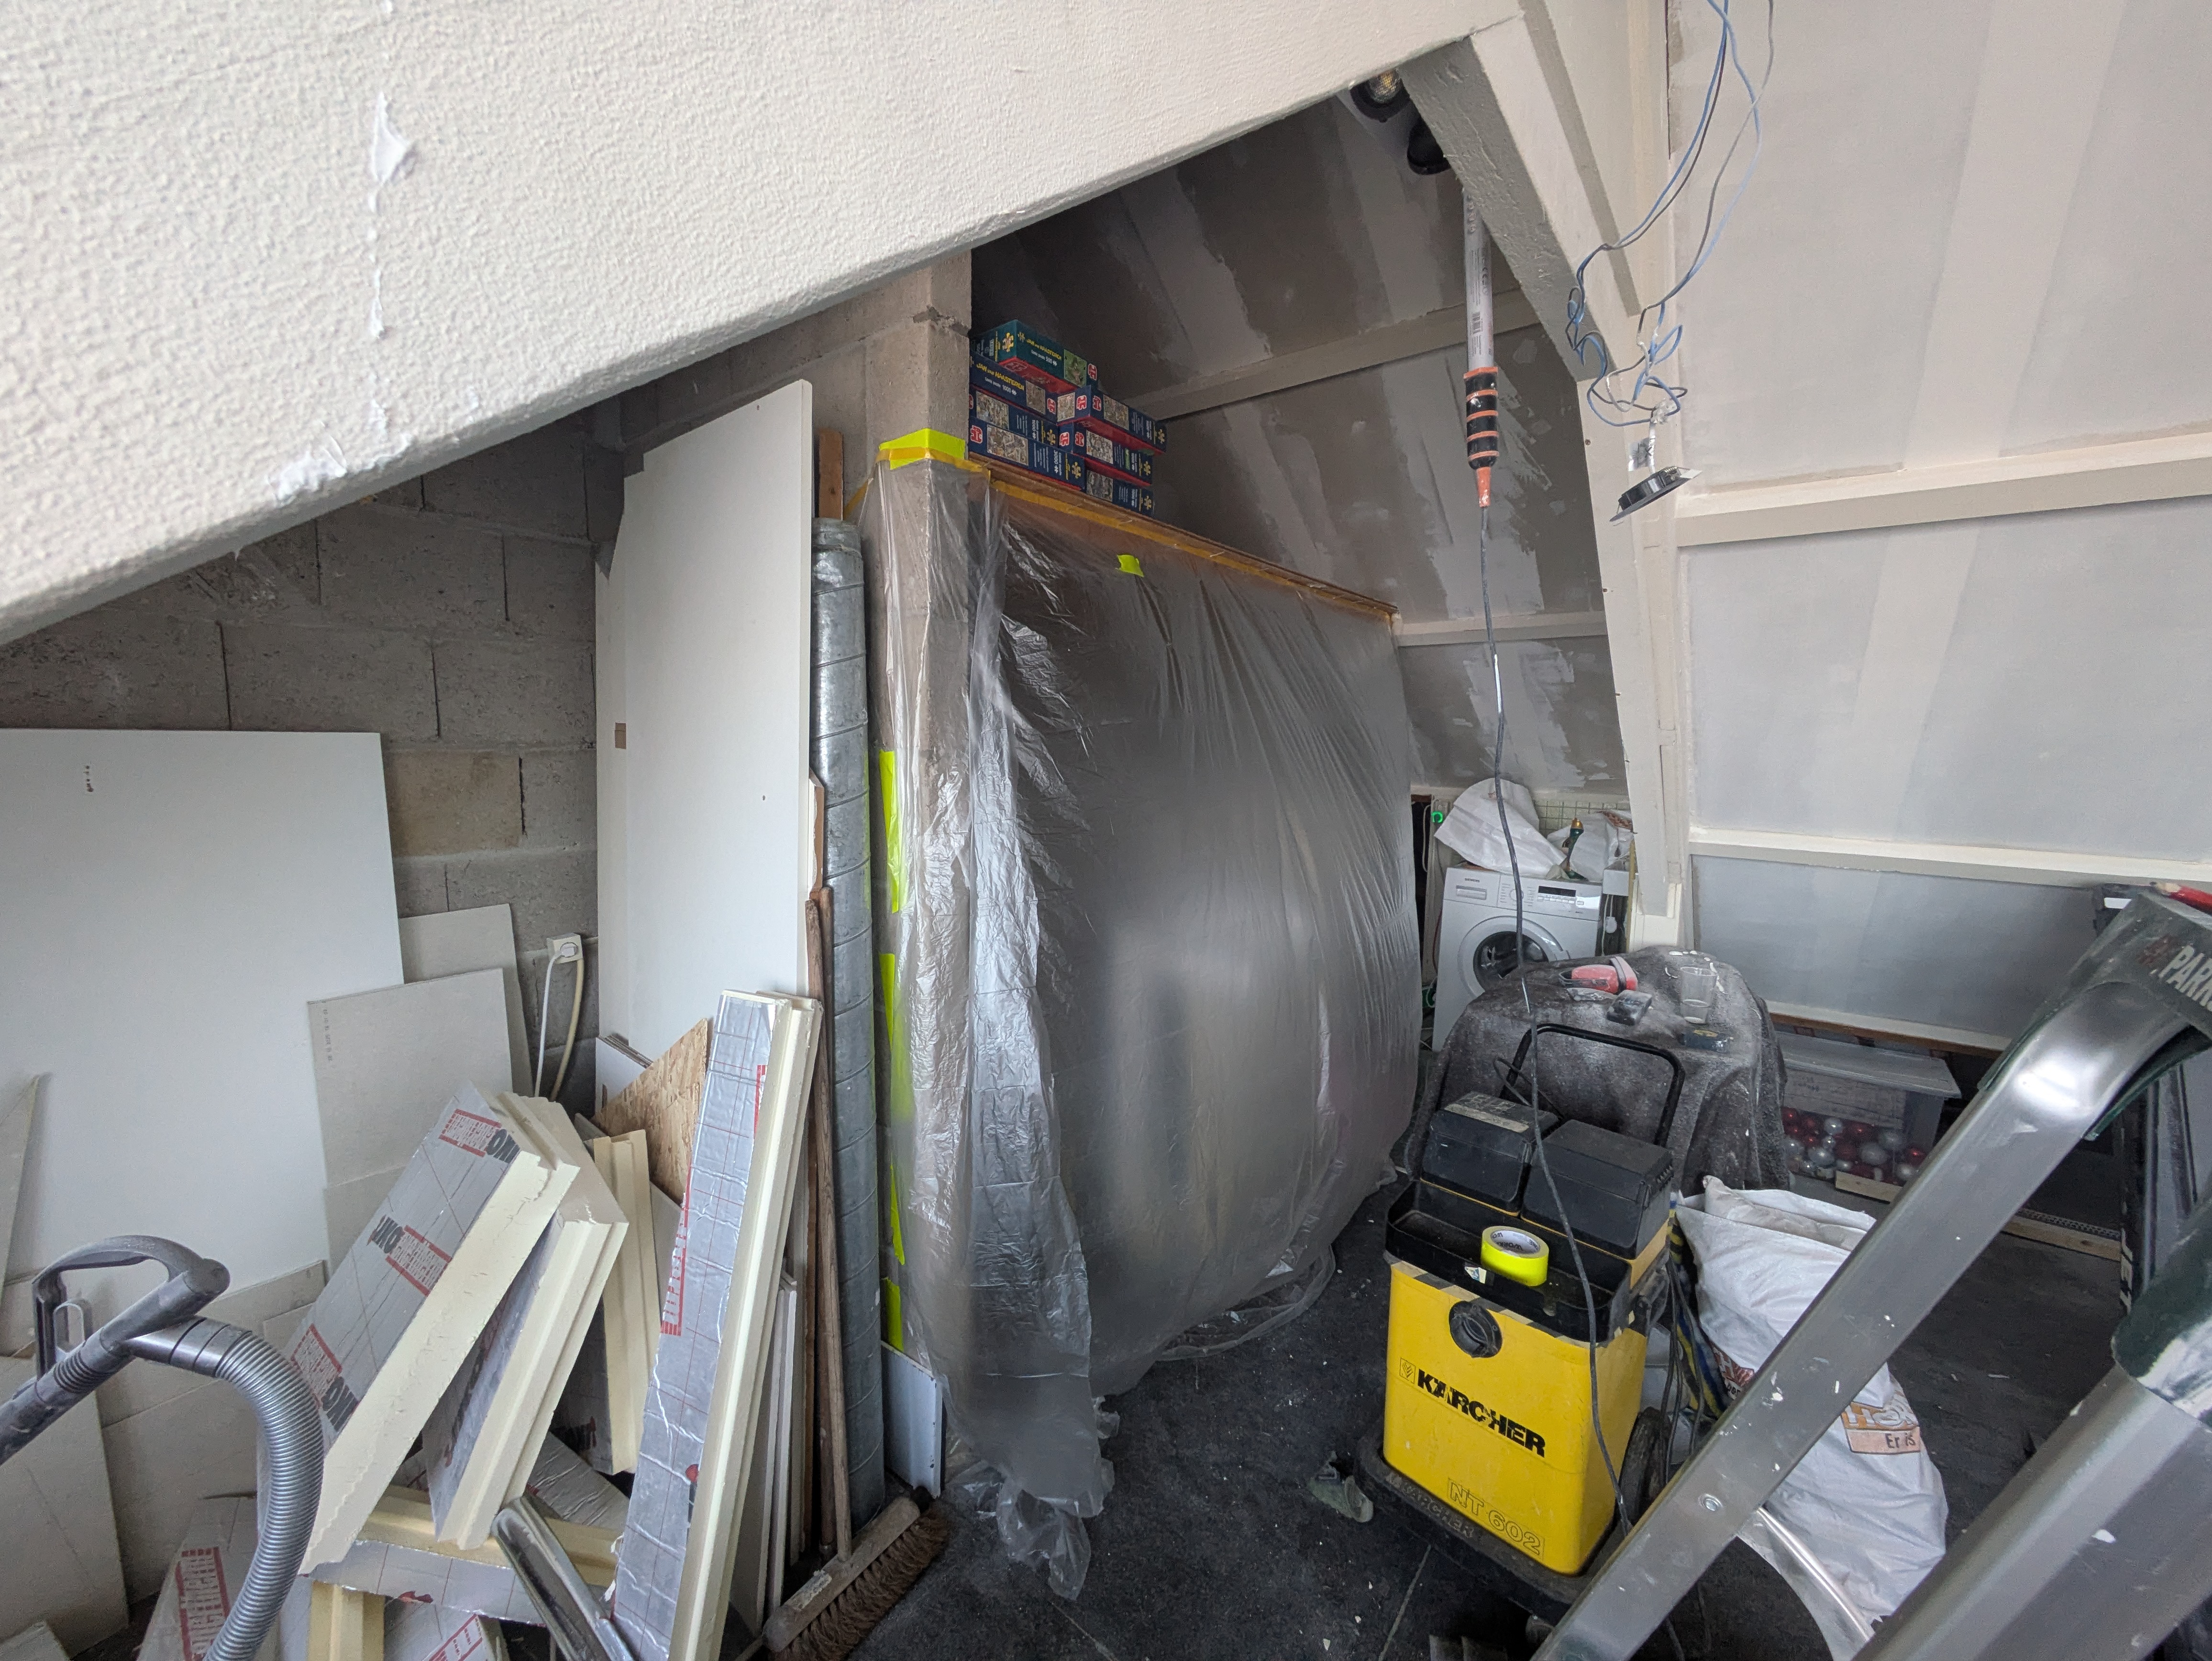
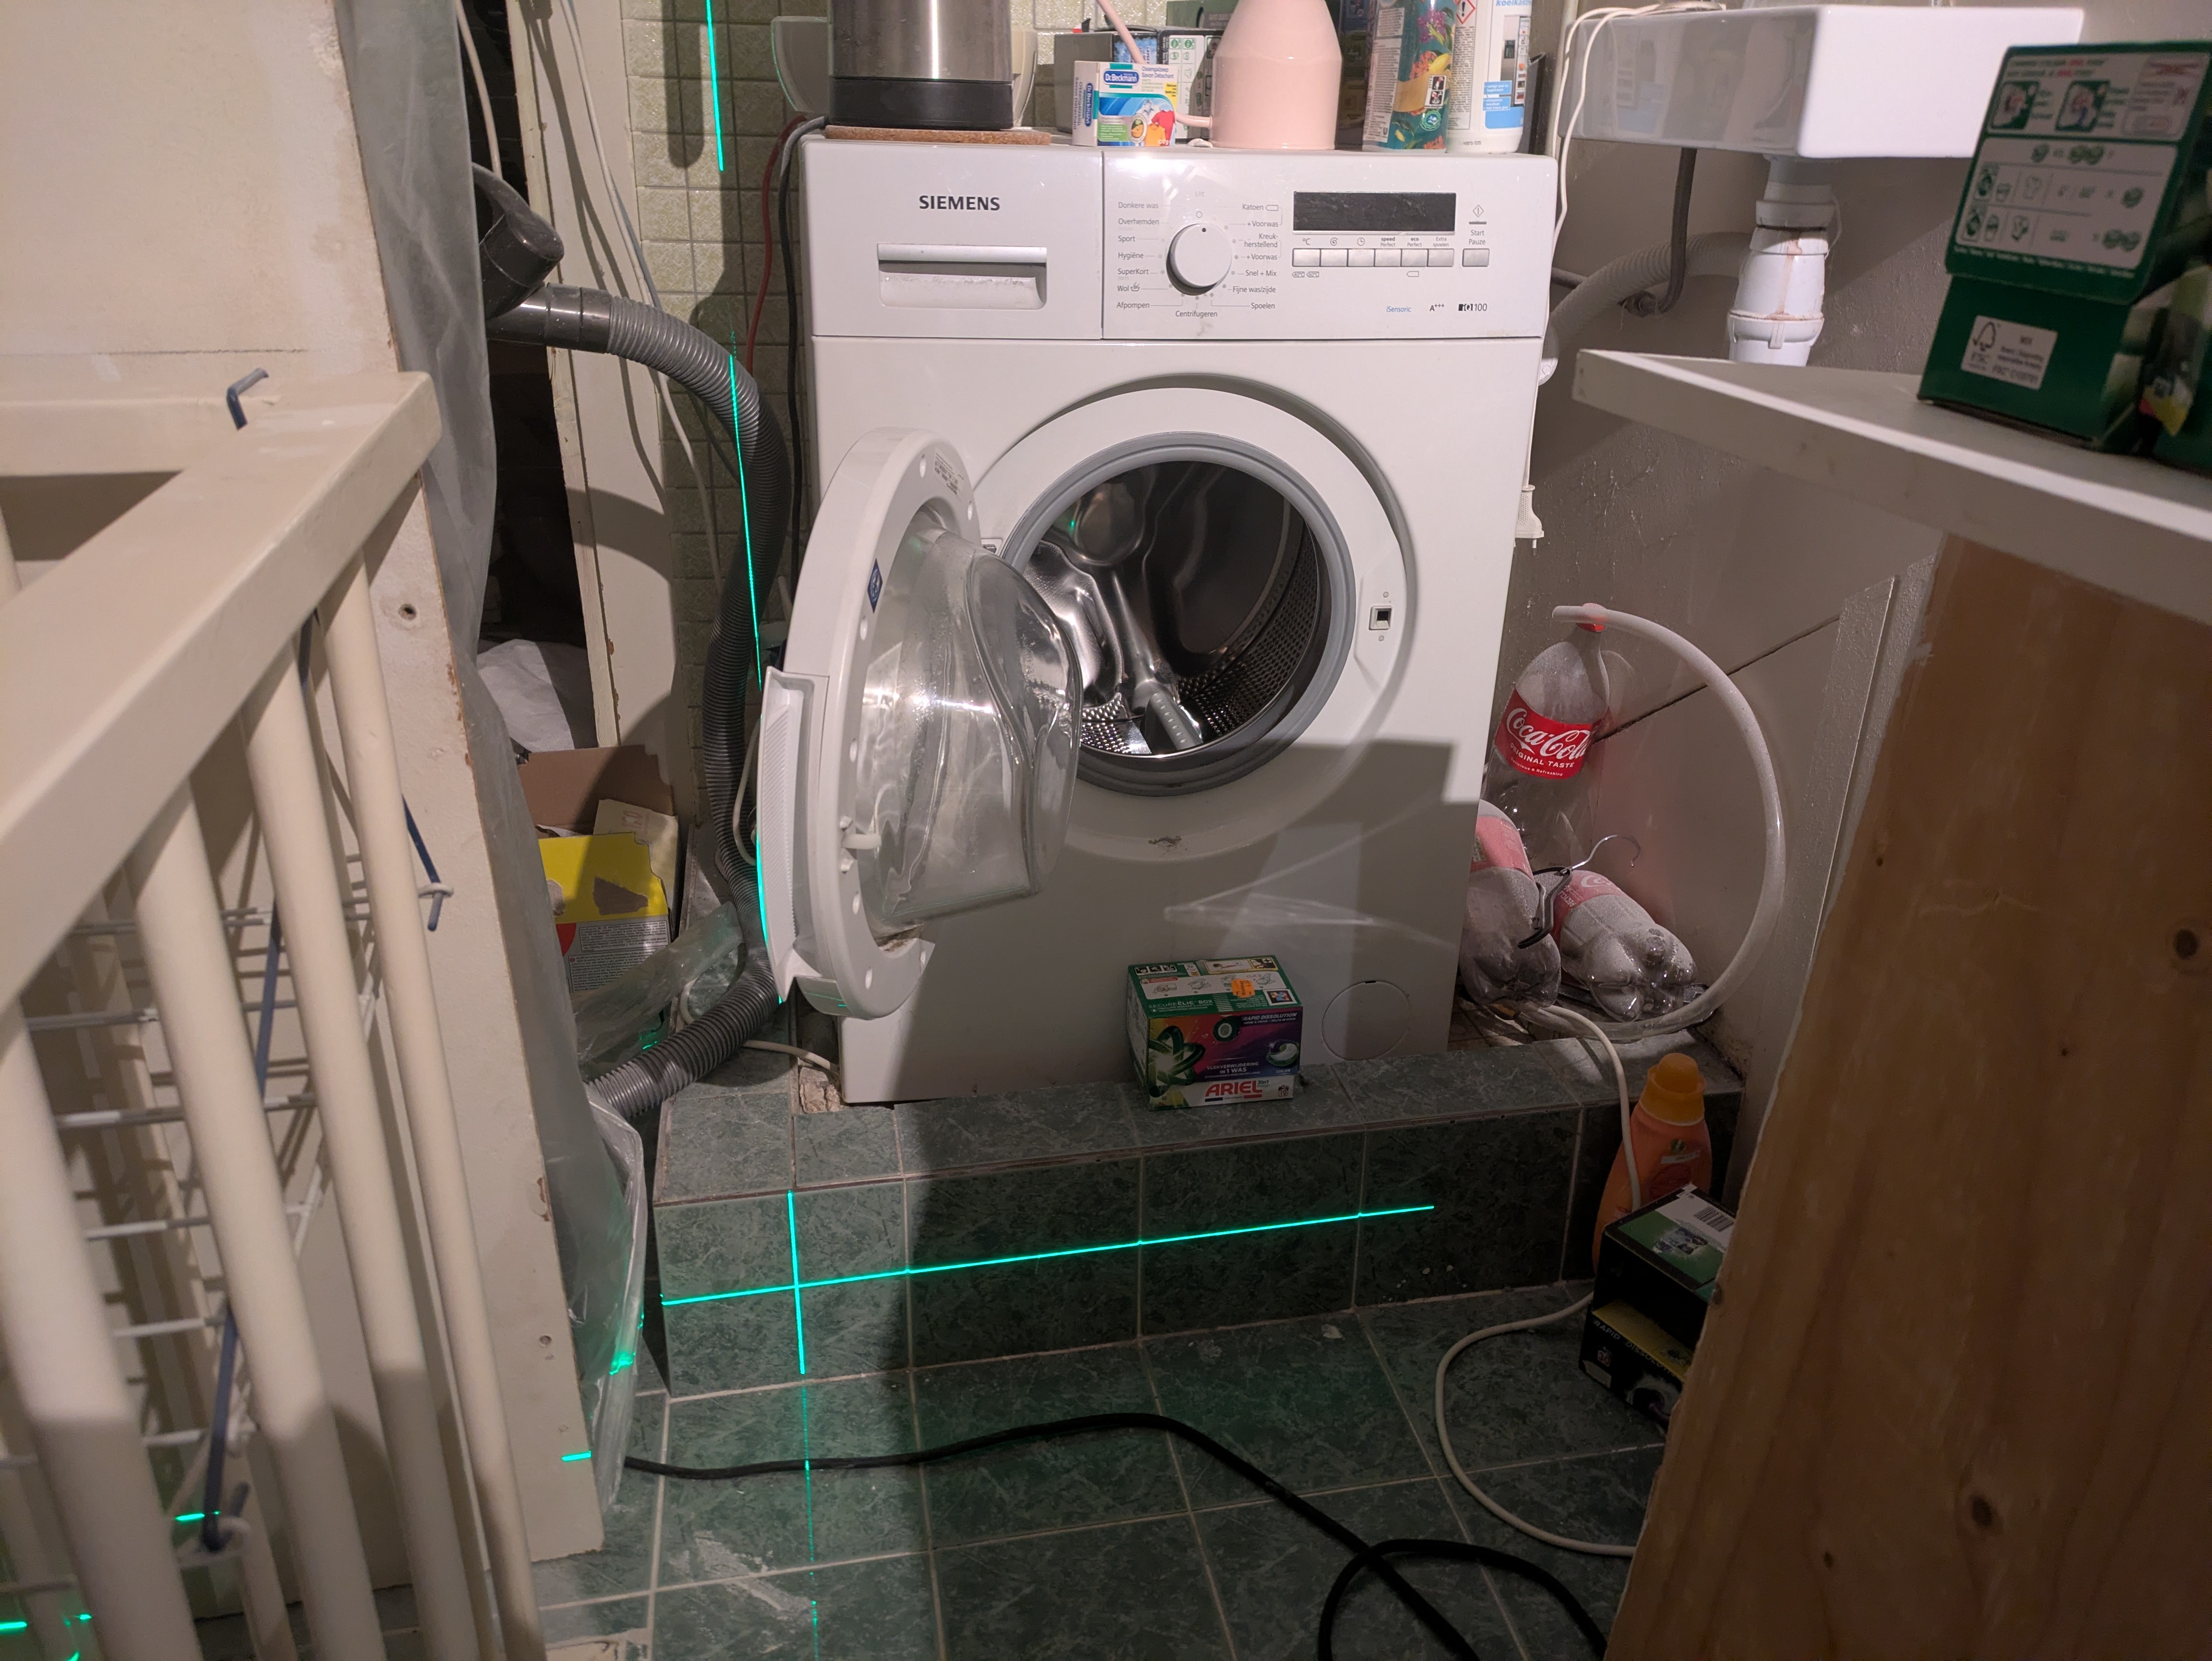
So far, the work was fairly straightforward. But this side includes the staircase, central heating boiler, solar inverter, washing machine and dryer.
Where many homes keep a 1–2 meter strip open and place a wall with a door, Gijs decided to maximize every bit of space.
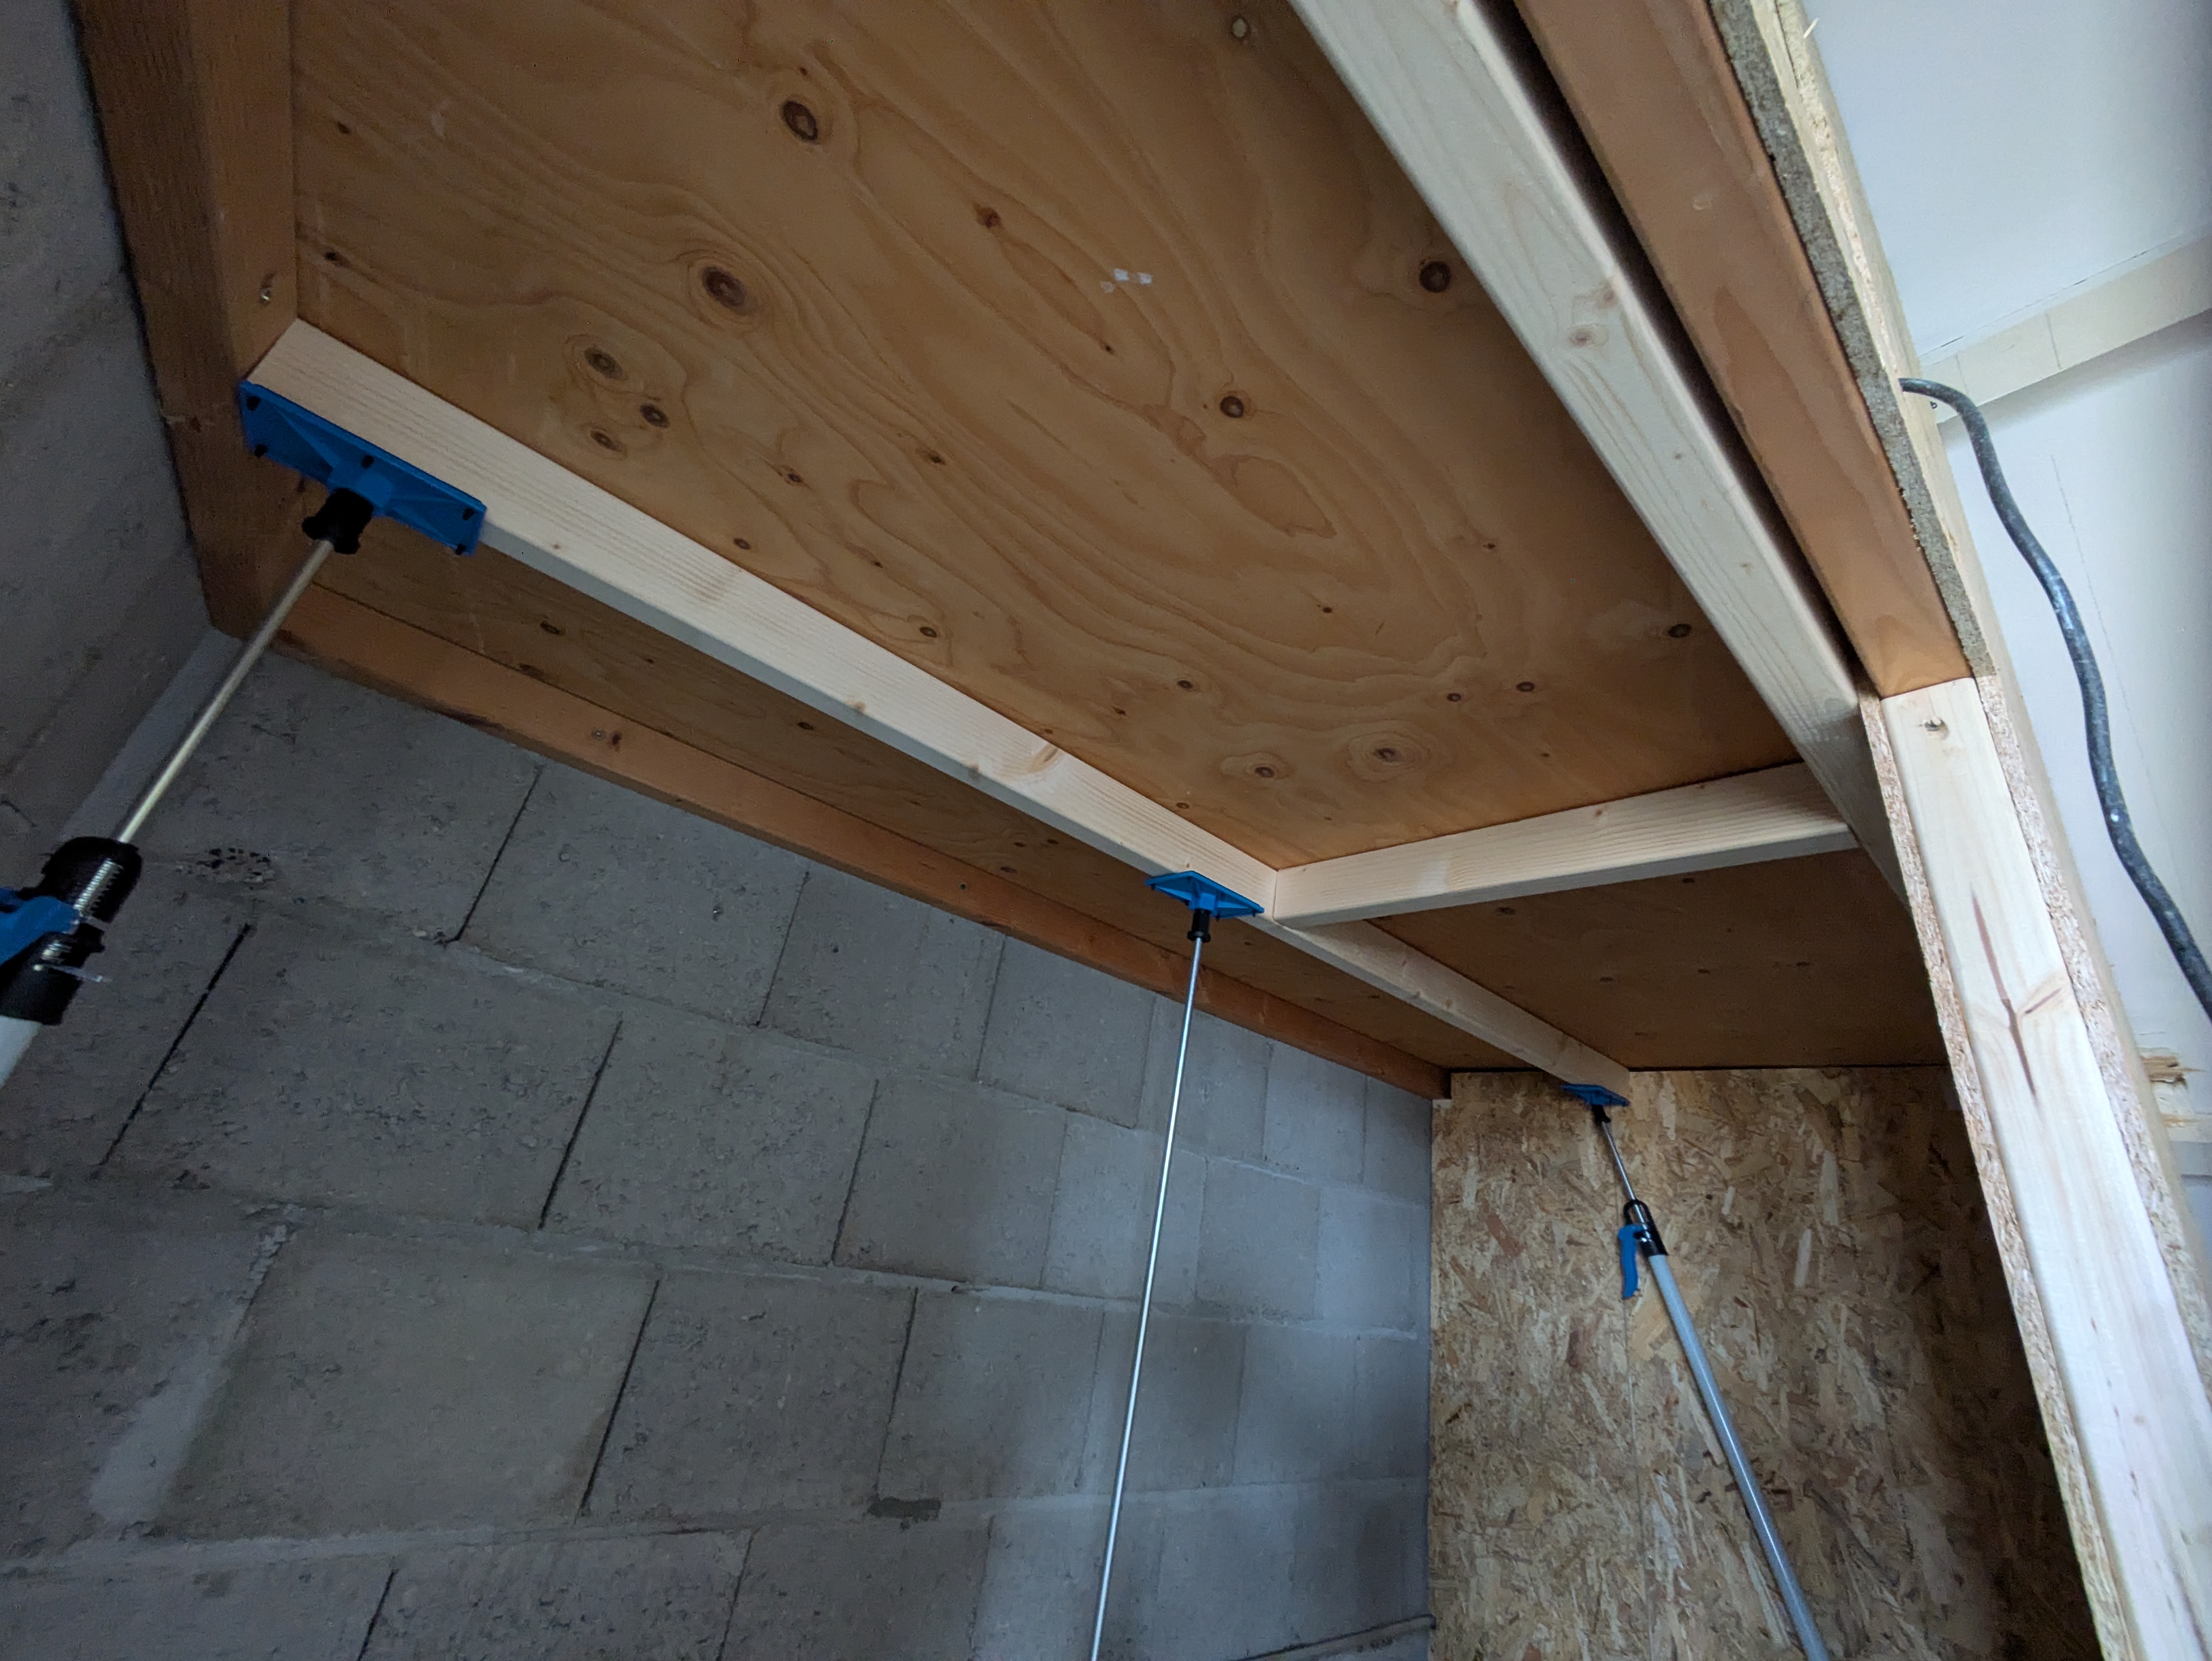
To finish around the stair opening, he wanted to build a surrounding wall. This wall would continue on both sides to create a space for the boiler and a storage room. The washing machine sits in a utility tray with drain (in case of leakage), and Gijs wanted to keep that functional. Unfortunately, not everything is in one straight line, so some creative carpentry was required. But first: new materials.
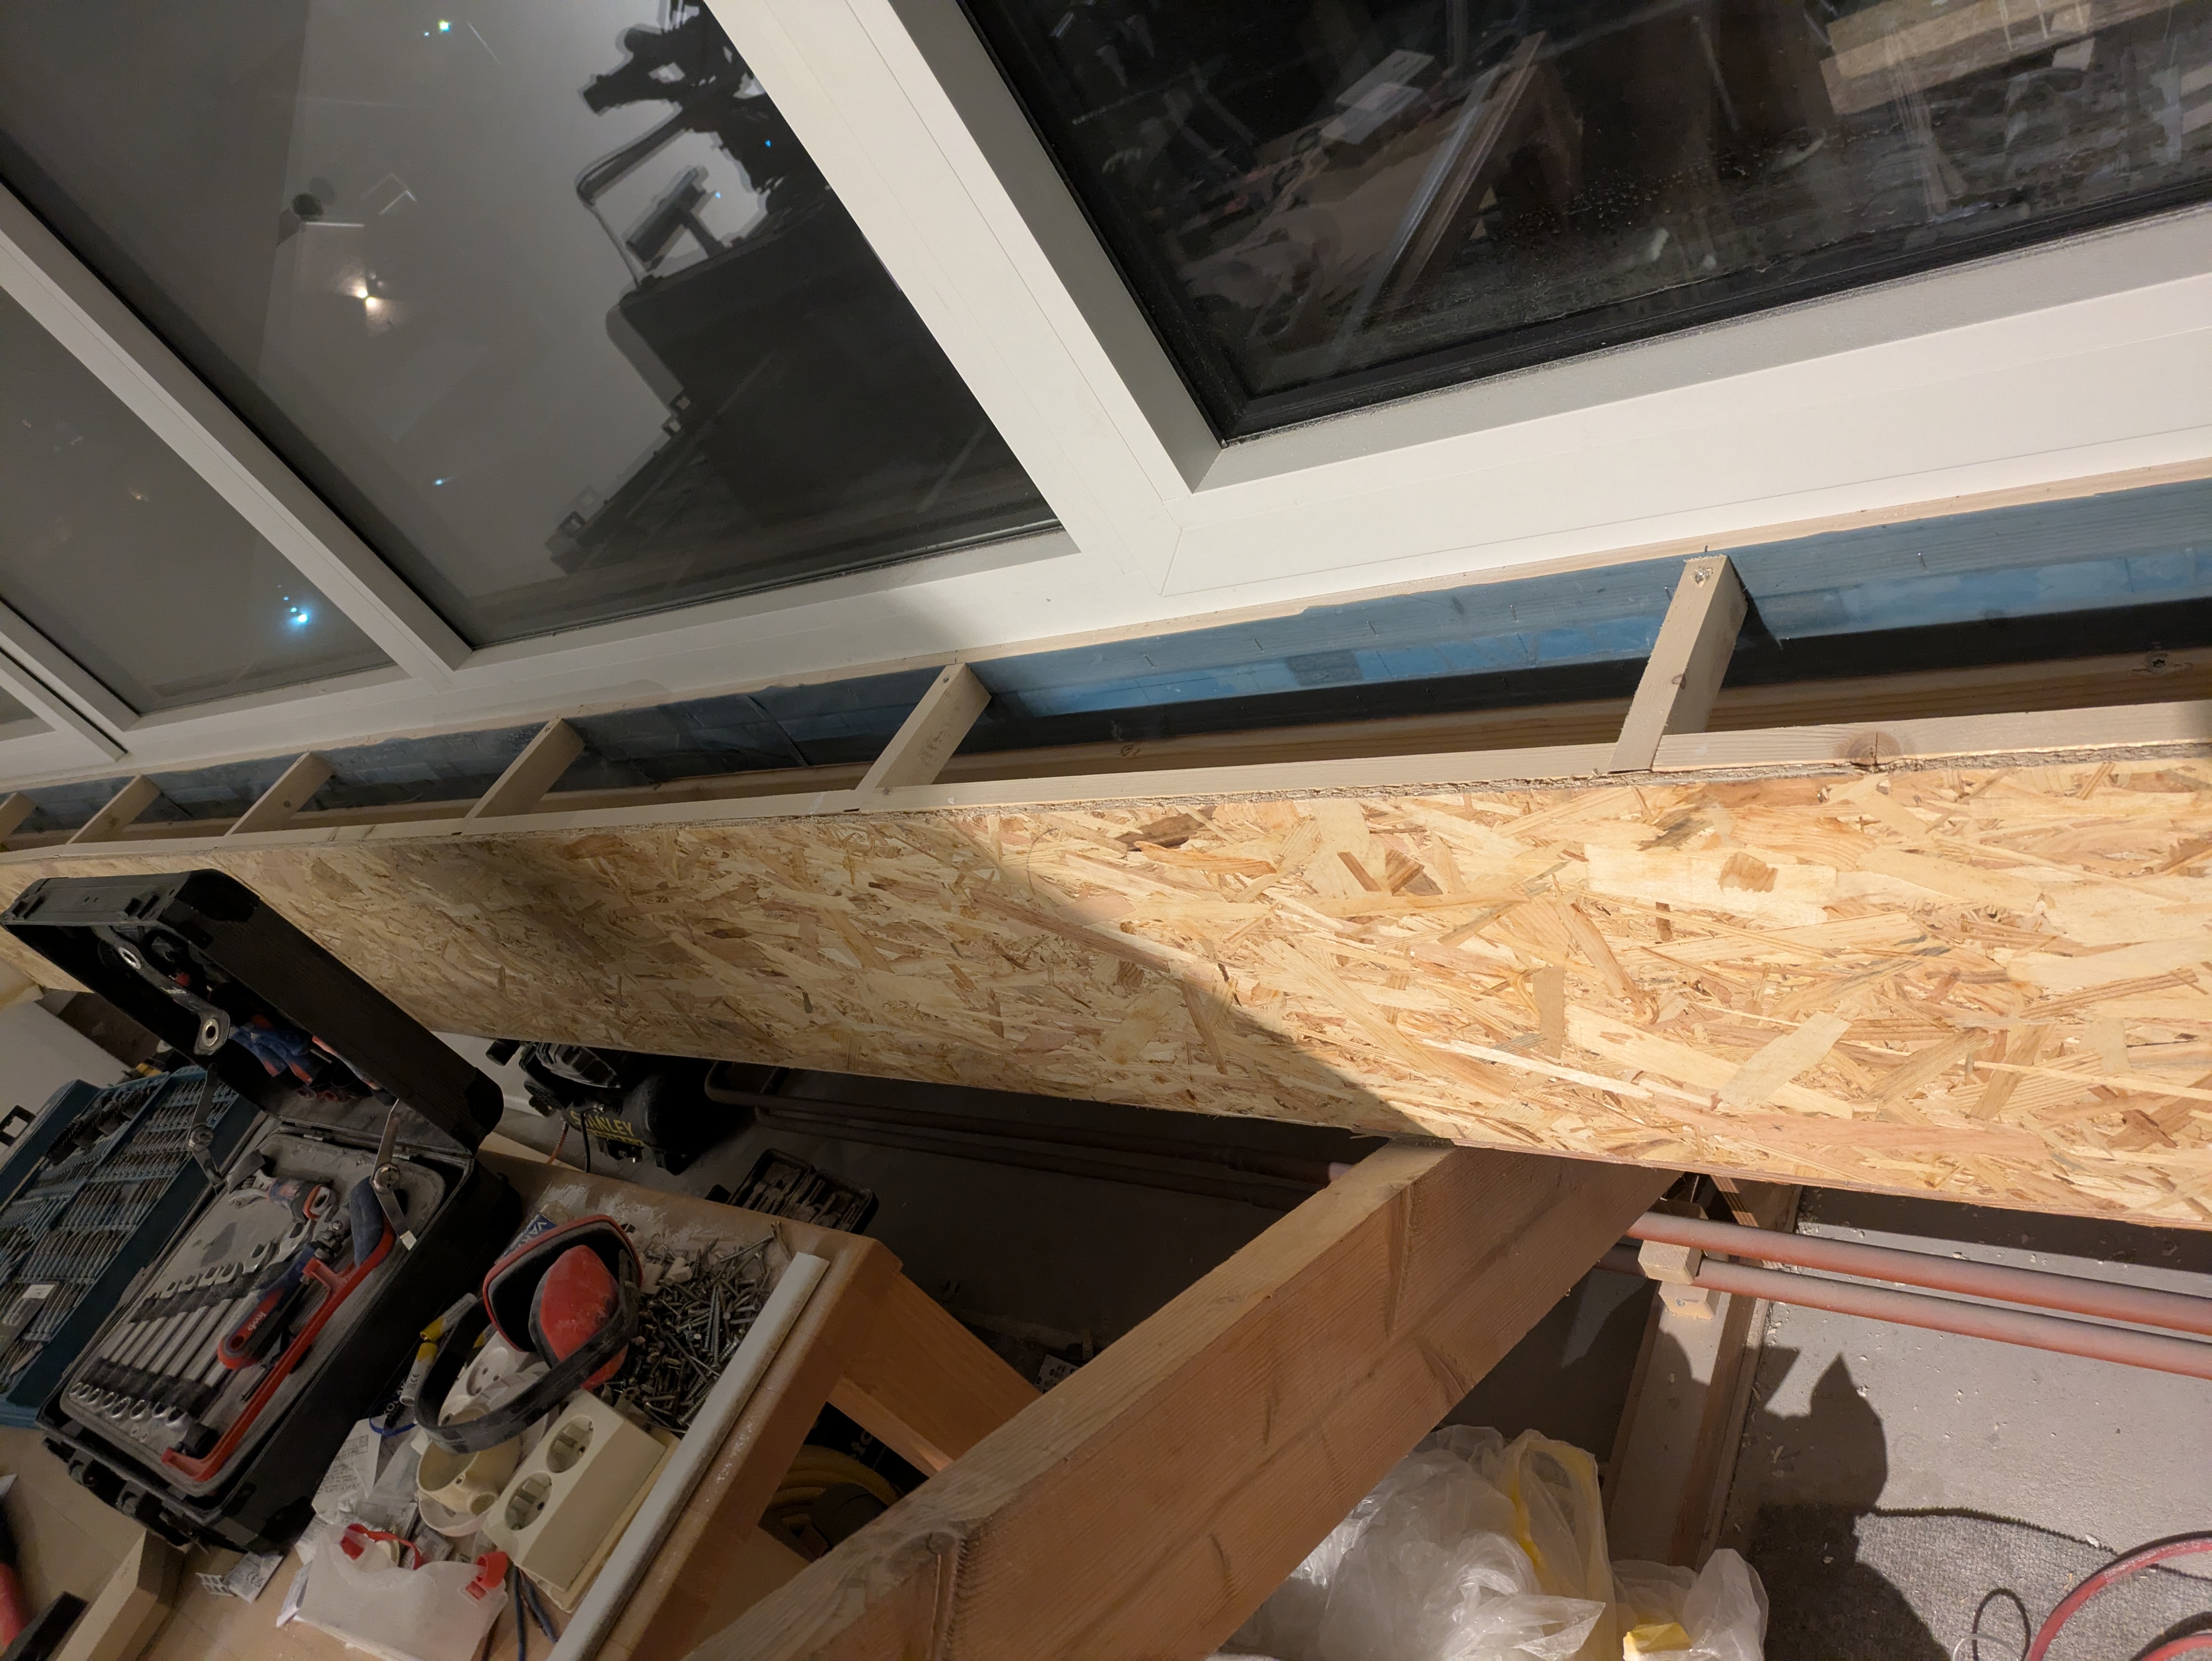
Unlike the wall on the other side of the attic, this one is freestanding, so it needed finishing on both sides. Again, Gijs added a wooden board behind the drywall for extra strength. A layer of glass wool was placed between the studs. Even though this wall does not require thermal insulation, it helps acoustics. The wall transmits less sound, which is immediately noticeable when you knock on it.
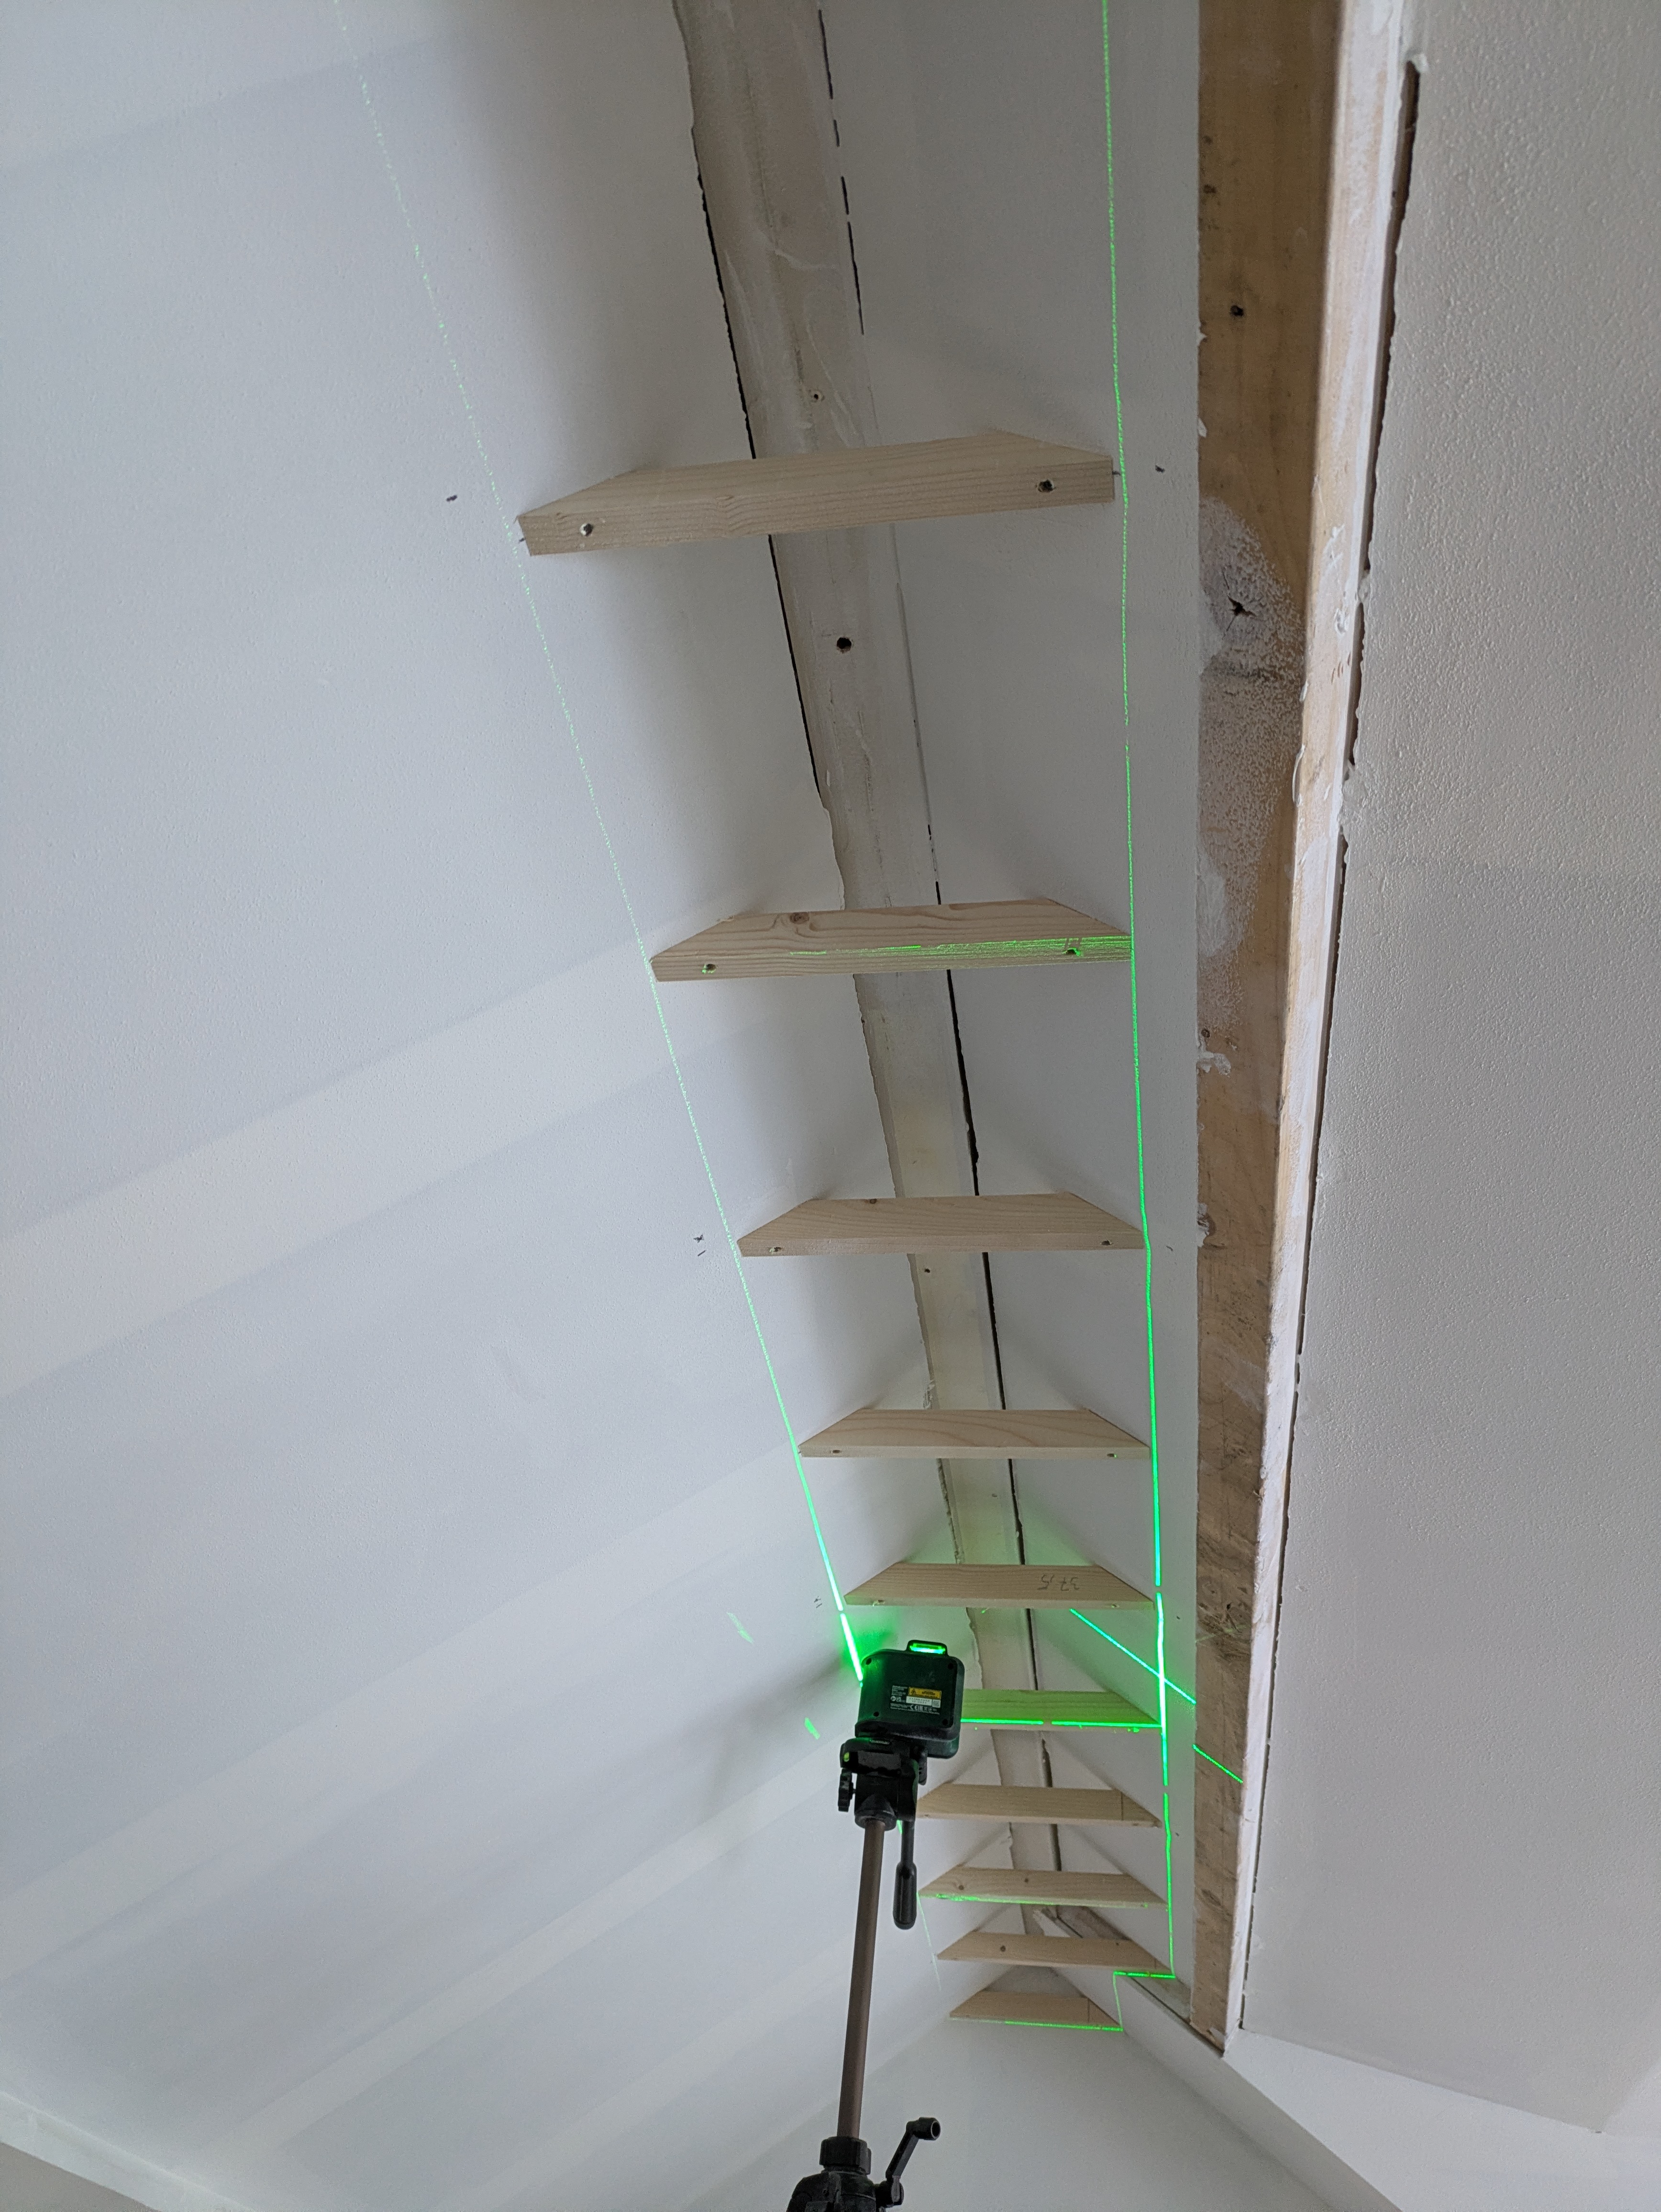
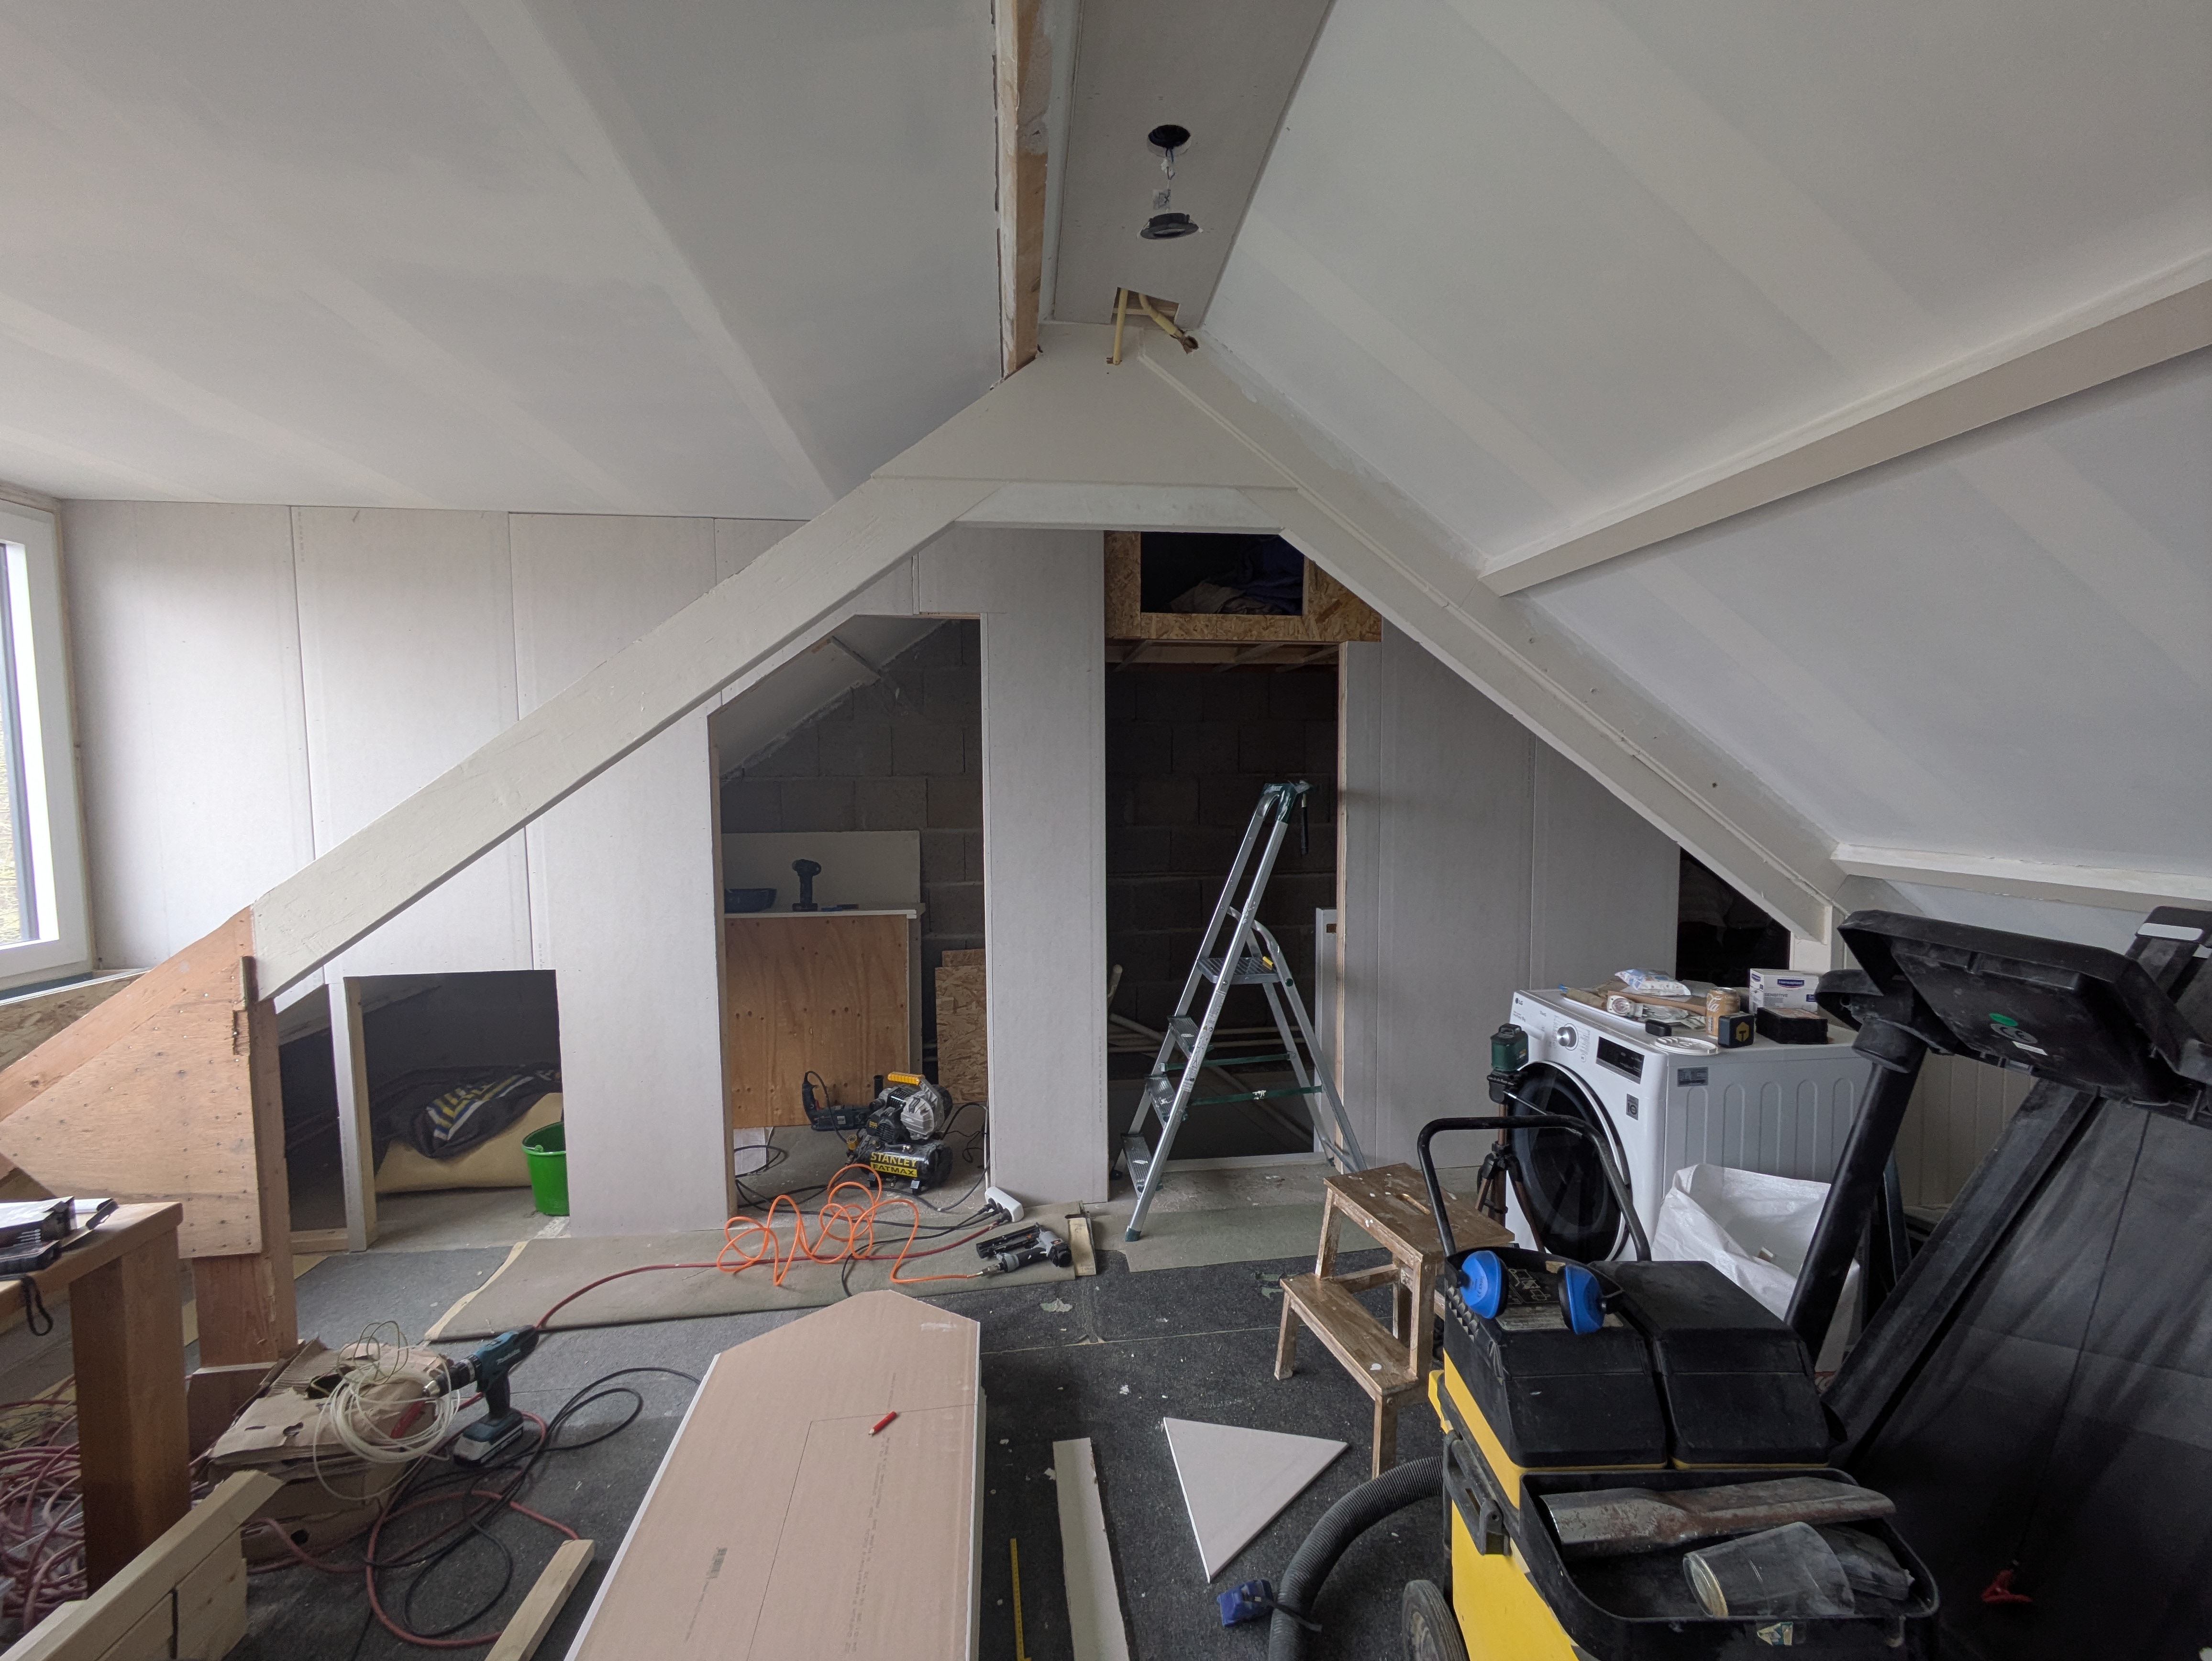
The ceiling in the stair opening was also finished neatly. This not only looks cleaner, but also allows routing pipes and cables from one side of the stair opening to the other.
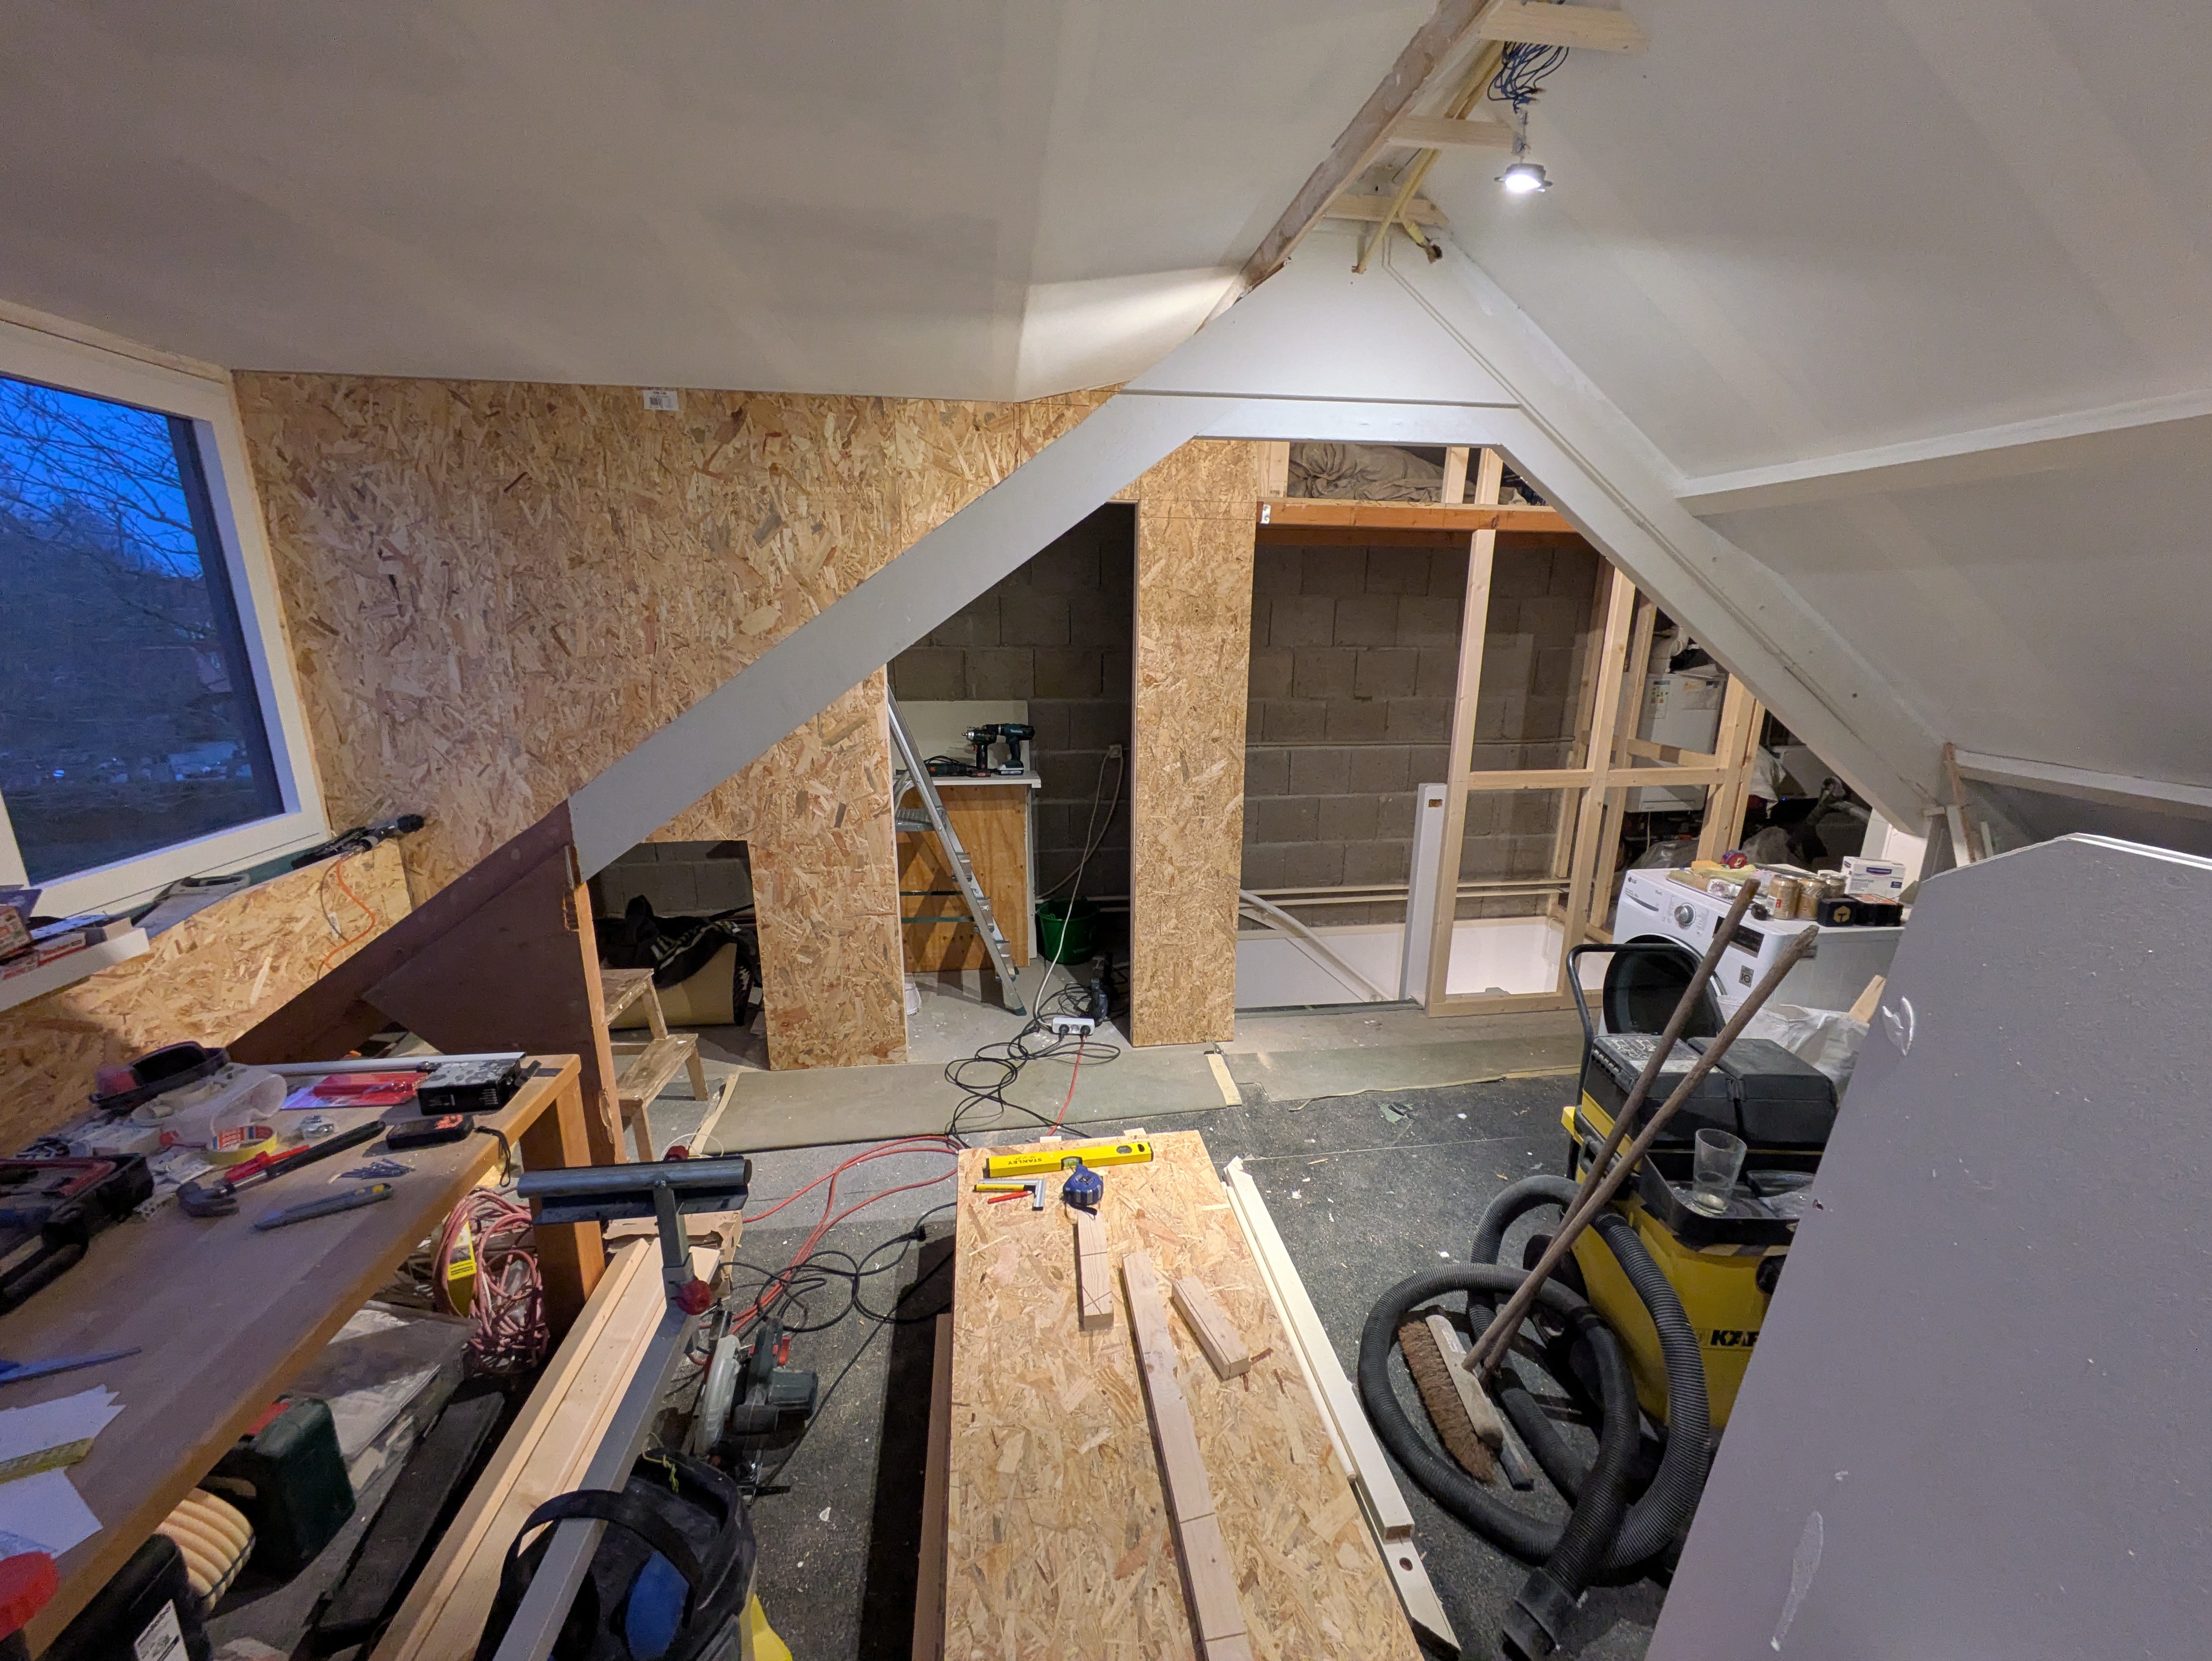
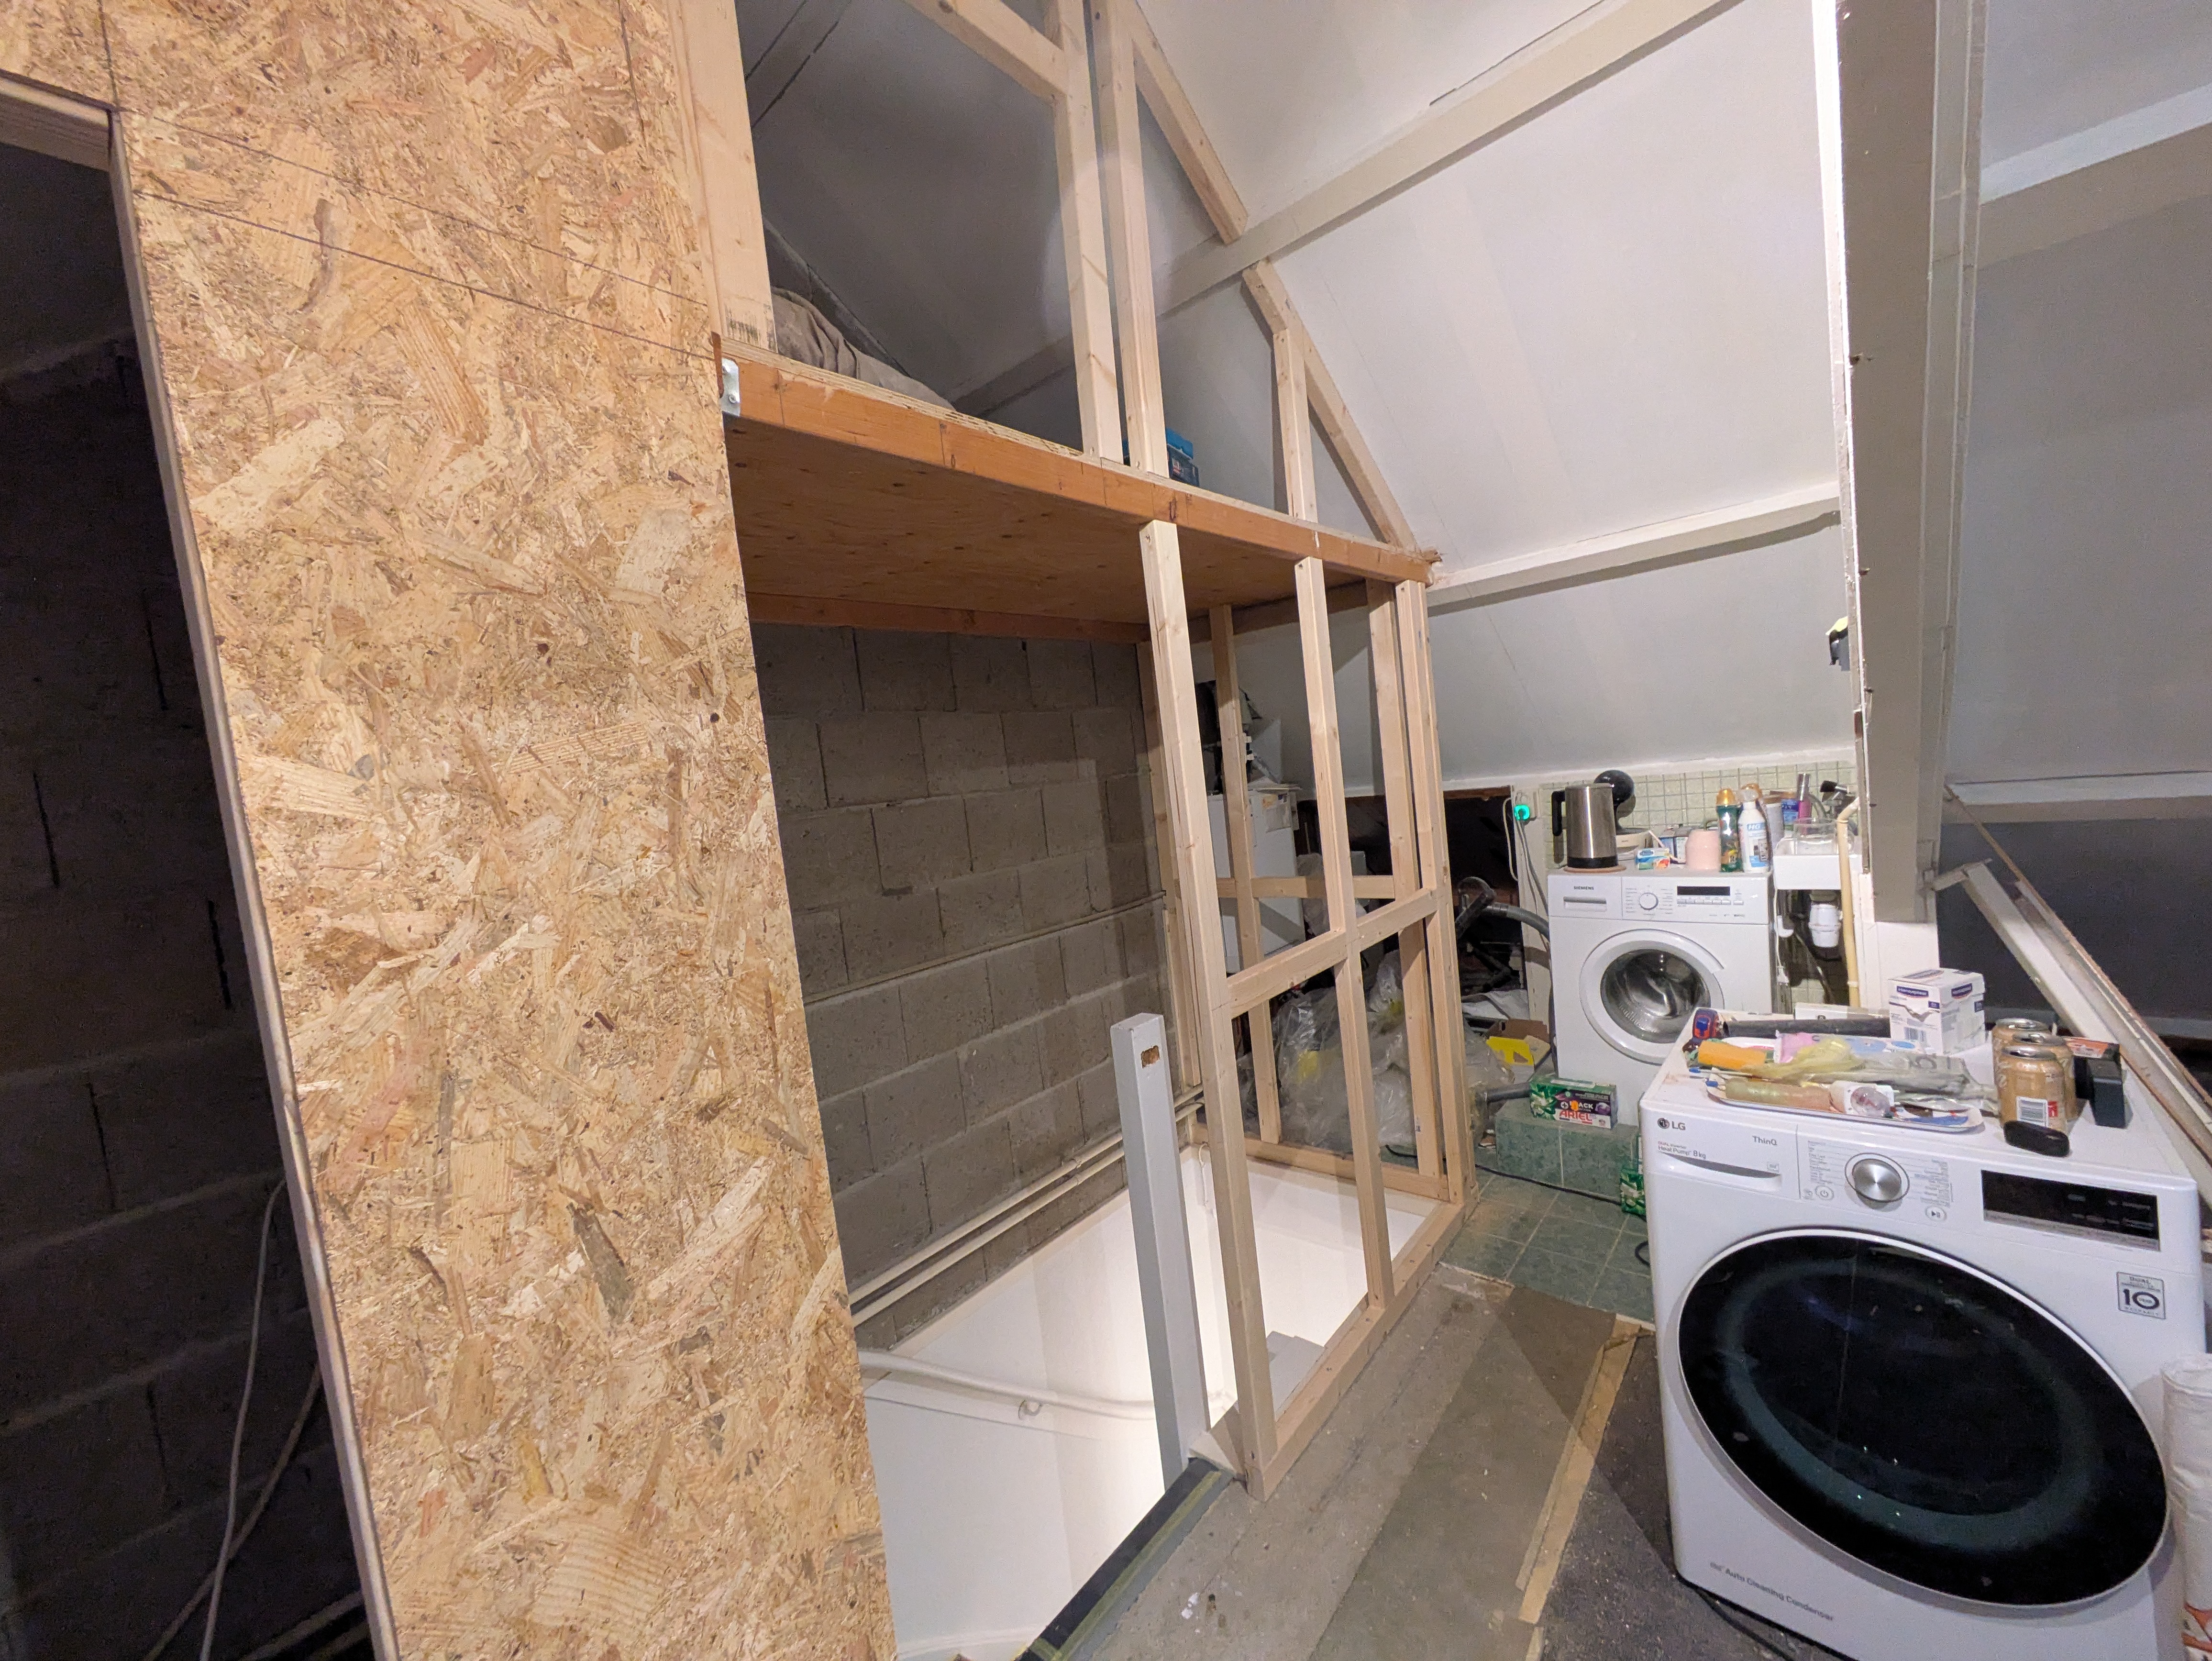
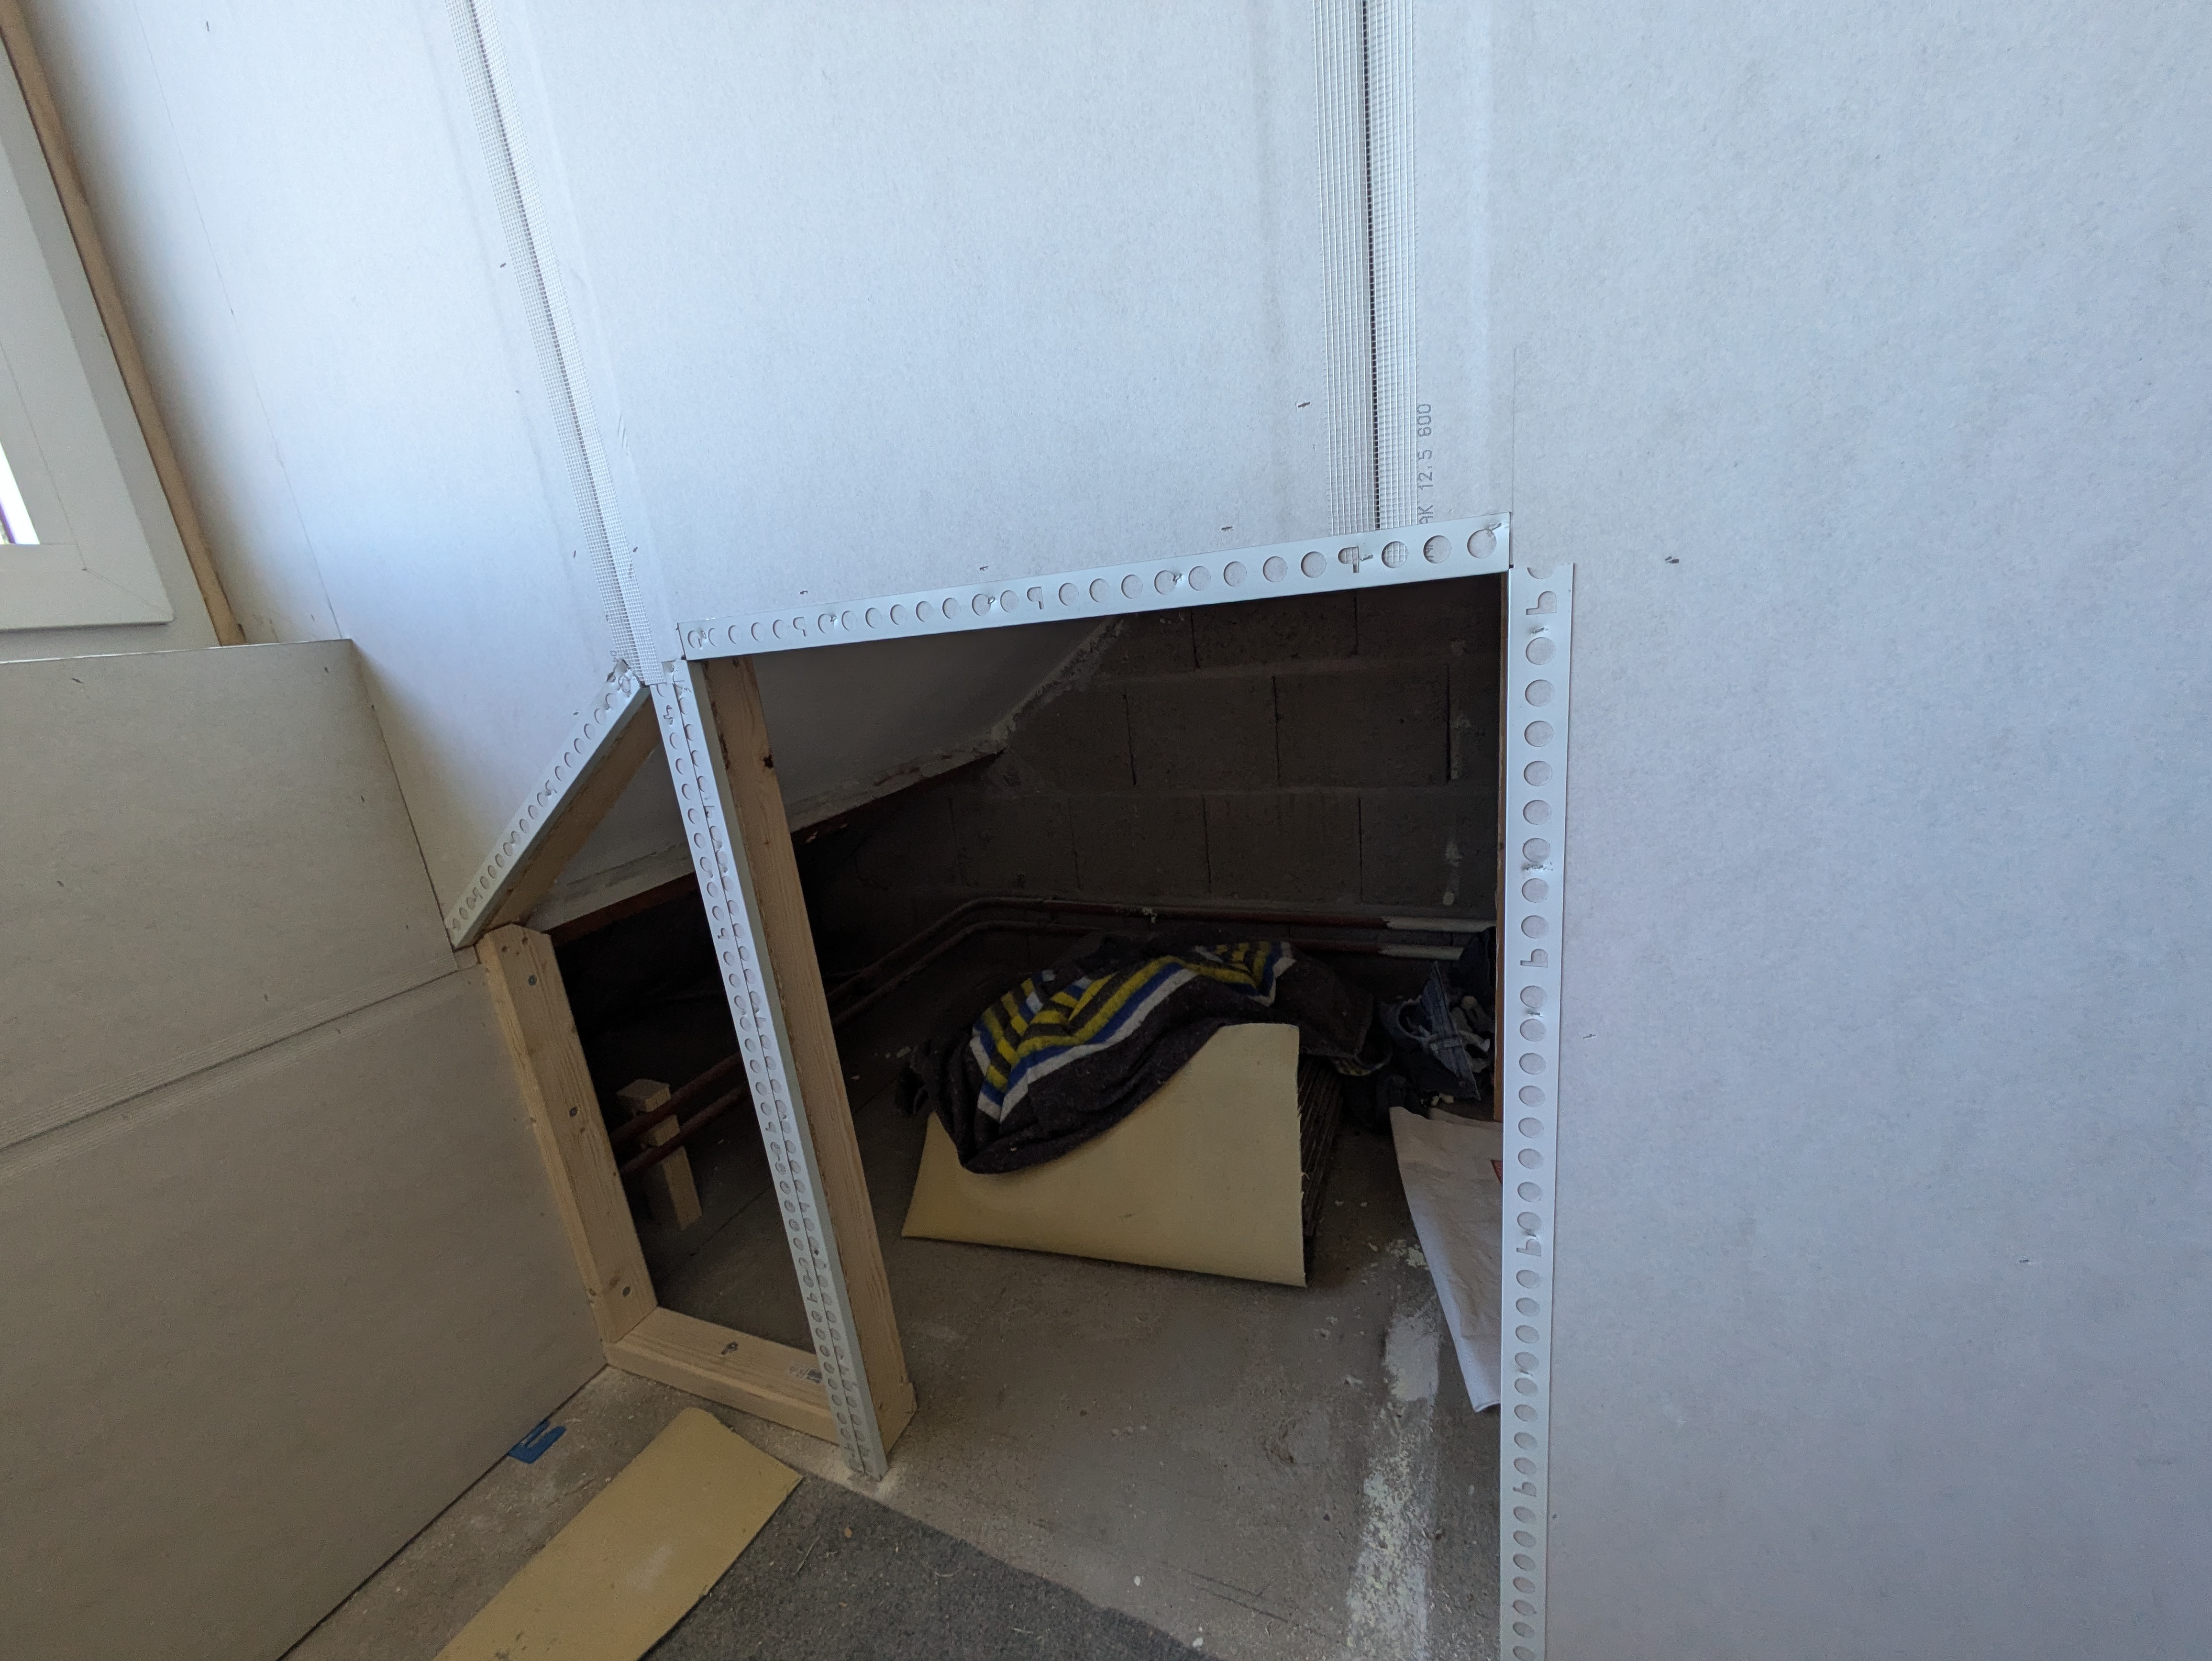
Of course, this wall was also finished with drywall for a clean look. Gijs left openings for a door to the stair opening, the storage room next to the stairs, and an additional storage area above the stair opening. He also plans to place the dryer in a niche, which is the opening you see on the left. Because placing the dryer would otherwise leave unused space next to it, he also left an opening for a cabinet. This way every centimeter is used.
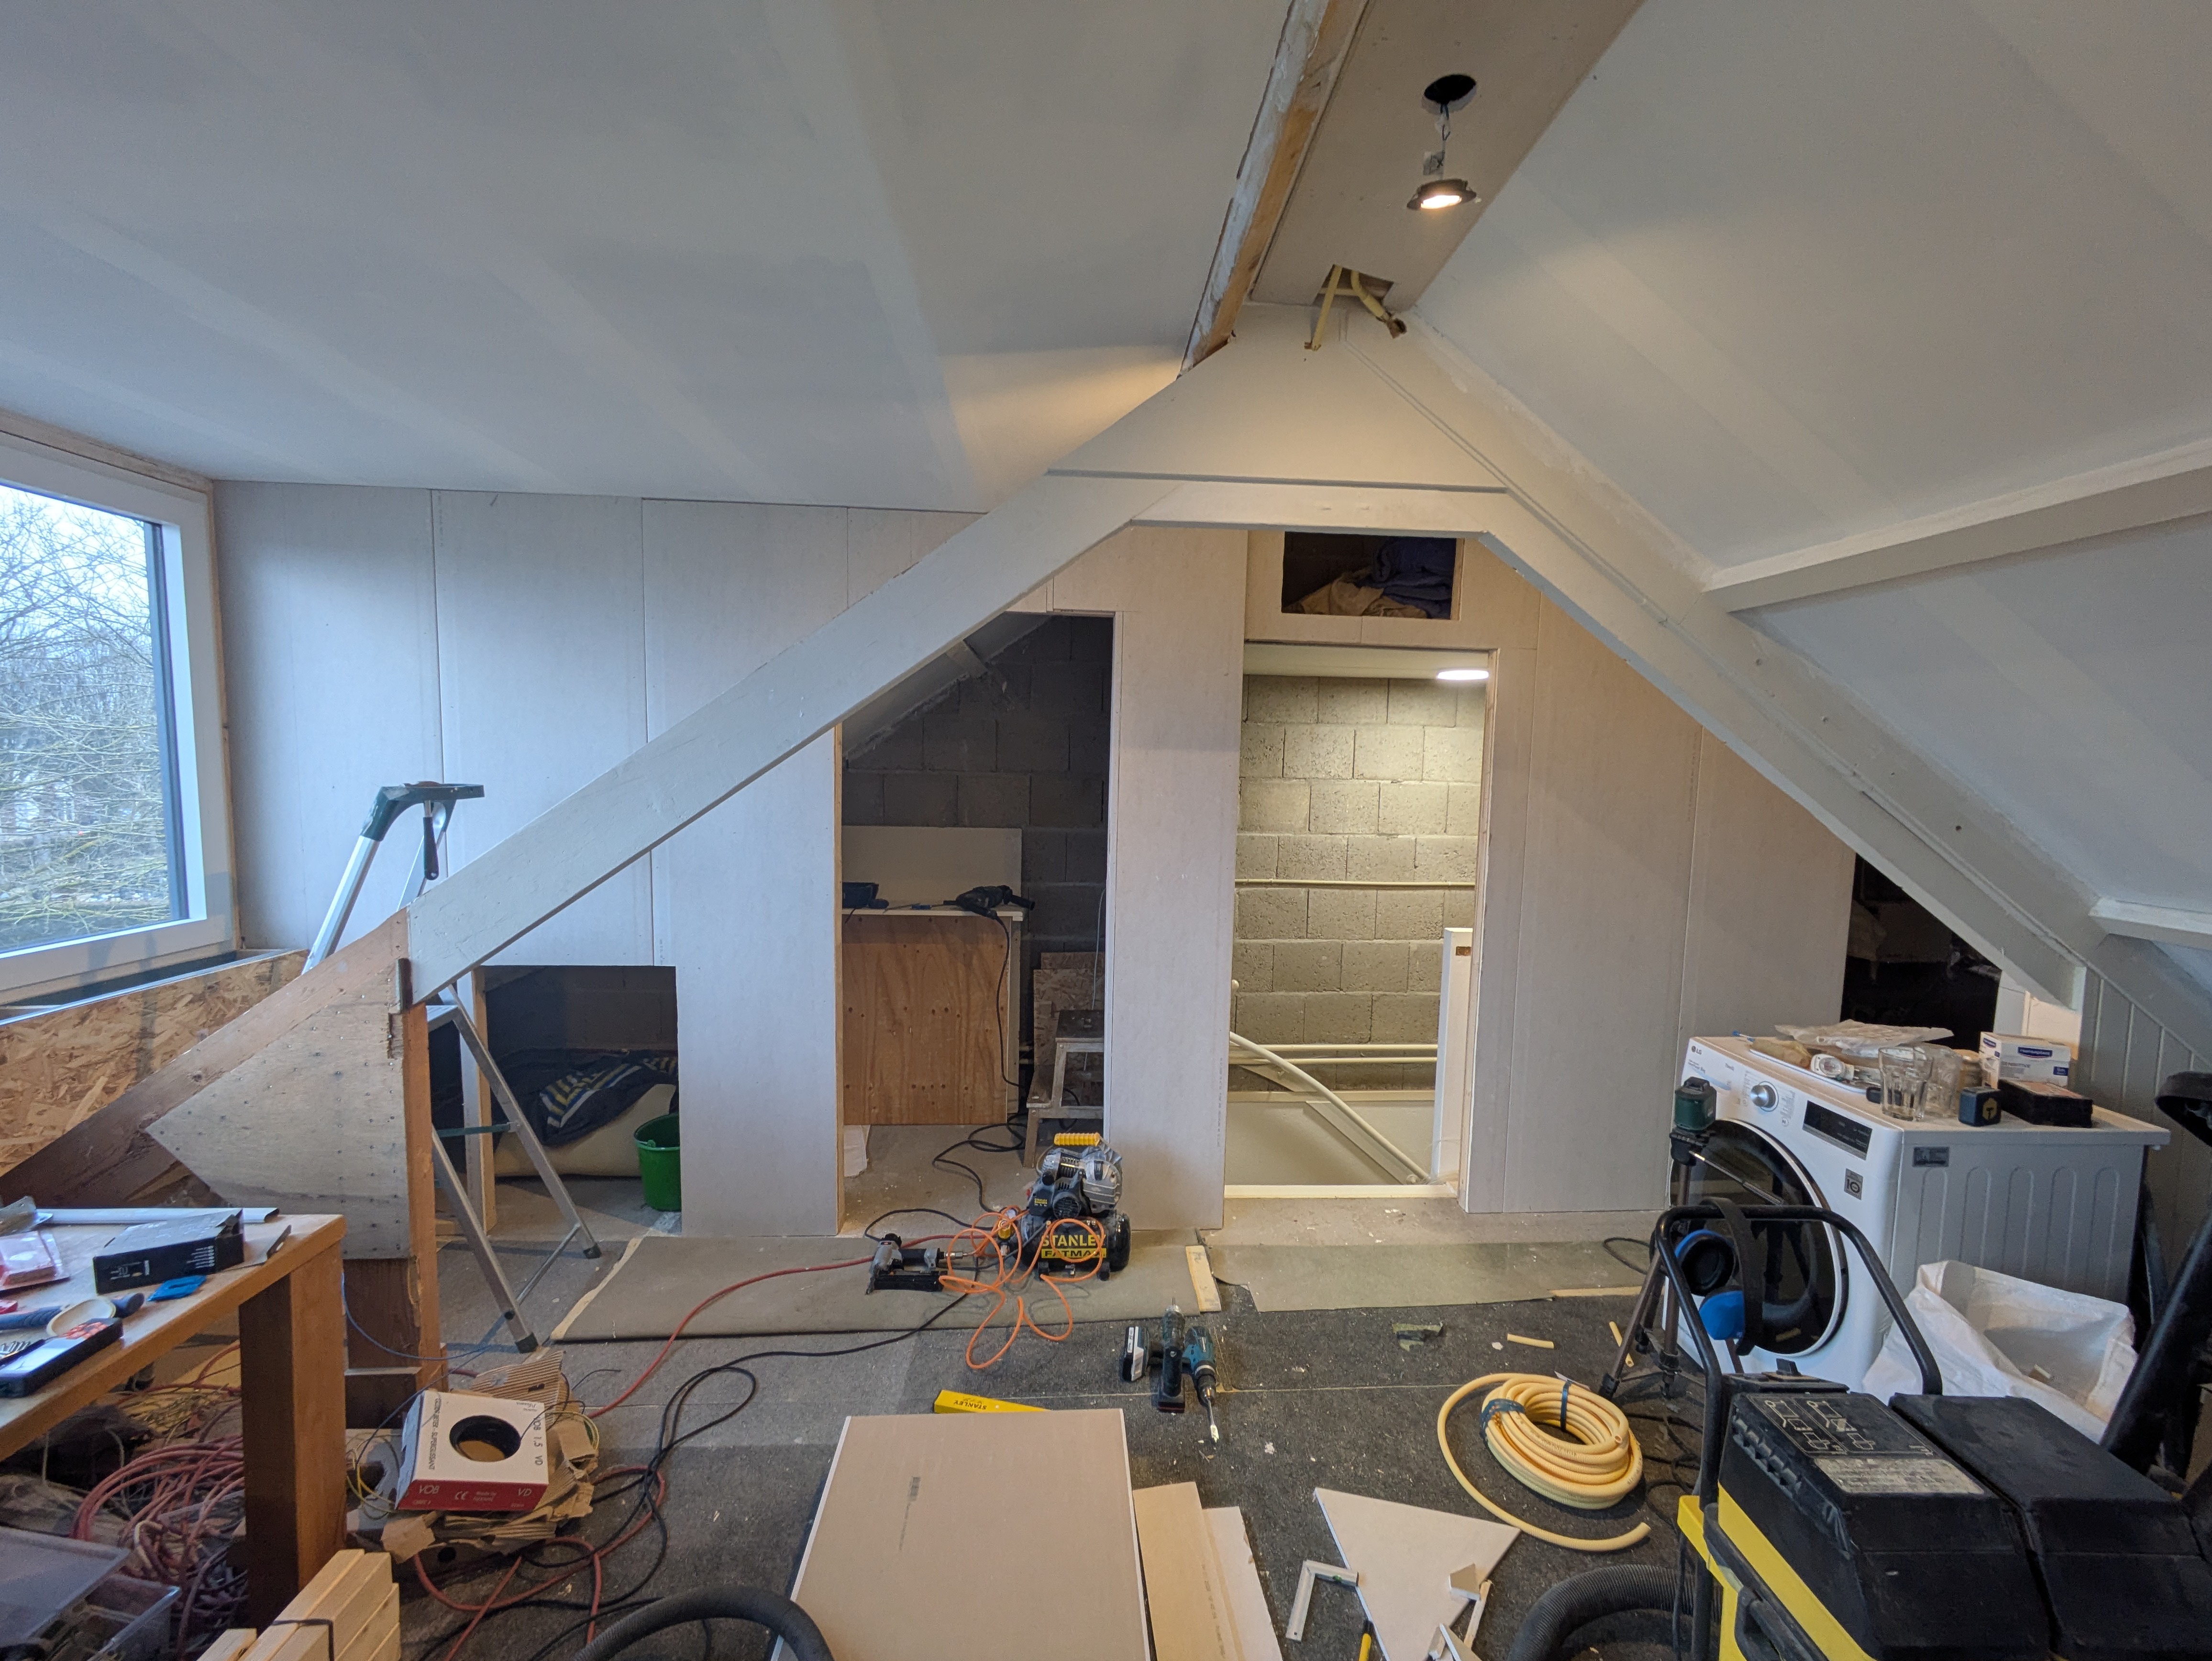
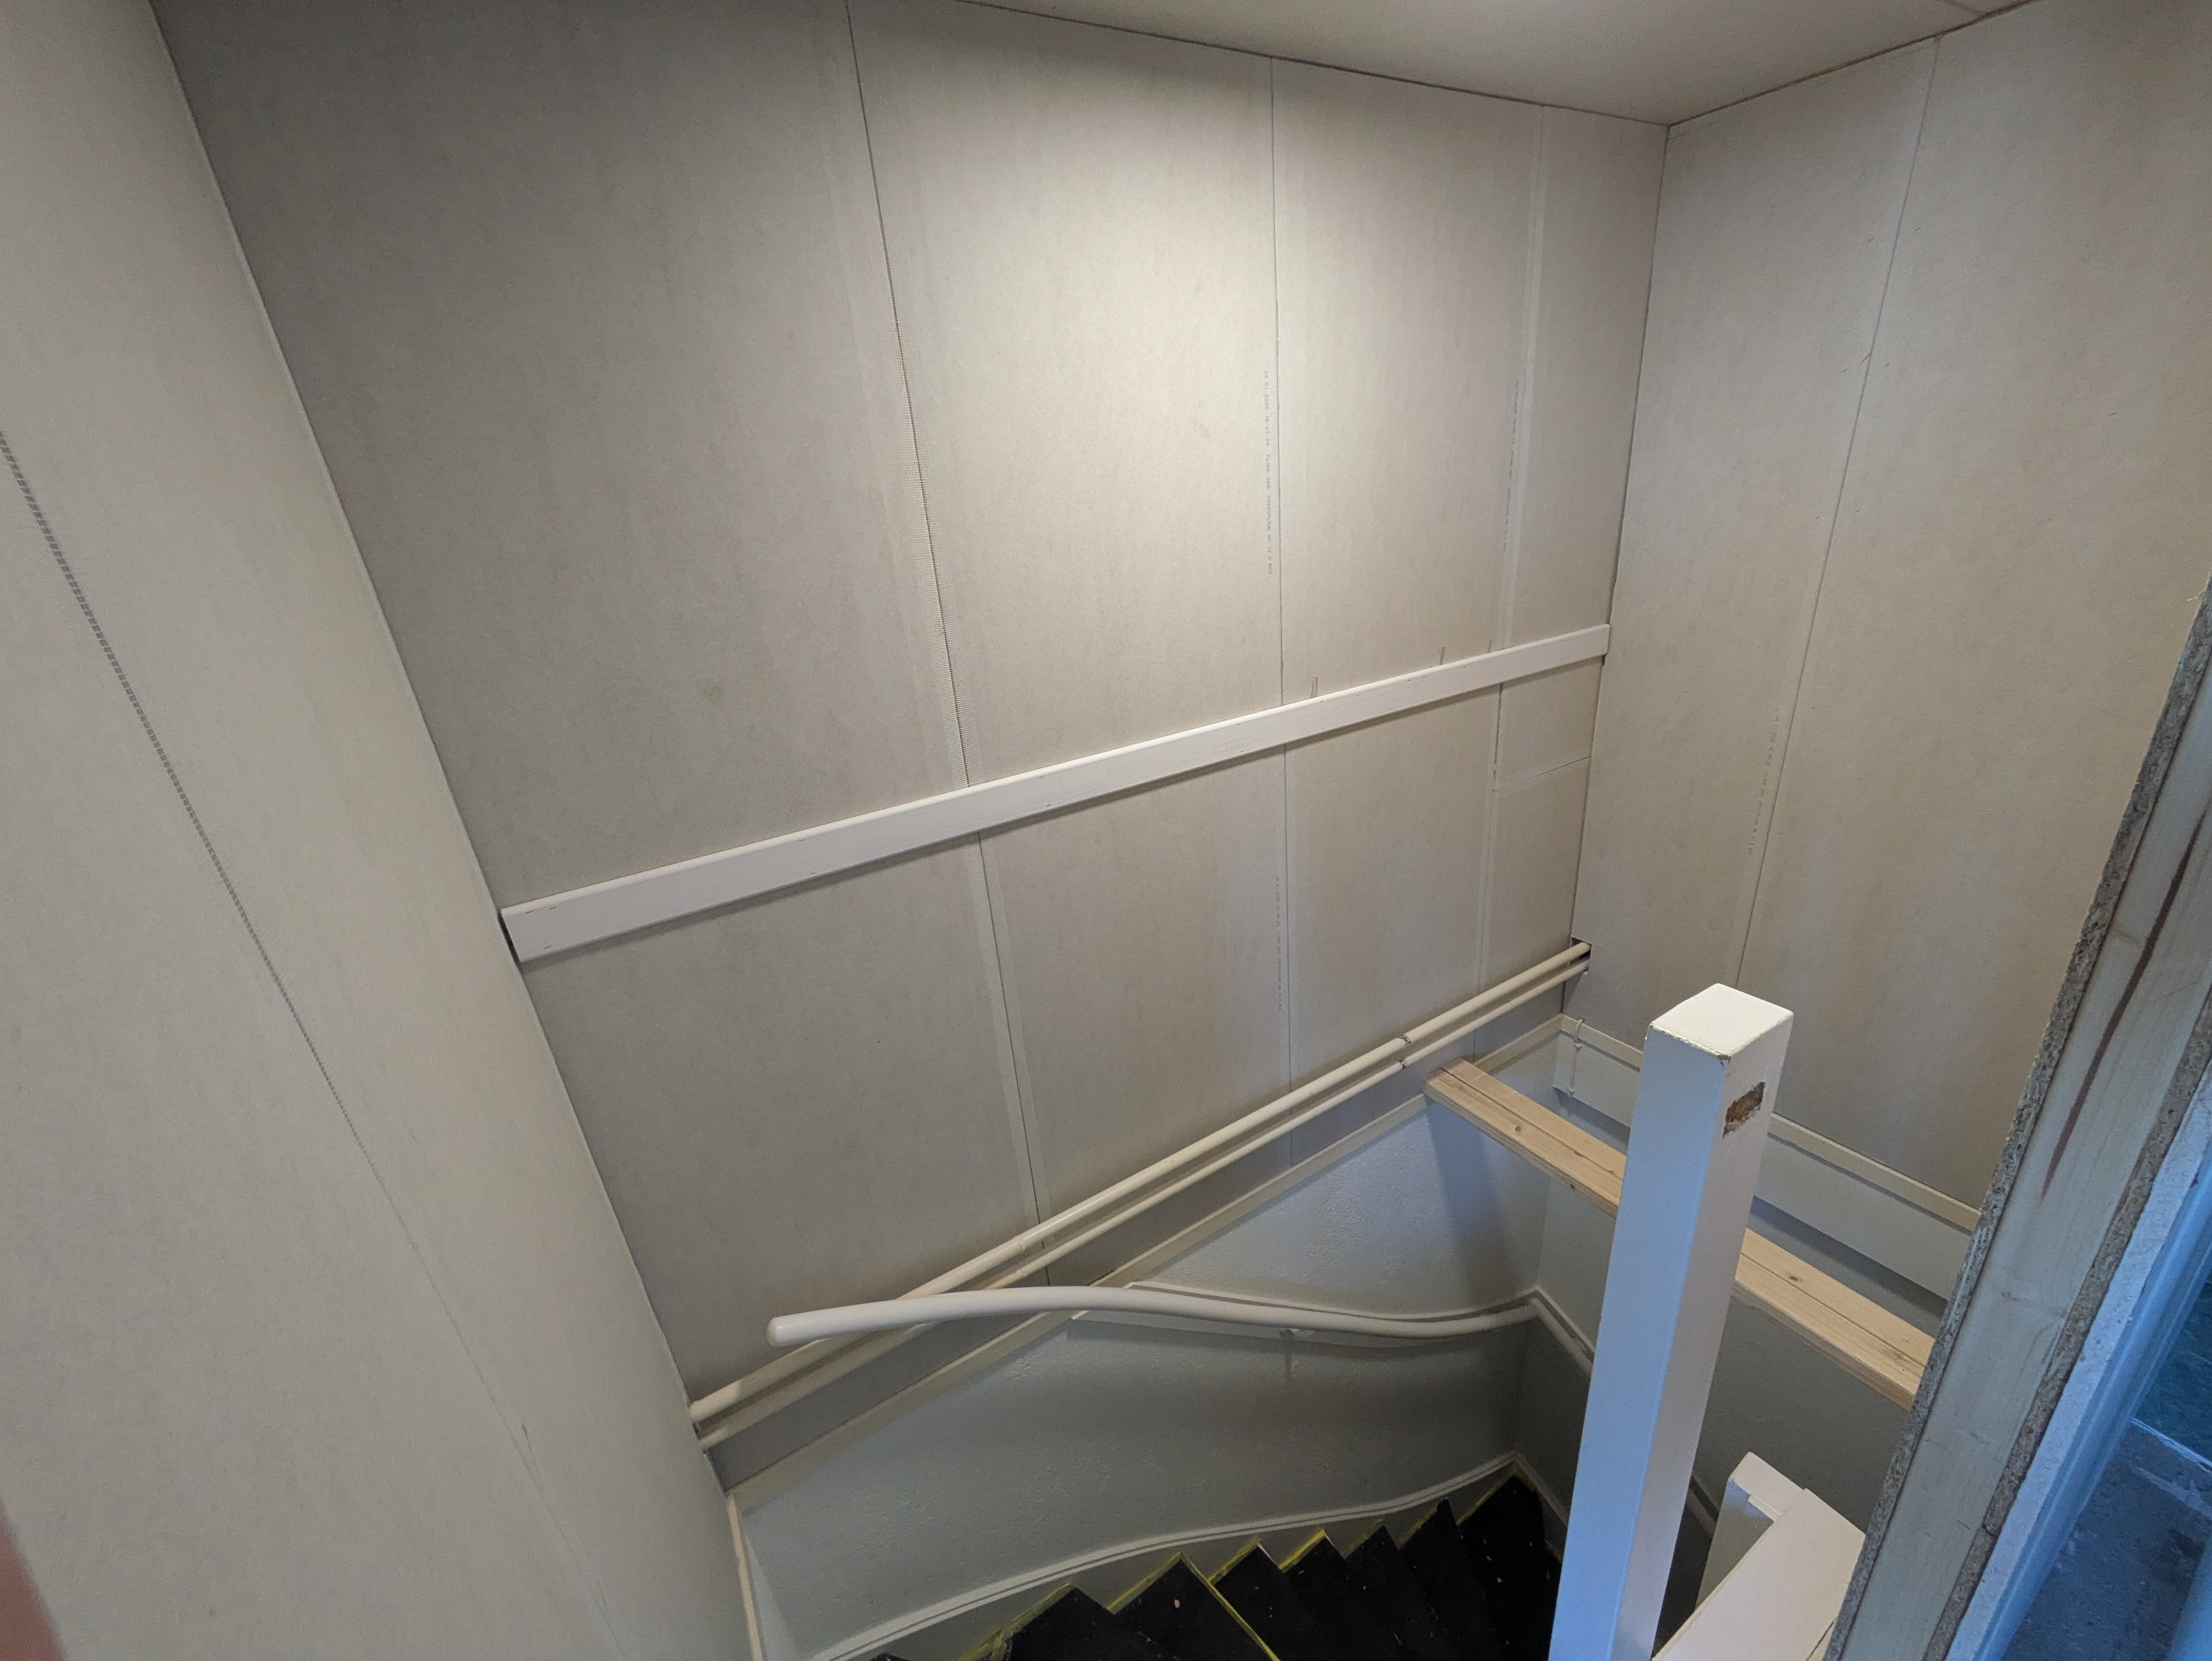
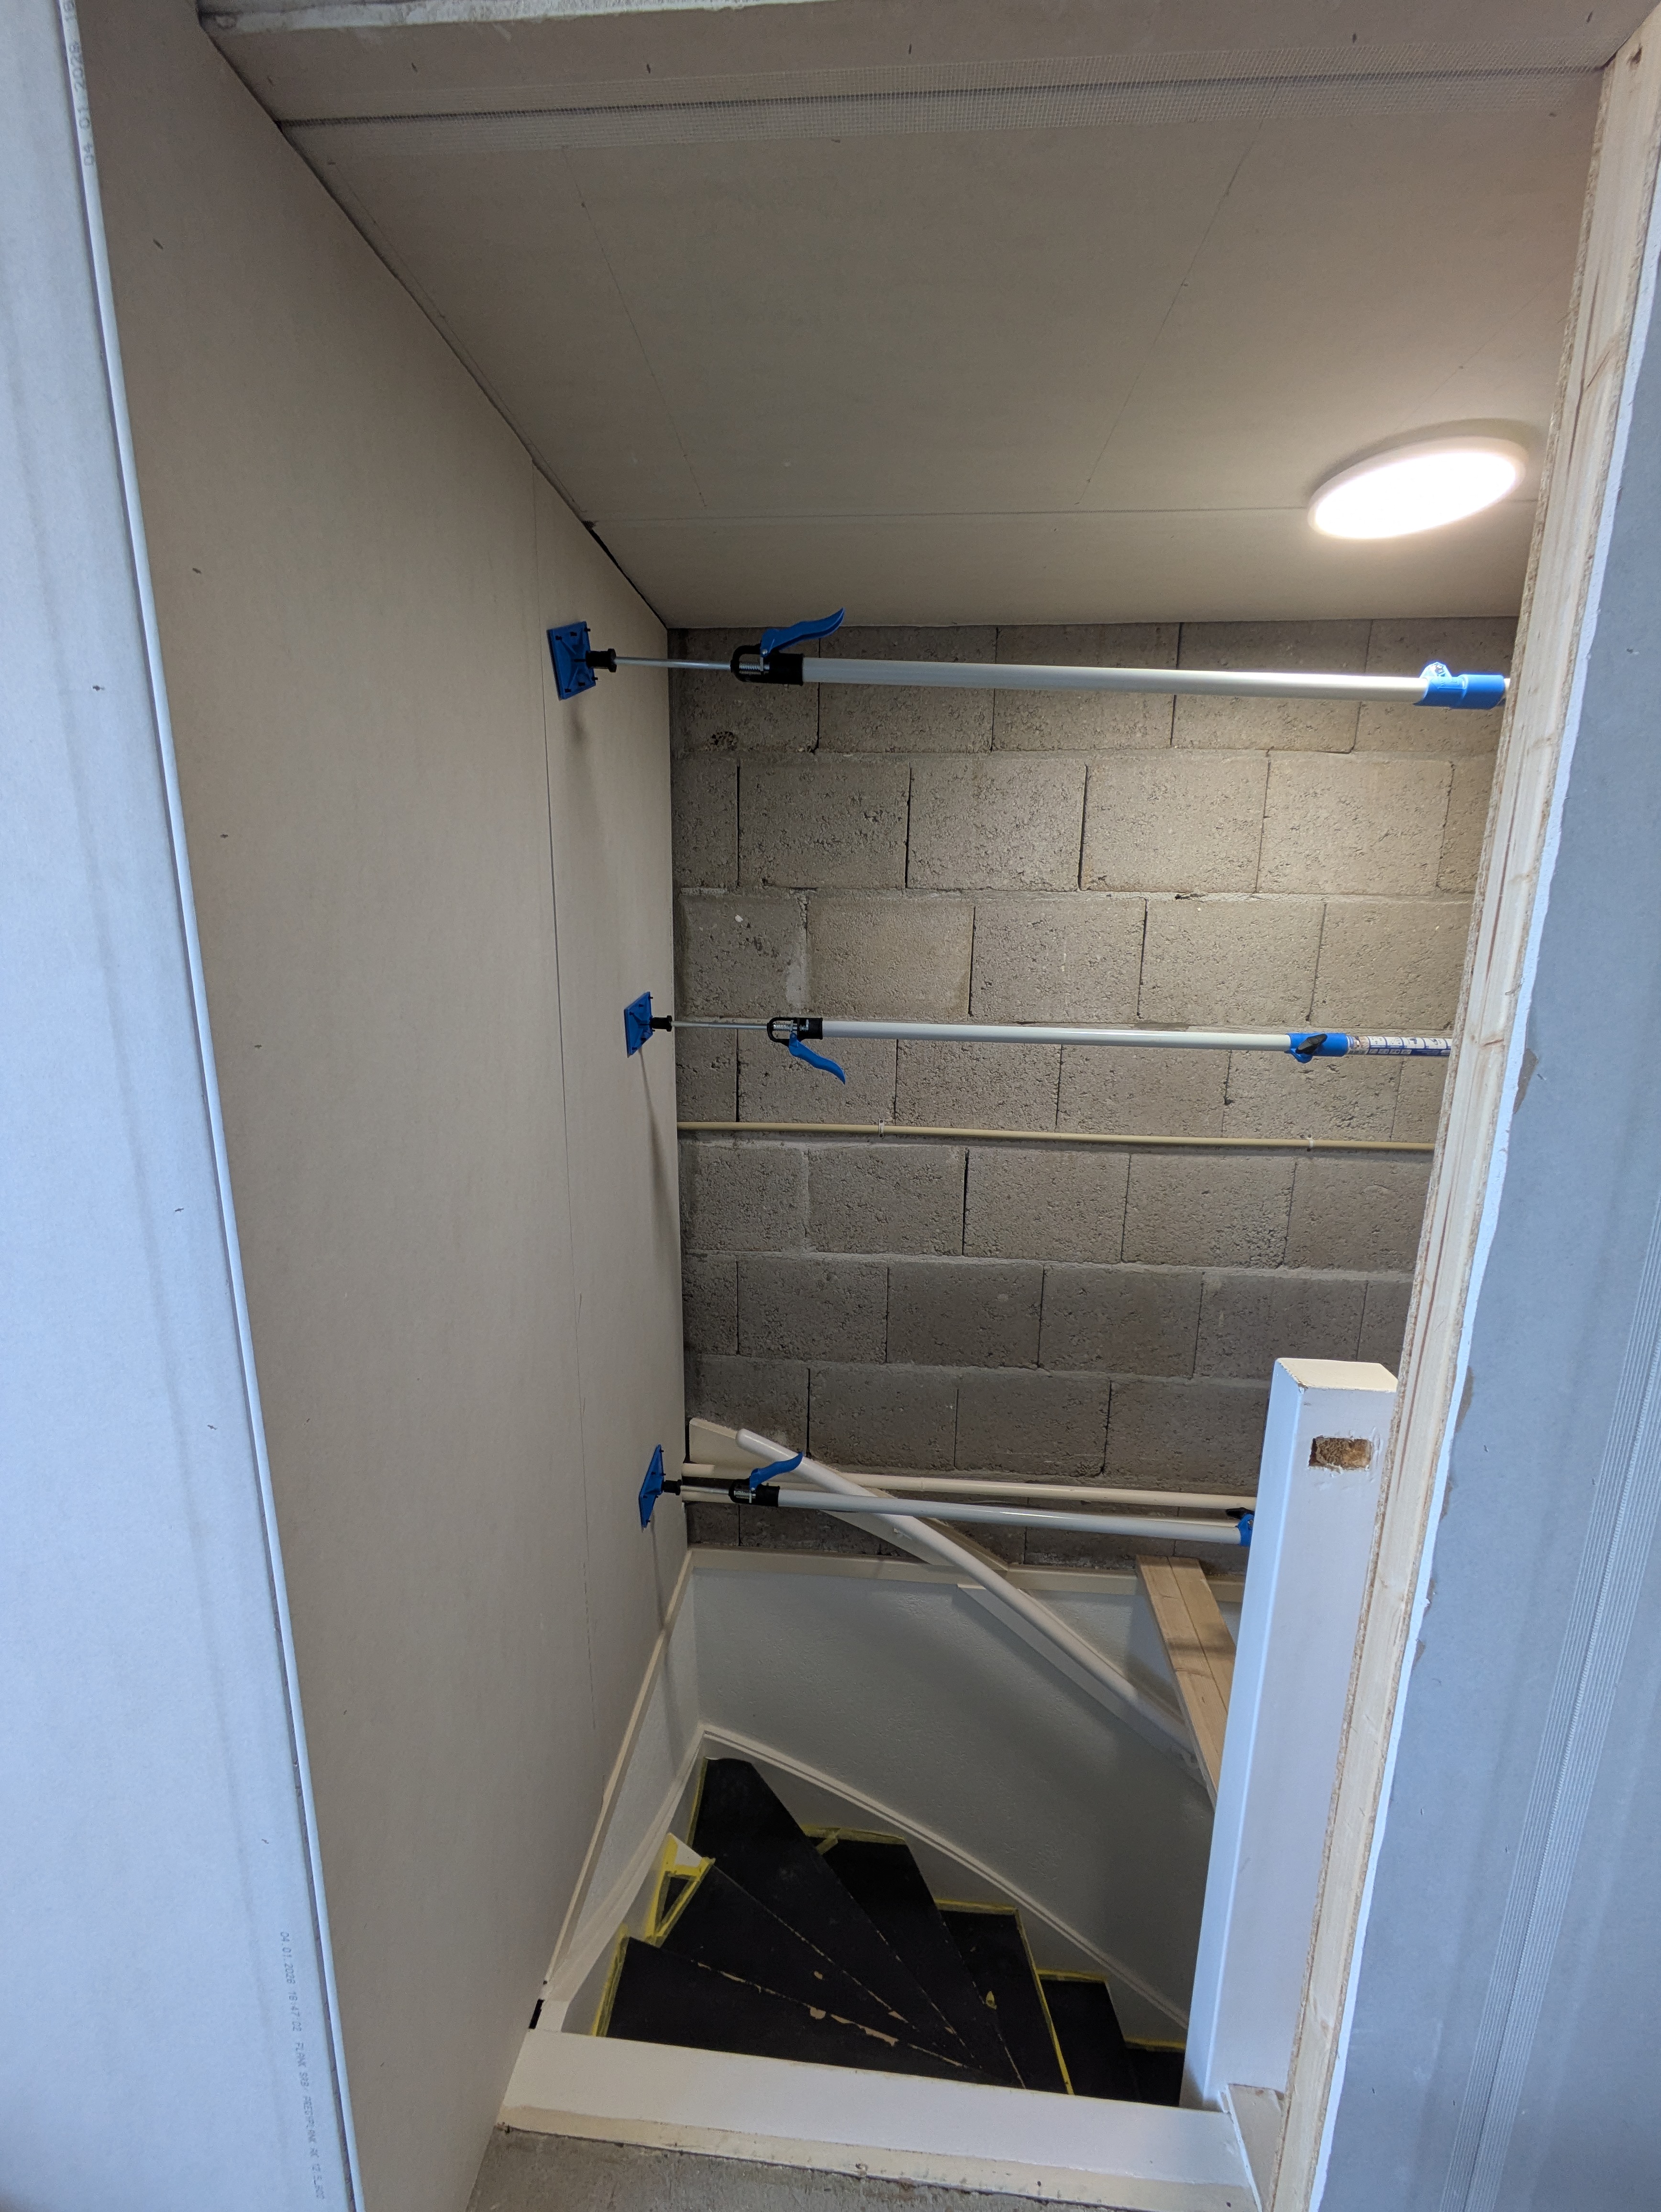
The stair opening itself was also finished neatly. To cover the bare concrete wall, Gijs mounted drywall panels using construction adhesive. Props hold the panels against the concrete while the adhesive cures, allowing him to cut the next panel to size in the meantime.
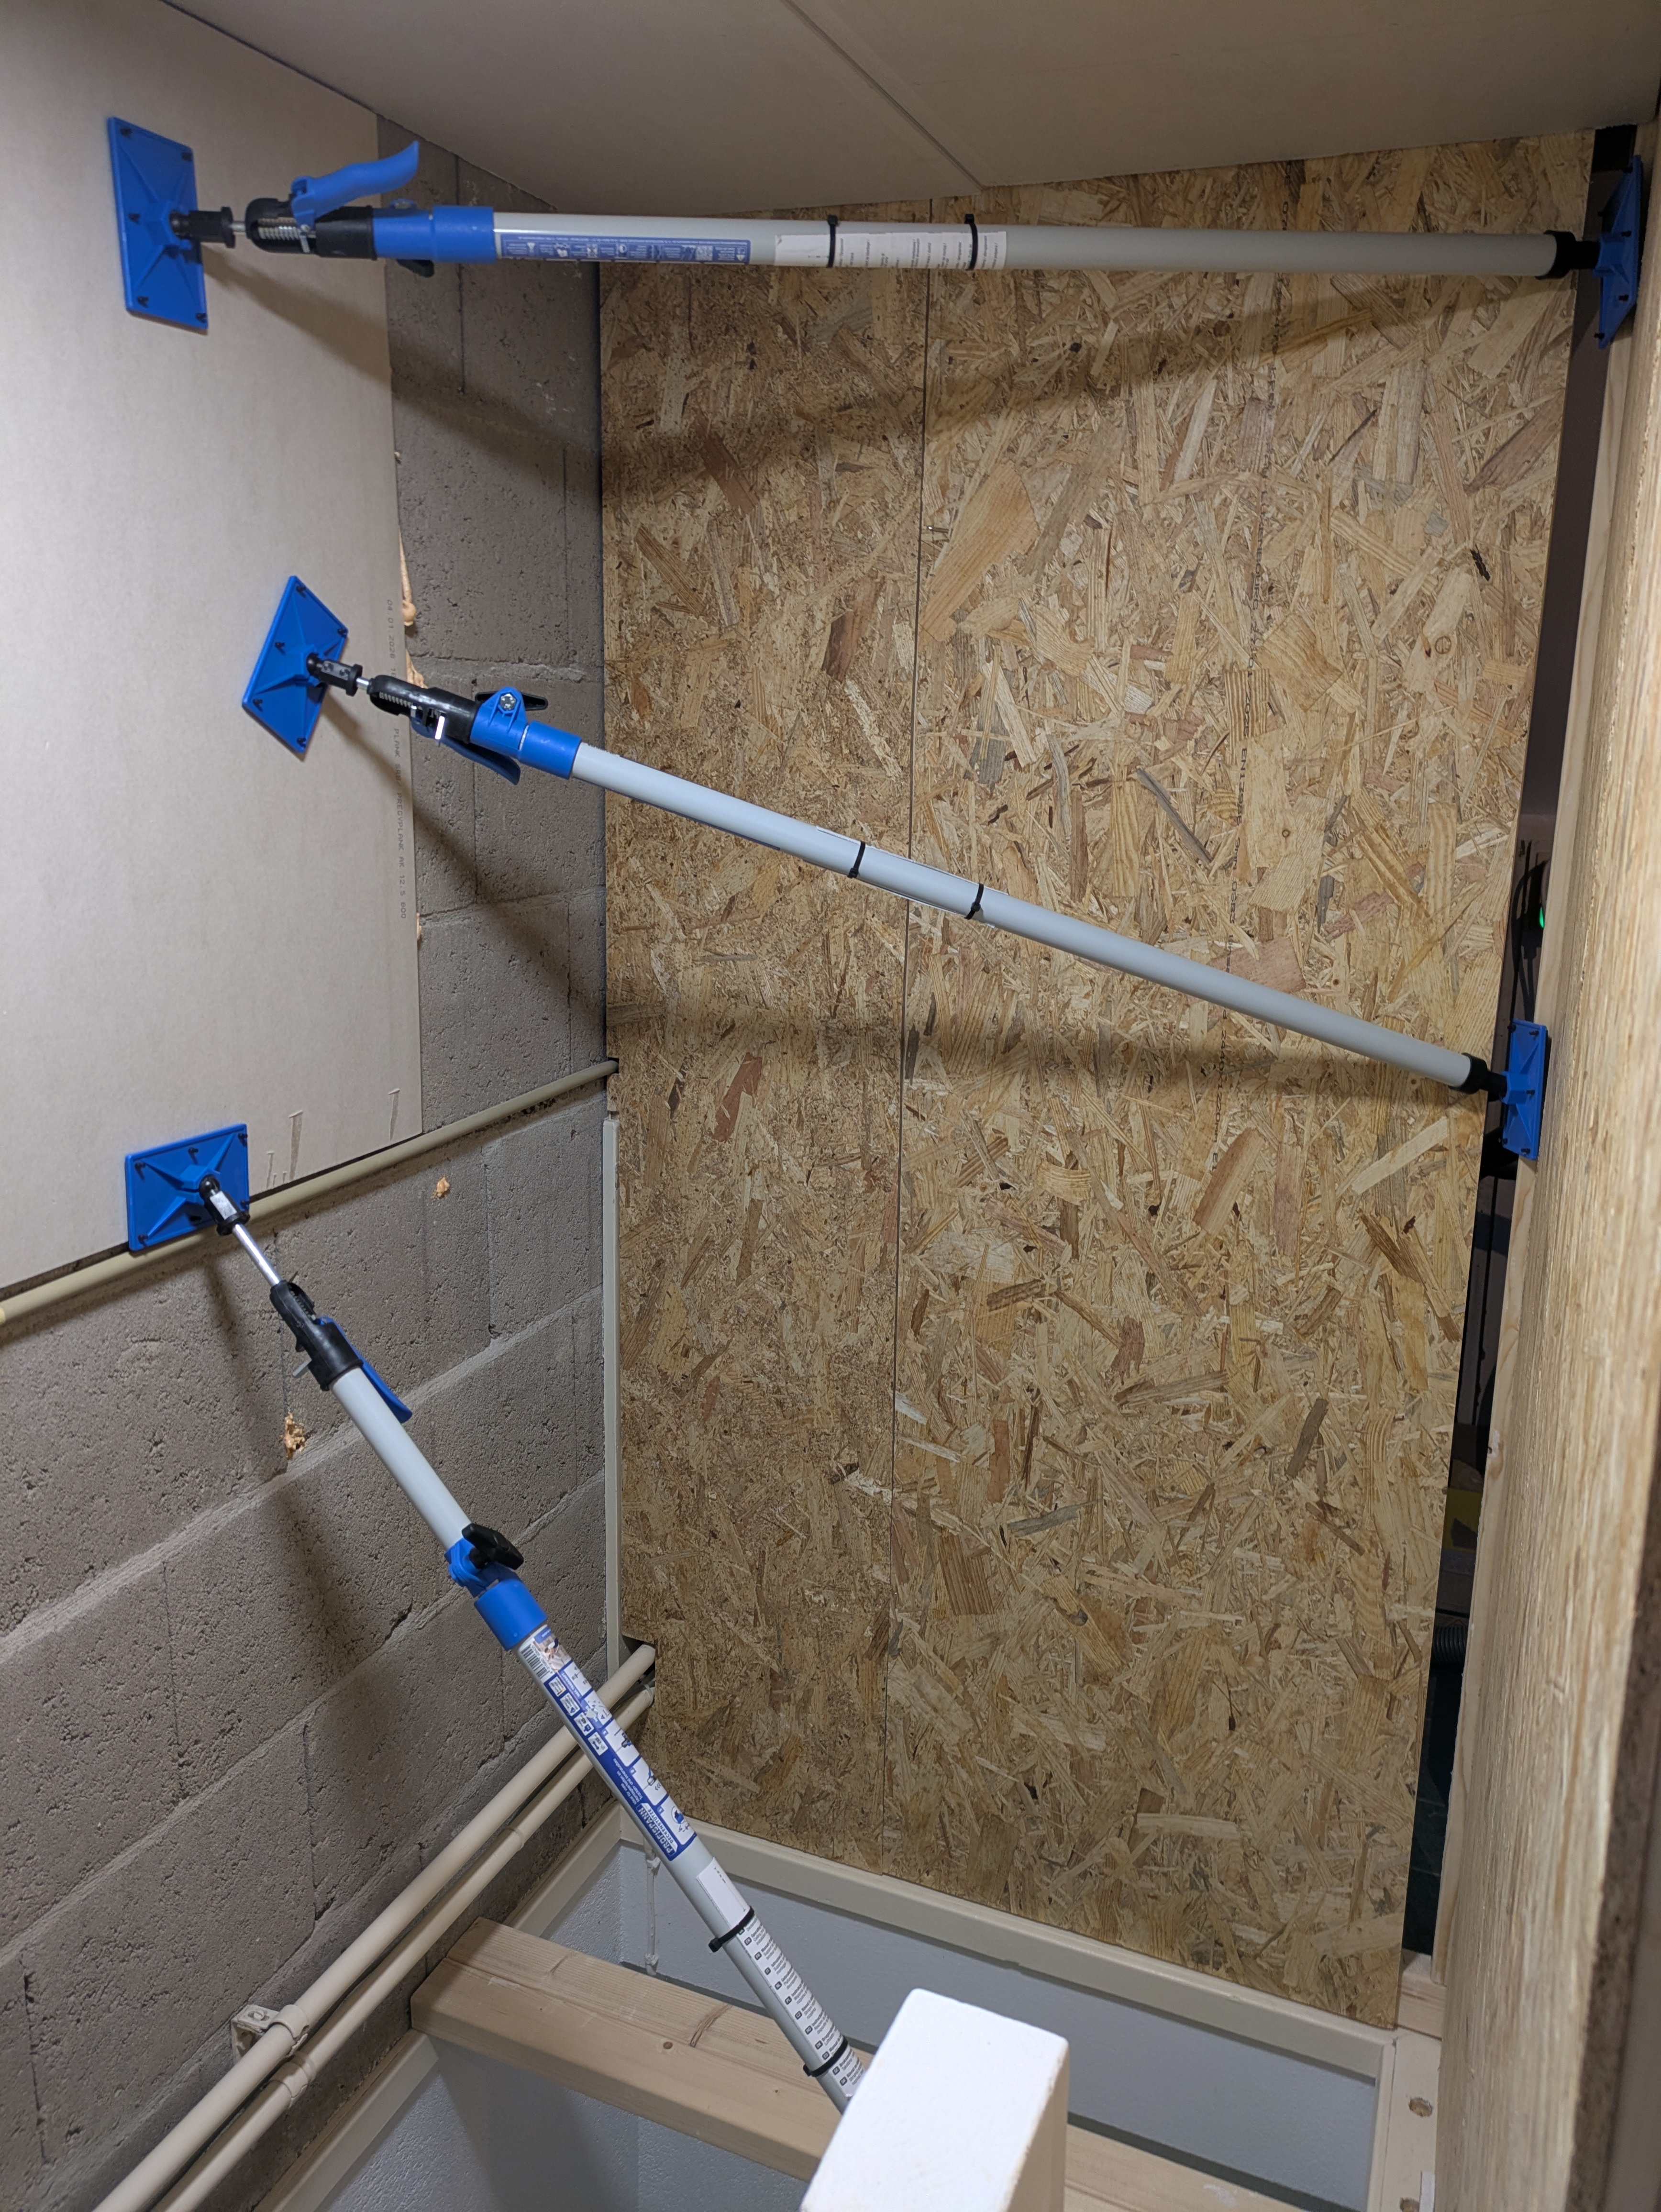
Drywall is relatively fragile, so to protect corners from impact, metal corner profiles were installed everywhere. This prevents damage when someone bumps into wall corners or openings.
These boards were then skimmed again with Knauf compound. It may look rough at first, but Gijs prefers applying a wider layer before sanding it smooth. This delivers a very clean end result.
After sanding and priming, this phase of the renovation is complete as well. Before Gijs starts the next phase, it is time to tidy up the attic. For the next phase he needs to be able to move around freely, and a tidy workspace is essential for that. Besides: an orderly workspace makes for an orderly mind.